
Nothing makes me more happy than a cheap home DIY that transforms the whole space. I’m showing how I went about painting MDF kitchen cabinets. Last week I spent three days taking the thermofoil off my lower kitchen cabinets to expose the MDF and then how I painted them.
We are hoping to put our house on the market in the next year or so becuase we have outgrown it. I try to keep that in the forfront of my mind when making any major decisions with our home DIY projects. The cabibnet redo was somgthing I knew we would have to do before selling due to the warping.

The cabinet redo was a three day process that cost me under $100. If I had hired someone to redo the cabinets or purchased new cabinet and drawer fronts, I would have spent hundreds and possibly close to a thousand dollars. I’m too cheap for that. I’d rather spend less money and do the work myself.
At first glance my cabinets looked perfect, but along the edges of the cabinets and drawers the thermofoil covering (also referred to as vinyl or laminate) started to peel. The thermofoil along the drawers and cabinets that butted up to the oven were the worst. The heat was warping the thermofoil.


How to Remove Thermofoil from Cabinets
Start by removing the cabinet hardware.
The thermofoil on the cabinets is attached with adhesive and once heated it starts to release very easily. I used my heat gun and as the cabinet covering started to heat it shrunk so I could start peeling as I kept applying heat. Most of the cabinet covers came off in one peice. You can watch the video below to see this part in action.
Supplies Needed to Remove Thermofoil from Cabinets
- Heat Gun
- Respirator Mask
- Screwdriver


Prepping MDF Cabinets for Paint
Once the thermofoil is removed it is time to prep the cabinets for paint. There were some areas where I noticed that I got ahead of myself while peeling off the thermofoil and it peeled some of the MDF too. It was a shame because on most of them they were perfectly smooth.
I grabbed my wood filler and wide putty knife and filled the areas that weren’t smooth. After the wood filler dried I used 180 and 220 grit sand paper to sand and smooth.


Priming MDF Cabinets
It is extremely important to prime MDF cabinets. MDF is a mixture of saw dust, glues and epoxy. In the case of cabinets it is usually formed in a mold. If MDF is exposed to too much moisture it warps and expands, but it rarely goes back to it’s original shape. Since cabinets are typically around areas that see moisture such as kitchens, bathrooms or laundry rooms priming the MDF is crucial.
I purchased a gallon of white KILZ primer for under $20 and gave the cabinets two coats of primer using a paintbrush and a small roller specifically for doors and cabinets. Then I sanded the cabinets with 220 grit sand paper to reduce texture.
While priming I chose NOT to take the cabinet doors off to begin with, but then I took them off to prime sides that were hard to get and left them off throughout the painting process. The frame of the cabinets are made of MDF with veneer and I did not prime them, but I did sand them to give the paint a good surface to grip to.


Painting MDF Kitchen Cabinets
With the cabinets, drawer fronts and the frame of the cabinets prepped, I was beyond excited to start painting. I used BEHR cabinet and trim enamel in Euro Gray. It is the exact same color as the inside of our front and back doors but also the perfect gray to blend with our appliances.
When I painted the cabinets I used a small brush for the sides of the cabinets and the insides of the cabinets. Then I used the small roller to roll the insides of the cabinetts and the drawer fronts. I ended up doing two coats of paint and lightly sanding with 220 grit sand paper after both layers. Then I put on a third coat to finish the cabinets.


The cabinet Hardware
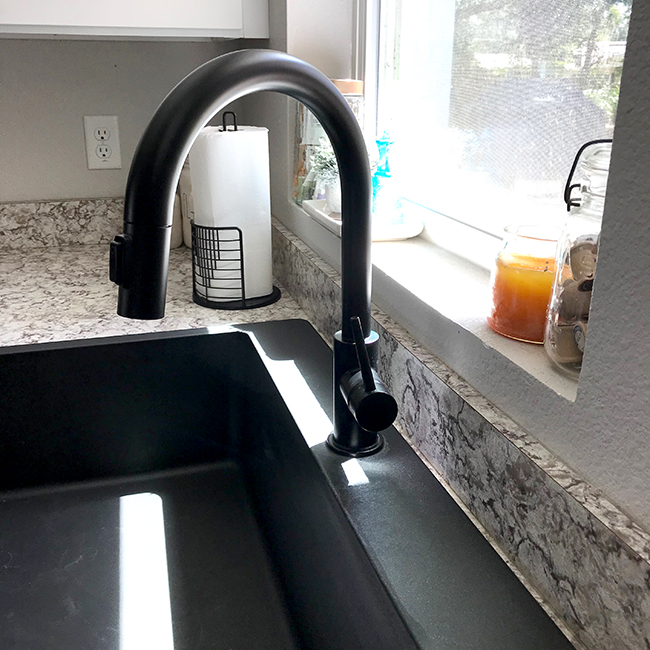
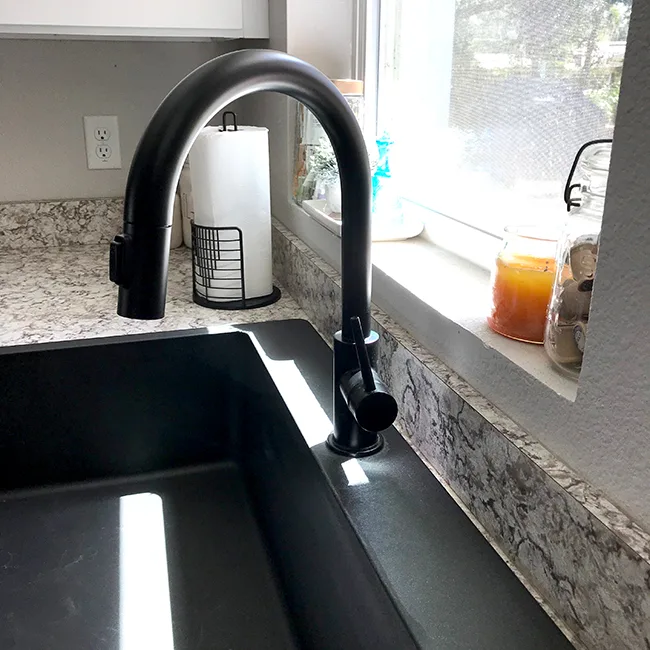
When we moved into our house all the fixtures were silver and over the past few years I’ve slowly been changing everything out to matte black starting with our kitchen faucet. When it came to the kitchen cabinets we needed something that coordinated with the faucet and the hardware in the laundry room, so I purchased three packs of matte black round knobs and changed out the entire kitchen and bathroom.


Before and After


Tara
Friday 1st of April 2022
Thanks for explaining how you did this! Does it still look good now that some time has passed? Will a blow drier work instead of a heat gun?