I shared our master bedroom redo a few months ago and one of my favorite parts of the room are the lights above our bed. I turned hardwired lights into plug in lights. I wish I would have shared this tutorial sooner but the 6-8 weeks leading up to Christmas is the busiest time in my shop. I barely find time to shower let along put together blog posts.

These lights though. I found them at Home Depot and they were right at $30 each (these are the ones). They are Hampton Bay outdoor lights and were originally a galvanized steel. I wanted them to be copper to go along with the copper accents throughout our room. After a phone call to my dad and a little help from an employee I had everything I needed to make these hardwire outdoor lights into plug ins. The wiring process couldn’t be easier and took me less than 10 minutes. Since I wanted to paint mine it turned into an afternoon project but they are a true focal point when you walk through our bedroom door.


Before I started wiring the lights I took them apart, stuck newspaper where the lightbulb should go and spray painted them with hammered copper spray paint. I did the same with the cord set. I figured if the cords were going to be hanging down I wanted them to match. I need to say it again – I loved how the copper turned out!


Supplies Needed
- Lights
- Electrical Tape
- Flat plug Cord Set (it has raw wires on one end and a plug on the other)
- Electrical Wire Nuts (2-3)
Instructions: Turn Hardwired Lights into Plug In Lights
Step 1 – Make sure your cord is NOT plugged in and asses your wires. The light fixture has three wires as shown in the image below, a white, black and a copper wire. The copper wire in the middle is the ground wire and we aren’t going to use it.

My cord set has two wires and they are not color coded as you see in the picture below.

Step 2 – To be on the safe side use an electrical nut over the ground wire. Secure the nut with electrical tape.

Step 3 – Twist the white wire from the light fixture and one of the wires from the cord set together. Then do the same thing with the black wire and the second wire from the cord set.

Step 4 – Cover both sets of twisted wires with electrical nuts and secure with electrical tape making sure no wires are exposed. This is EXTRA important to prevent any issues including fire.
See the images below for a visual reference of how everything should look. Double check everything and then plug your fixture in.
If everything is right you should have LIGHT!


Step 5 – Unscrew the cross bracket on the back of the light fixture and mount it to the wall. (You use the two screws on the front plate of the light to attach the bracket). Once the cross bracket is screwed to the wall reattach the light fixture with the cords hidden behind and the plug in hanging down.


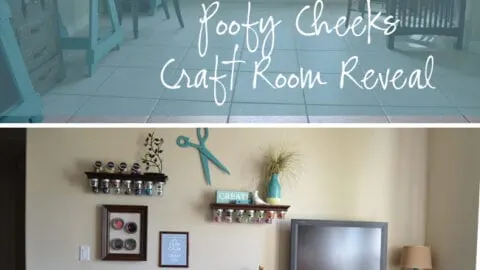
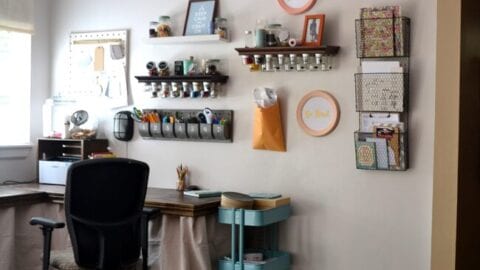
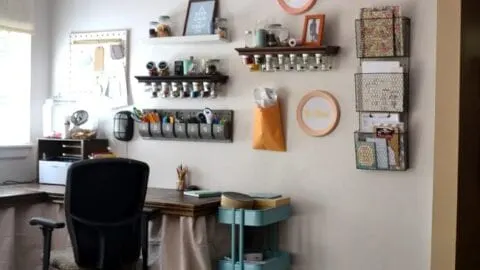
I loved the lighting so much I did it again in my craft/office space.

What do you think? I am seeing outdoor style lights indoors more and more and I love all of them.