DIY Hanging Mirrors for any budgetDIY Hanging Mirrors for any budget.
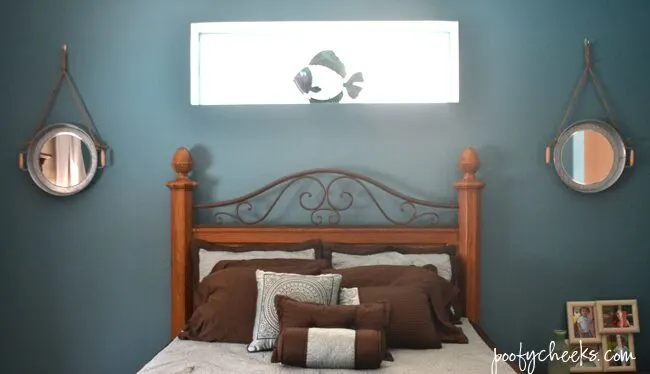
Last weekend we put the finishing touches on my parent’s master bedroom and as promised I am back sharing how I made the hanging mirrors they put on both sides of their bed. As with any redo the biggest thing is always trying to stay within a budget and this room was no different.
I got my love of great deals and clearance shopping from my mom so it should come as no surprise that she tried to save money everywhere she could. She is super lucky to have my dad around because he is a jack of all trades when it comes to painting, wood working, plumbing, repairing, electrical and everything around the house! I might mention he is super lucky to have her around too – they have been married for 31 years now!

My dad painted the room, hung the barn door track and hung the curtain rod and mirrors. My mom shopped for the accessories at Ross, TJ Maxx and even purchased the drop cloth curtains I suggested. I gifted the mirrors to her as her Mother’s Day gift this year and put some of my own finishing touches on the room. As soon as we hung the mirrors it gave the room a totally different look and feel so I was very pleased with the outcome.
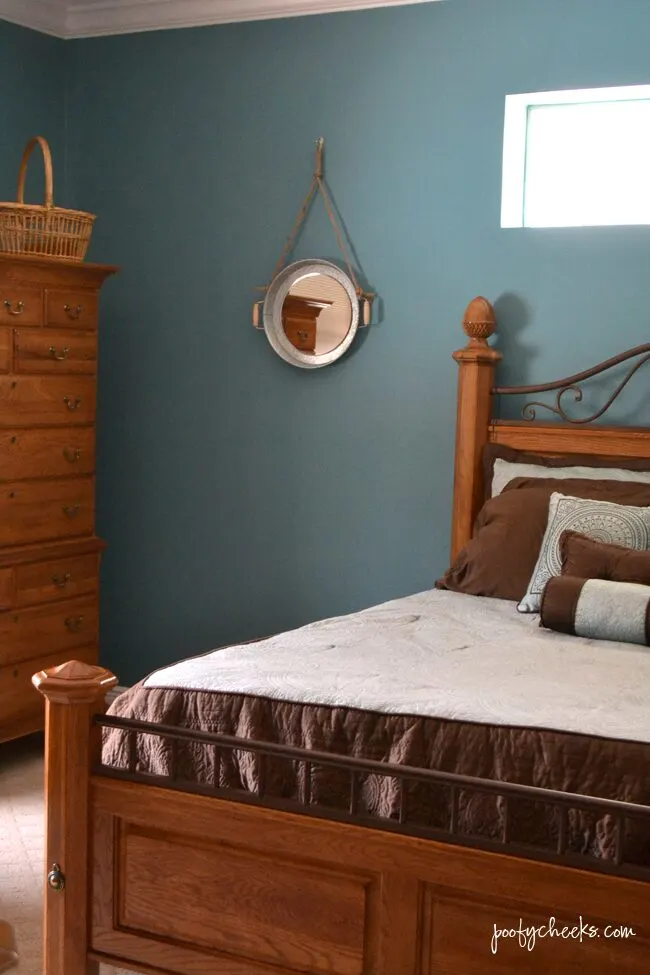
While my mom and I were out shopping for accessories we kept seeing hanging mirrors, and she mentioned how they would look good on either side of her bed above a nightstand. I agreed but with the price tag being $50 or more each I couldn’t see spending that much on them.
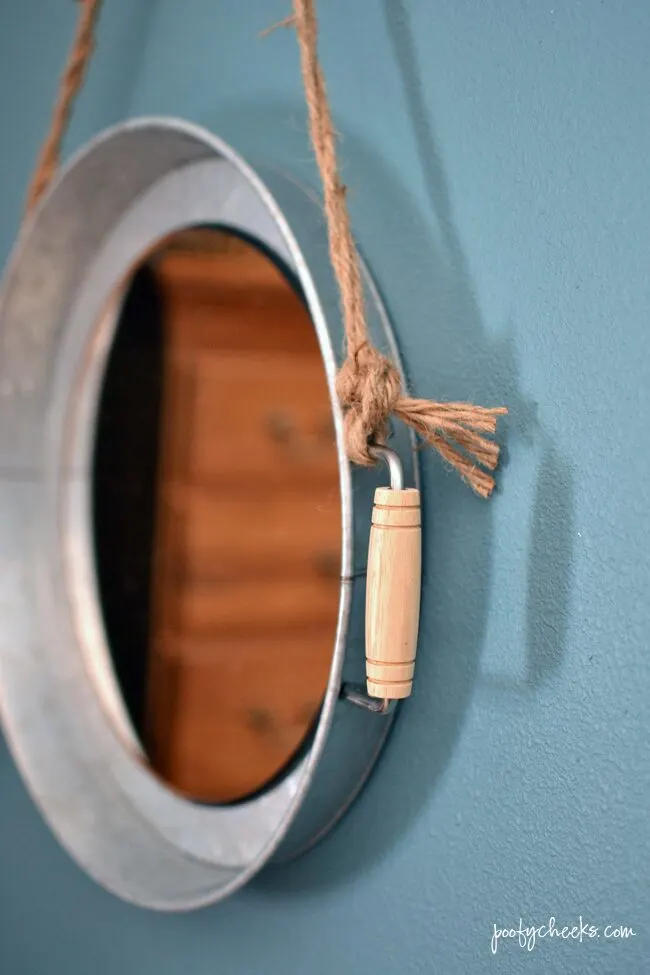
I told her I could find a way to DIY them for much cheaper. I bought the mirrors and jute string right away but it took me a few weeks before I found something I liked to mount the mirrors too. I thought of using a plate but they were either too small or too heavy. Finally I was walking through an isle at Walmart looking for something else when the Better Home and Garden metal trays jumped out at me. They were right under $8 and I snagged two of them up!
DIY Hanging Mirror Supplies:
Supplies Needed (for two mirrors):
- 2 BHG Trays
- 2 Mirrors – 12 inch diameter
- E-6000 glue
- Jute
- Hooks to hang and supplies needed
- Sticky Back Velcro
DIY Hanging Mirror Directions:
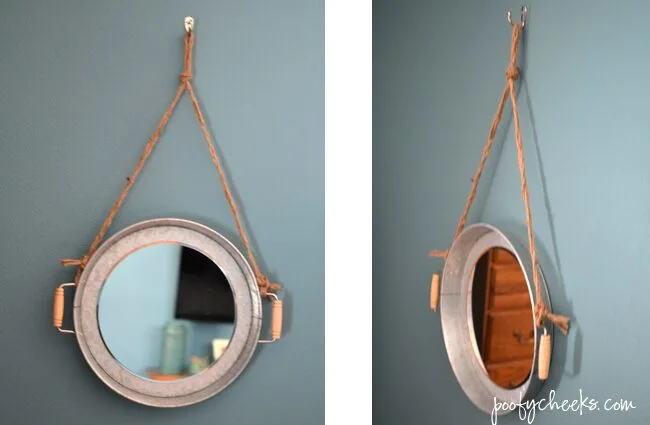
- Start by gathering the supplies. Using the E-6000 glue apply it to the back of one mirror and place it down onto the center of the tray. Push it down with firm pressure and allow it to dry for a few hours or overnight.
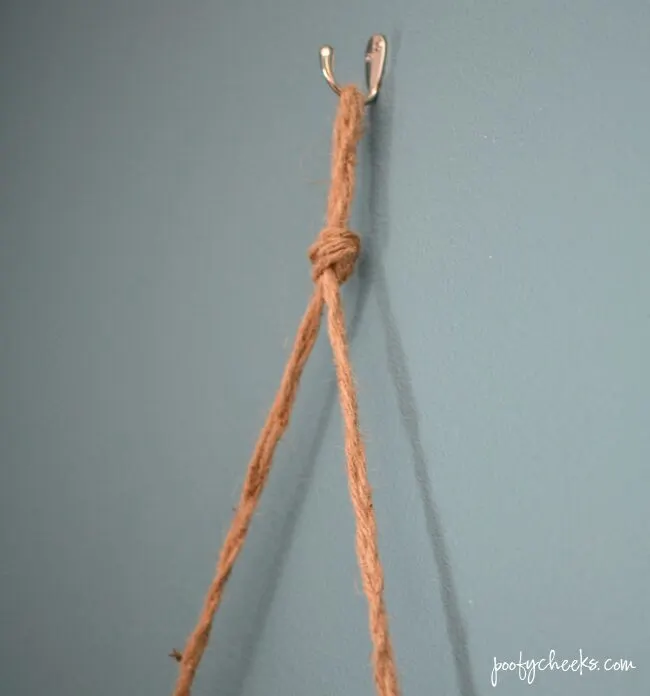
- Cut three pieces of jute. The length of the jute will depend on how long you want them to hang but I used three five foot pieces. Braid the three pieces together and knot them onto the tops of both handles. I also added a knot to the center of the jute to create a loop for hanging but that is optional. Trim the ends if needed.
- To hang the mirrors we used hooks. We used a measure tape, pencil and drill to measure and hang the hooks with the provided screws. Since the mirrors didn’t hang flush to the wall we used a piece of sticky back Velcro for the bottom edge of the mirror. We placed one piece on the wall and other just on the edge of the back of the tray so you couldn’t see it.
- If you are making two mirrors repeat steps 1 through 3.
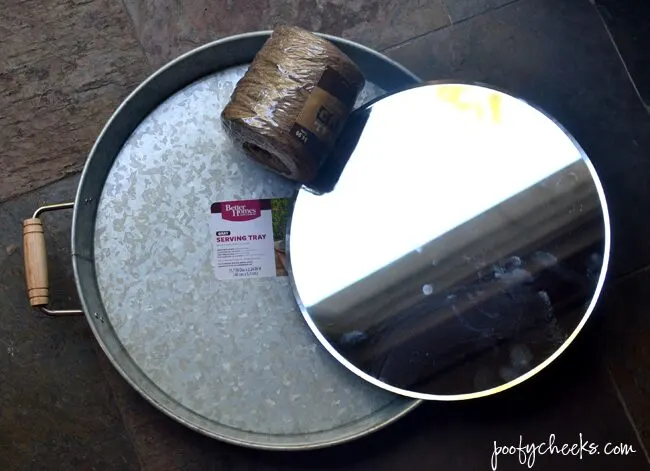
The mirrors cost me around $30 total not counting the hooks or Velcro which my parents already had. Those would set you back a few more dollars. I have tons of jute left I can use for a lot of other projects too! My friend Megan from Balancing Home shared a tutorial for a rope wrapped vase a while ago and I have thought about using some of the leftover jute to make my own!
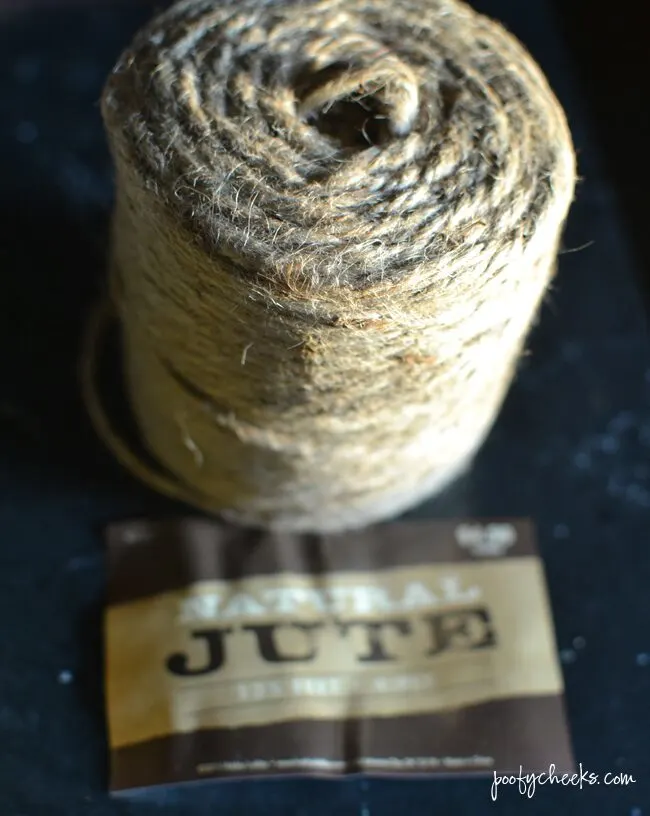
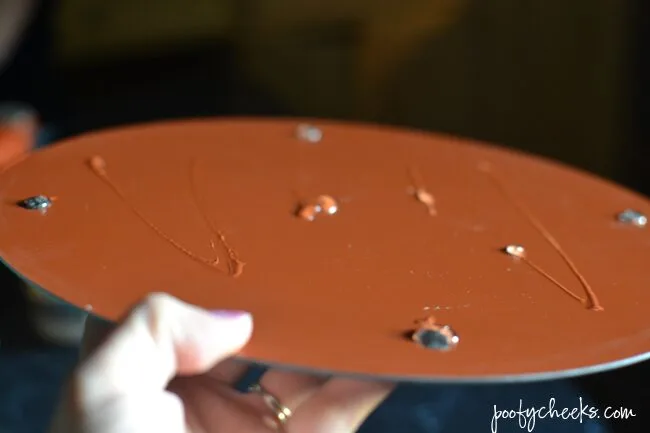
Compared to the high price tags I have been seeing on similar mirrors two for $30 is a steal!
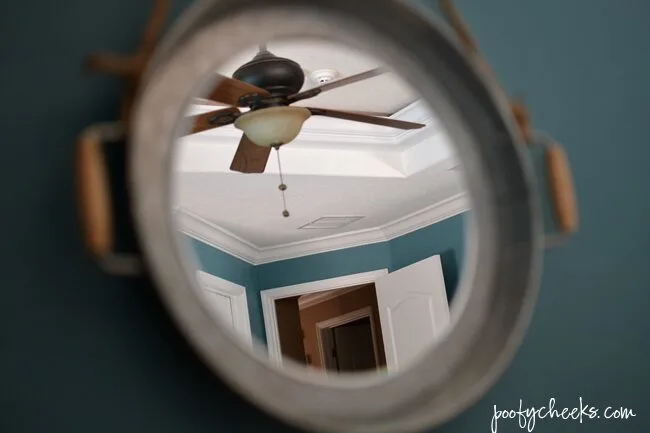
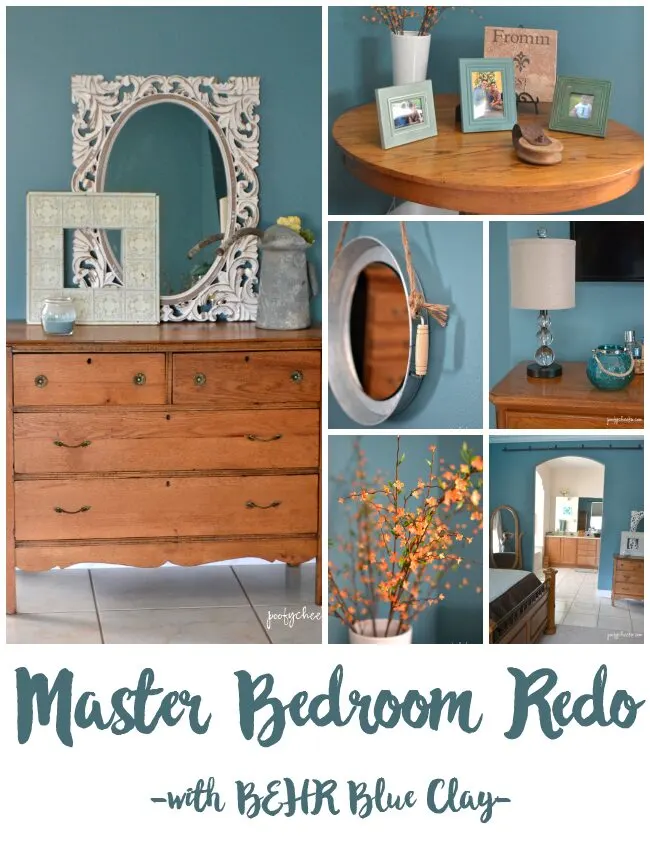
The entire master bedroom redo with before and after pictures.

20 DIY Farmhouse Mirrors Home Design Decor Style
Wednesday 19th of September 2018
[…] DIY Hanging Mirrors On Budget from poofycheeks.com […]