
Today let’s talk about the framed wooden sign everyone seems to love right now. I can’t deny that I love the wooden signs too and I’ve been making them for a few years. I’m sharing the full tutorial and steps I take to make framed wooden signs along with a time lapse video.
In this tutorial I’m making a sign that will be 41.5 inches wide by 15.5 inches tall when finished. I started with a scrap piece of plyboard measuring 40×14 inches and after the frame was added a few inches.

Framed Sign Time Lapse Tutorial
Framed Wooden Sign Supplies
Wood
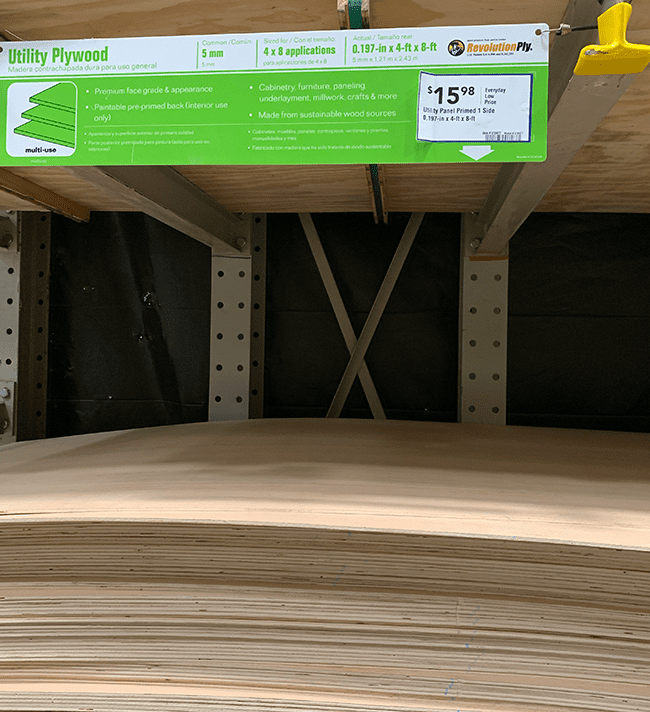
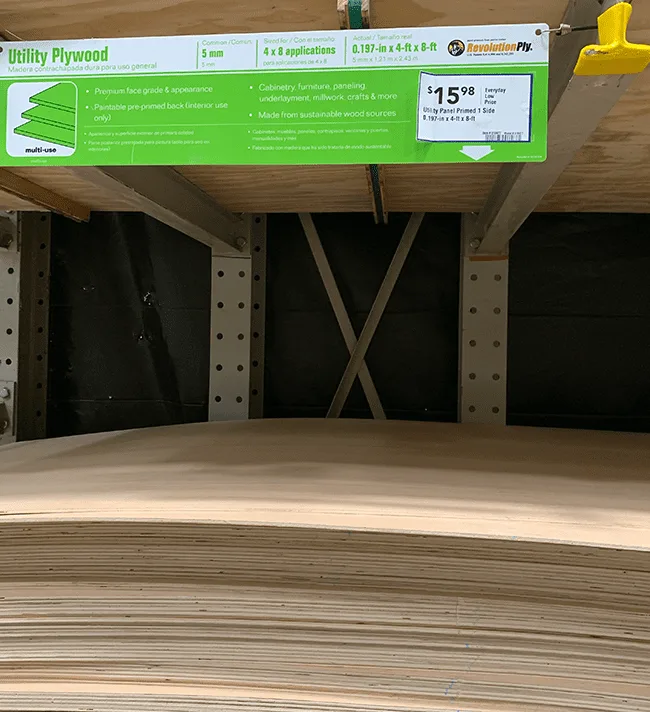
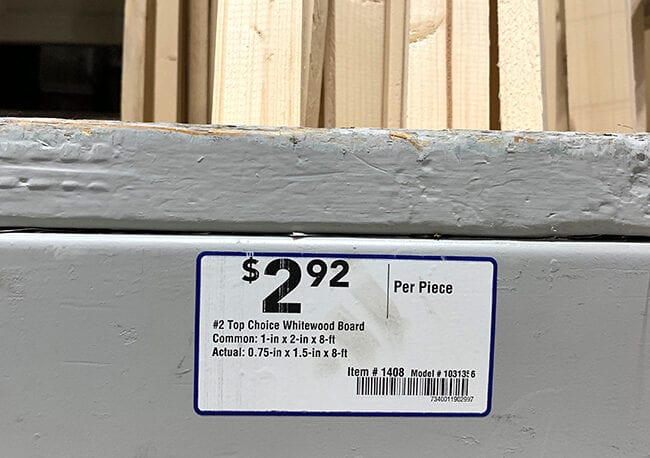
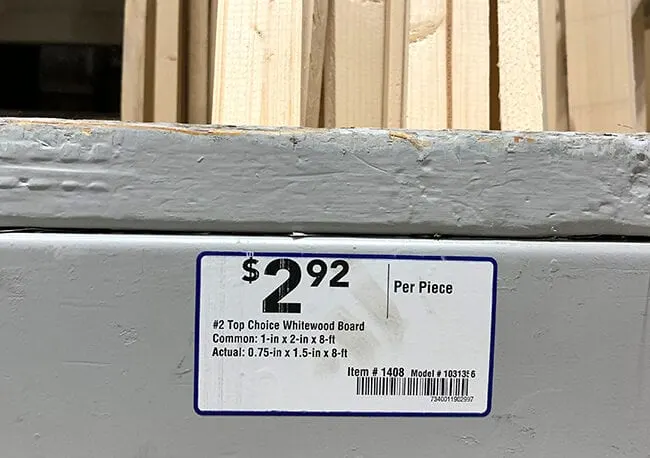
I purchase the wood for the signs from Lowe’s and there are two different things you are going to need. A piece of plyboard for the backing and 1x2s for the frame.
I buy the plyboard in a big sheet measuring 4 foot x 8 foot and then ask an employee to cut it down so I can fit in my minivan. I typically have them cut it across at different increments and then cut those pieces in half so they are all 4 foot long. (See image below.)
The plyboard is 0.197 inches x 4 ft x 8ft and costs $15.98. It comes primed on one side and to have it cut doesn’t cost any extra.
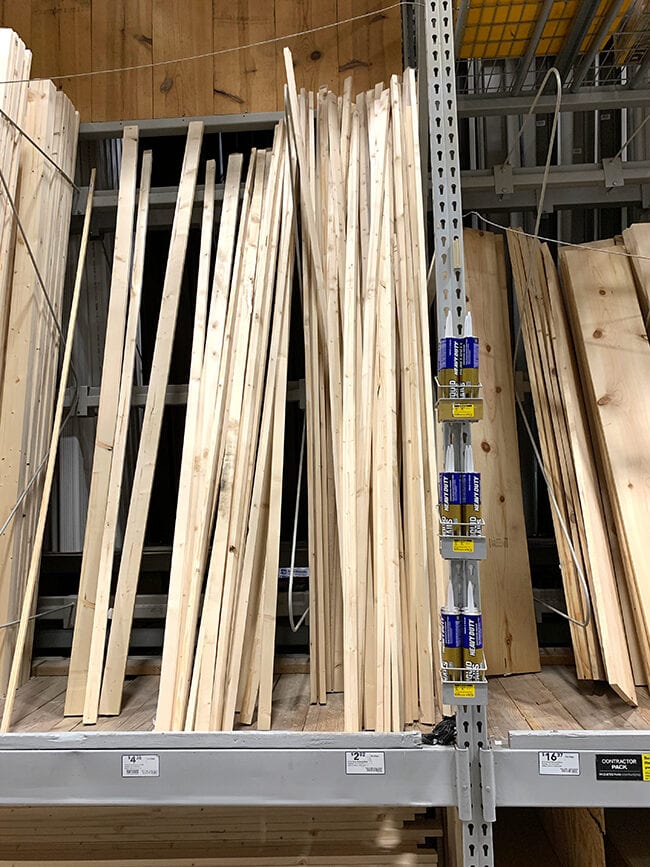
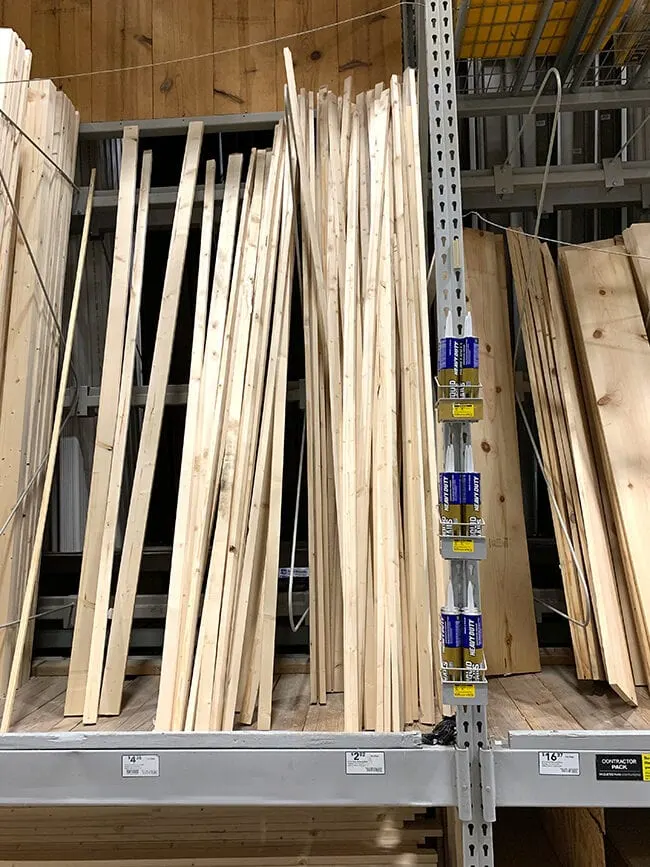
To determine how many 1x2s I need I add up the perimeter of the sign (40+14+40+14) and add a few inches. I bought two 1in x 2in x 8ft pieces.
Tools
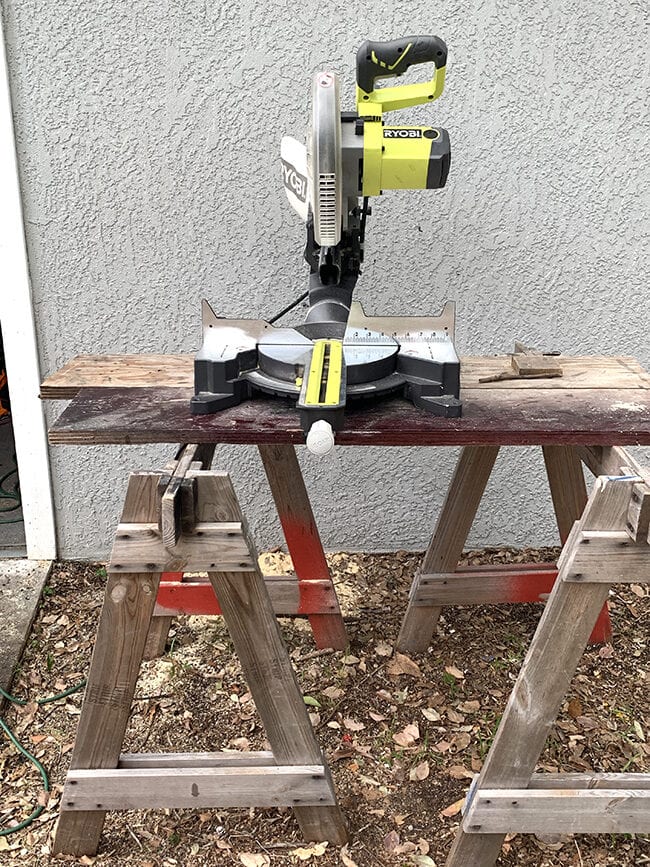
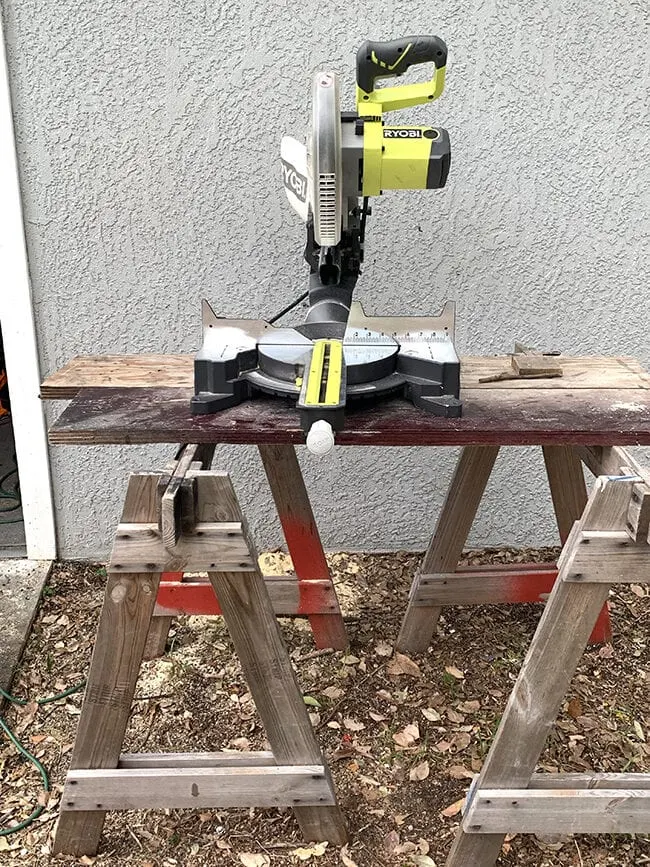
- Miter Saw
- Sand Paper
- Brad Nailer
- 1 1/4 brad nails
- 5/8 brad nails
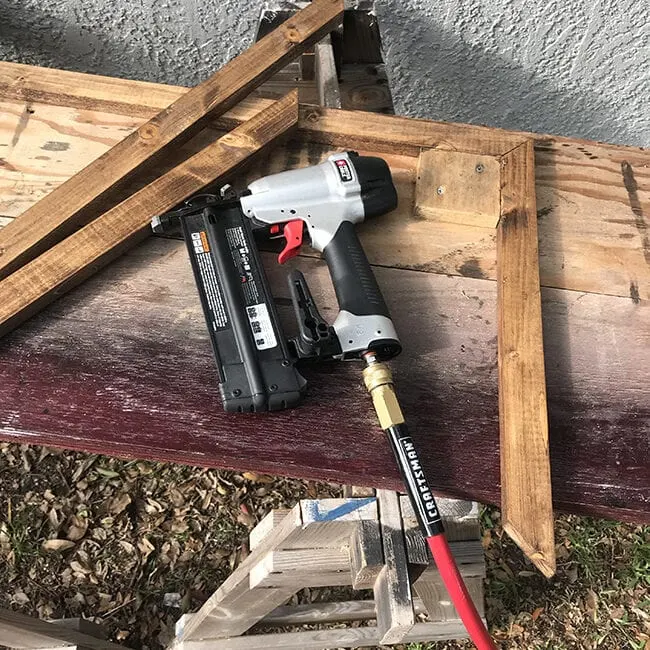
Let’s talk brad nailers for a minute. I have the Porter Cable pneumatic brad nailer that I linked to above. Pneumatic means it runs off an air compressor so you will also have to have an air compressor as well.
Not all brad nailers require an air compressor though. If you purchase a battery operated brad nailer you won’t need one.
Painting, Staining and Stencil Supplies
- White Paint (I use BEHR latex paint)
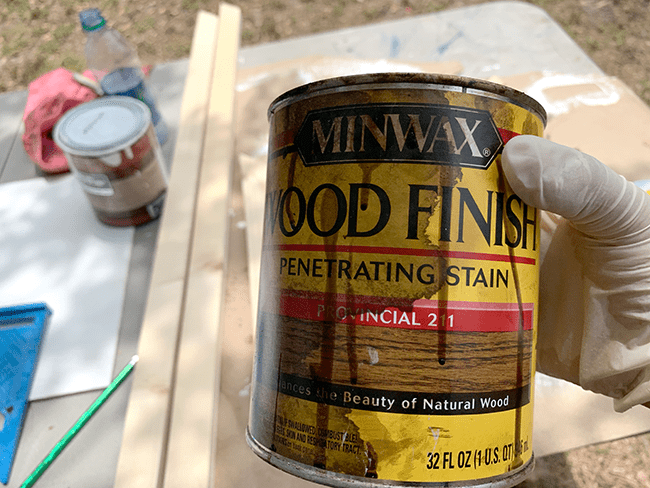
- Minwax Stain – I use Provincial
- Black Acrylic Paint
- Paintbrush
- Foam Brush
- Oracal 631 Adhesive Vinyl in any color
- Transfer Tape
- Scissors
- Cloth for applying stain
- Cricut or Silhouette to cut vinyl
How to Make a Framed Wooden Sign
Cut and Paint the Plyboard
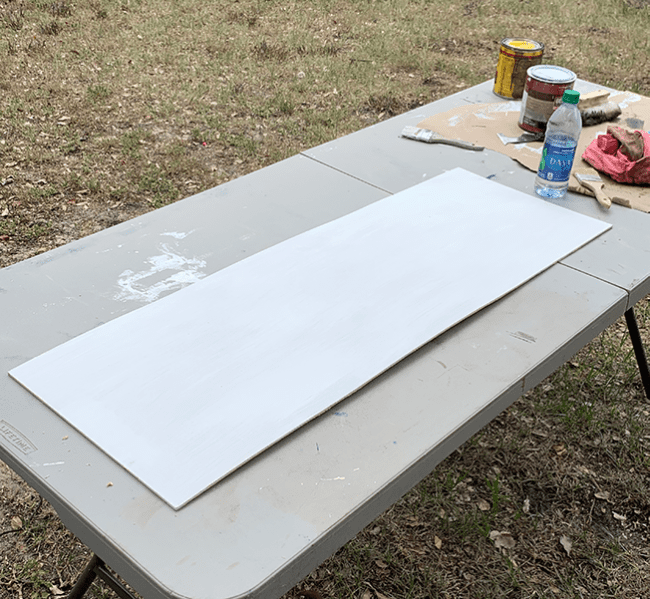
My plyboard was already cut to size. The fine Lowe’s employees can help you with this part or you can use a table saw or circular saw. I have the people at Lowe’s cut my signs down enough to fit in the car and then use my circular saw to cut them down smaller once I get home.


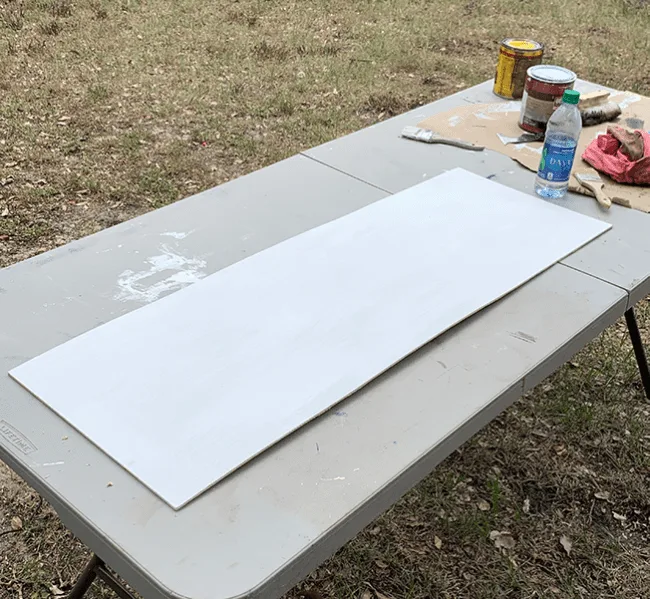
Start out by painting the primed side of the ply board white (or any color you desire) using a paint brush. I find it’s best to put a thin coat of paint on, let it dry and then add another coat if desired.
Once the paint has dried completely give the board a light sanding to get rid of any texture left behind by the brush strokes. This is an important step because it can cause paint to seep under the stencil if it’s not flat.
Cut the Wood for the Frame
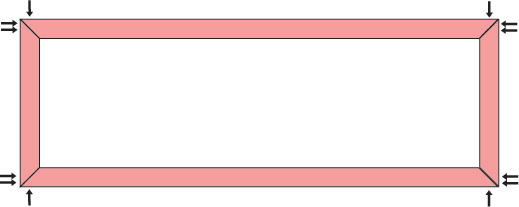
The frame is made from the 1x2s. For the frame, the ends need to be cut at 45 degree angles so when two pieces are put together they make a 90 degree angle for the corners.
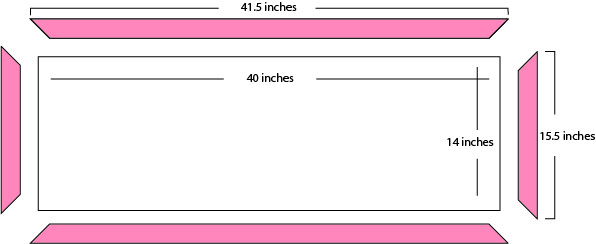
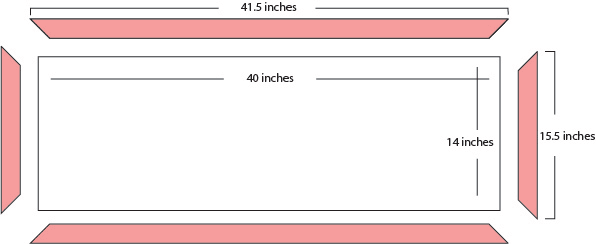
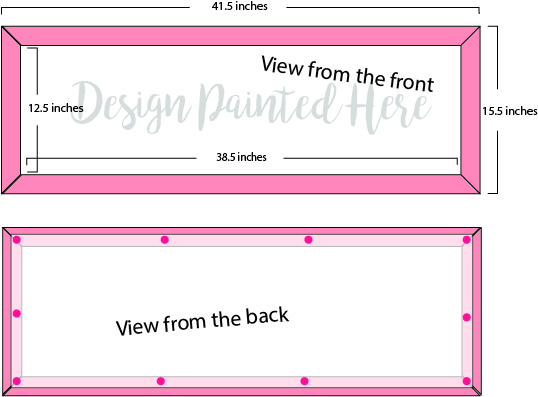
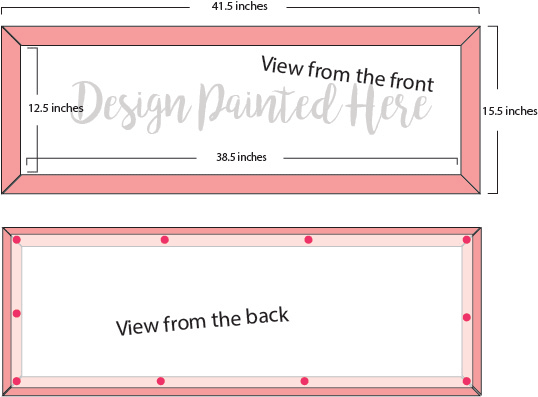
For my 40×14 inch plyboard I cut two frame pieces where the longest side measured 41.5 inches long and 2 pieces 15.5 inches long. See the image below for a better idea of how the frame pieces will be put together.
*No matter what size your plyboard ends up being add 1.5 inches to the length to get the measurement for your frame pieces. Example – if your plyboard measures 20×10 inches you need to cut two frame pieces 21.5 inches and two frame pieces 12.5 inches.
Stain the Frame Pieces for the Framed Wooden Sign
Once you have the four frame pieces cut you can stain them or paint if you prefer. Stain takes the longest to dry and the frame shouldn’t be put onto the plyboard until it is absolutely dry.
If you have never stained before you want to apply stain liberally with a scrap piece of lint free cloth. I typically use old t-shirts and rip them into strips. Once you have applied the stain use another rag to wipe it off.

Applying Vinyl Stencil and Paint
I’m not going to do much explaining about making the stencil because it would take me quite some time but you need to cut your design onto oracle 631 vinyl using a Silhouette or Cricut. Then weed out the letters or design part leaving the background to create a stencil.
Use transfer tape to apply the vinyl to the sign. For a better idea of how to do this portion watch the time lapse video towards the top of the page.

Once the vinyl stencil is on use acrylic paint and a foam brush to paint in the parts where the plyboard shows through. I do this with a combination of dabbing and painting motions.
If there are any spots where the vinyl stencil seems to buckle or bubble on an edge where paint will go use your finger to smooth it before painting or it will seep underneath.
Once you are finished painting the stencil portion, let it dry and then remove the stencil. I always find a few spots that have imperfections and use a low grit sand paper to gently sand them off or take a tiny paint brush with the same white as I painted the plyboard to cover it up.
Put the Frame Together
To put the frame together use your brad nailer with the 1 1/4 inch brad nails. I put two in one corner to start then go back and put one on the opposite corner. See the arrows below to see where I put the nails in.
As you can see from the picture below I use a square of wood to line my frame pieces up. This helps to make sure everything is spot on, doesn’t slip around and that the 90 degree corners end up 90 degrees.


Attach Frame to Plyboard
Replace the 1 1/4 inch brad nails with 5/8 inch brad nails. Place the frame down then the plyboard back side up on top of the frame. Now you are ready to use your brad nailer to attach the painted sign to the frame.
See the red dots in the image below to see where the brad nails should go. I start by placing one in each corner and then a few others as needed.
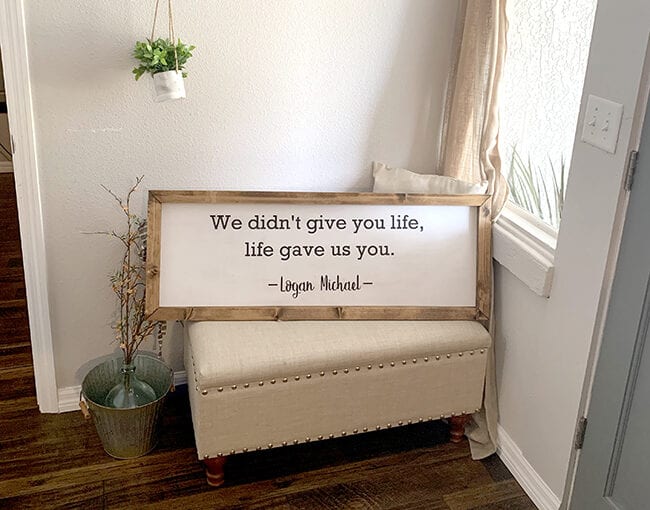
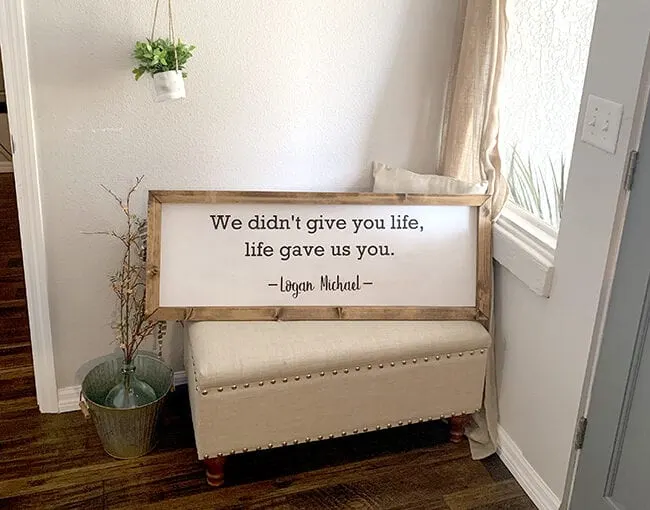
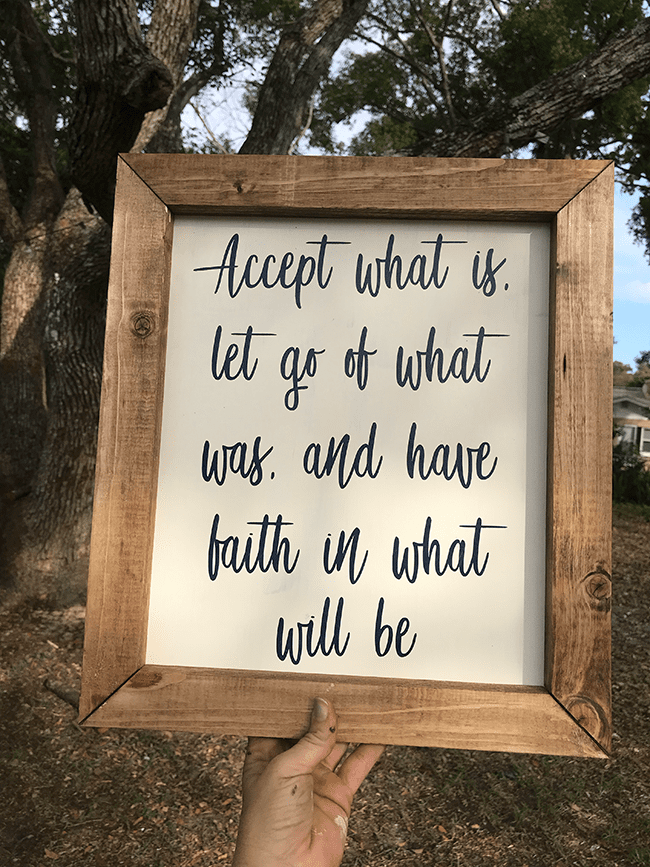
Finished Framed Wooden Sign
Here is the finished sign I made while creating this tutorial.
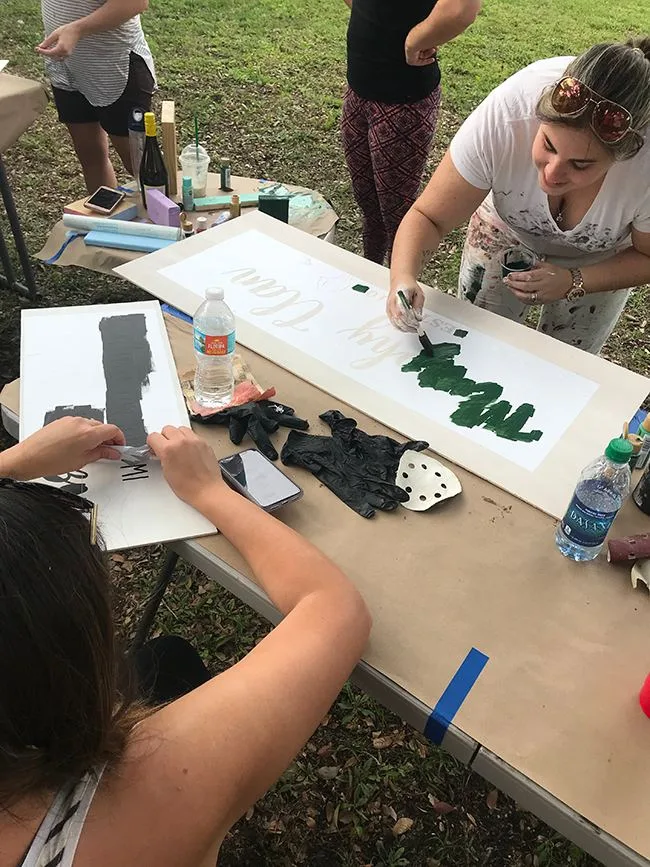
Below are more signs I’ve helped women create while hosting sign parties. I’ve sent dozens of women home with signs they are beyond proud to say they made.


Cut Files for Signs
I have a handful of free cut files for Cricut and Silhouette that I’ve shared on the blog. The cut files in the list list were made with sign making in mind.
- Home Sweet Home Cut File
- Easter Cut Files
- Quiet Please
- Sweet Dreams Cut File
- Christmas Tree Farm Cut File
Have Questions?
Find me on Instagram and message your questions or comment below with your questions and I will try to answer them right away. Making framed wooden signs is one of my favorite things. I host sign making parties, make and sell the signs at craft shows or on Jane.com and gift them to friends. I’ve made hundreds of them and I’m still in awe each time I finish one.
Jennifer Grant
Saturday 2nd of January 2021
Where can I find the "My dear little one" SVG file. My daughter is due with my first grandchild in June and this would be a great addition to the nursery.
Amanda
Wednesday 29th of July 2020
Thank you so much for the tutorial. My question is, what are the normal size lengths to cut the plywood? I’m going to have my husband cut, but didn’t know standard sizes.
Alysha
Monday 13th of July 2020
Thank you! what a great tutorial. What hardware do you use to hang your signs?
Kelsey
Thursday 16th of July 2020
I actually tend to use 3M command strips the most. It makes it easy to change them out for holidays.
Debra Willis
Wednesday 20th of May 2020
I loved it! my question is what brand of transfer tape with grids are you using? it came off quite easily.
Kelsey
Tuesday 9th of June 2020
I use the blue grid medium tack from BrilliantVinyl.com :)
Laura
Thursday 20th of February 2020
Thank you for this tutorial. It was very useful! I have been making farm-style furniture for the past couple of years and decided to start making signs along with. I purchased a Silhouette for Christmas and will admit that the learning curve of the machine along with watching hundreds of tutorials has left me very discouraged. Would you Consider doing a tutorial on creating the stencils? It would be greatly appreciated!!