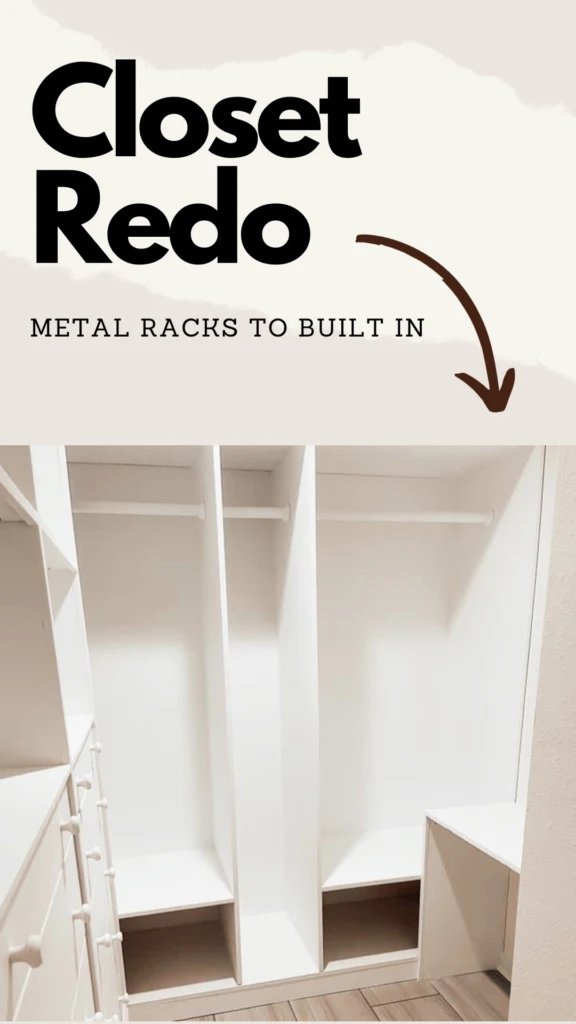
Last year I created a building plan and installed a built-in closet inside my sister’s builder grade master bedroom closet. I shared the closet before, during and after on an Instagram reel and it turned into a Viral Closet Redo.
The comments are basically gold. I didn’t realize taking down the wire racks would cause such an uproar and honestly some people are such d*CkS. I’m over here laughing it off.
There were the people who were all heart eyes and then the others who thought the wire rack removal was the devil’s work. As someone who is currently in a rental with wire racks in my closet … if removing them is wrong then I don’t want to be right.
I decided that a year later with 3.8 million views this closet redo earned its own tutorial.
There is no one size fits all unless your closet is identical to my sisters (which I highly doubt), so instead of exact measurements I’m giving you a loose step-by-step. I’ll guide you through everything I did to make this closet come to life.
I might also add that this is not a build for beginners. A working knowledge of tools such as a table saw, miter saw, drill and kreg jig are required and knowledge of lumber is a huge plus.

DIY Built In Closet
First Step: Take Measurements
Take measurements of your closet. Later on I will recommend you remove the trim so if you have trim make sure to take the measurements from wall to wall above the trim. Be sure to measure from each corner to the next recording your precise measurements. A quick sketch with noted measurements will help you along.

This is also the time to explore measurements such as height of shelves and in our case the measurements of the Ikea dressers.
Second Step: Plan the Closet Layout
When planning the closet layout remember to note where doors are and which way they open plus how much room they require. It would be tragic to complete the closet built-in only to realize the door doesn’t open all the way.
This is the part where I used the SketchUp app on my iPad, but you could also sketch the design up with pencil and paper. My plan started by ripping out the baseboards, putting down a base of 2×4 to lift everything off the floor a bit, placing two Ikea Tarva dressers and ripping down birch plywood to create more areas and shelving. Knowing that will make creating the design much easier to plan and visualize.

Using SketchUp allowed me to figure out how much wood I would need and what size everything needed to be cut down to. See the images below.

–

Step Three: Gather Your Supplies
I gathered up the tools and supplies I already had on hand. Then we headed to Home Depot where I loaded up a lumber cart.
Tools Needed:
Part Two of the DIY Built in Closet is coming soon so stay tuned!

