Many years ago I was making and selling hair ties on ETSY and wholesale to salons. Now I bring you the DIY hair tie tutorial.
Hair ties are easy, no sew and are the perfect DIY for a mom with littles. They have often been referred to as creasless and are so much better for your hair because they are thicker and softer than a skinny elastic.
I made thousands upon thousands of hair ties and shipped them all around the world. Then they gained popularity and started popping up in Target, Walmart and Old Navy and they weren’t as popular online. Sadly, I feel like most things end up that way. That darn Target Dollar Spot makes me sad on occassion. (Makers get what I’m saying here!)

Cost of Making a Hair Tie
Hair ties at the store sell for a couple of dollars and when you make them yourself you pay WAY less. Does a dime sound good? Thats around how much you can make a hair tie for.
Depending on where you are buying from, fold over elastic costs about $2-6 for a 5 yard roll and you can make 18 hair ties with 5 yards. The cost depends on if you are buying a solid color, printed or glitter elastic. The solid color FOE (fold over elastic) is cheapest.
Where to Buy Fold Over Elastic for Hair Ties
My favorite place to purchase fold over elastic for hair ties is from a few select ETSY shops. I can find prints for every occassion. They have prints for every holiday, sport and loads of colors if you need to coordinate. I’ve been purchasing from the below shops for YEARS (almost a decade), so I feel 100% confident recommending them to you.
Favorite ETSY Shops for purchasing FOE:
What Type of Elastic?
Hair ties are made of 5/8 inch fold over elastic, also referred to as 5/8 FOE. The fold over elastic is not as thick as normal wasteband elastic you would find in a sewing section.
I’ve also used 1/4 inch glitter elastic on occassion, but my preference is the 5/8 inch. In the picture below the pink glitter is 1/4 inch FOE.


How to Make a Hair Tie
Supplies
- 5/8 or 1/4 inch fold over elastic
- Ruler
- Scissors
- Lighter
Directions
- Start out by cutting the FOE into 9.5 inch pieces
- Fold the elastic so both ends are pinched between your thumb and pointer finger and then wrap around your hand and knot (as if you were knotting a balloon.)
- Pull the knot so you have about 1/2 an inch tail on the ends.
- Using scissors cut the ends at a 45 degree angle
- Seperate the raw edges and quickly run the flame of a a lighter across them to seal the fabric from fraying.
Watch the Hair Tie Making Video
Watch a video I shared to Instagram on how to make hair ties.
Hair Ties Make the Perfect Party Favor
When I had a mermaid themed birthday for Delilah, I made hair ties for all the girls as a party favor. For my sister’s Bacheloerette weekeend I’m making hair ties for all the guests. They would be the perfect extra freebie when you are shipping ETSY orders or for your online shop. Sell these as at craft shows and much more!
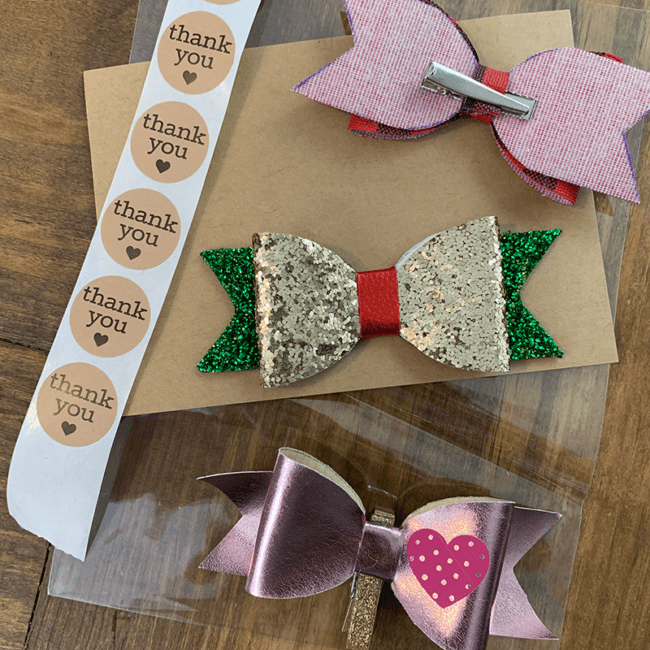
Packaging Hair Ties
When I sold on ETSY, I would package my hair ties by placing them on a pillow box and then in a cello lip and tape bag with a sticker.
I tried using cardstock and folded cardstock but it was never thick enough and the hair ties would cause the paper to bend.
More Hair Accessorie Tutorials…