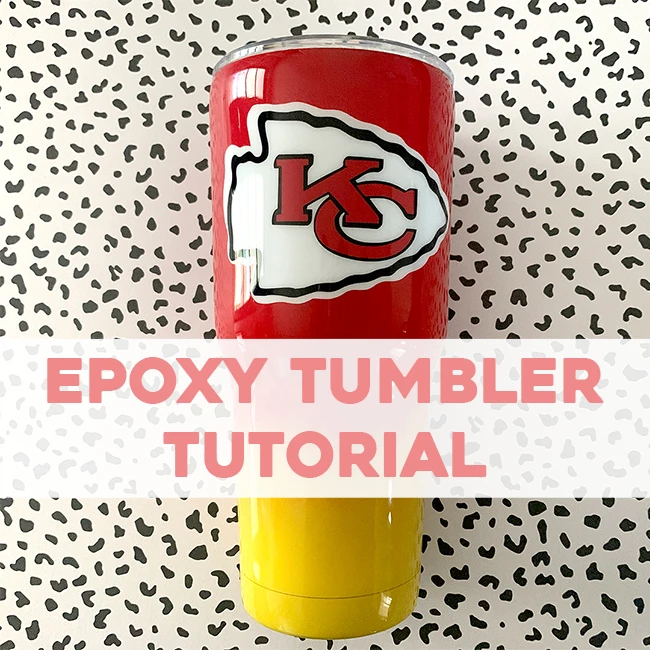
This tutorial has been a long time coming. Epoxy tumblers are a labor of love with all the steps and dry time. This tumbler tutorial ended up being a labor of love too.
This type of cup is perfect for epoxy tumbler beginners. I wanted to show how to do an epoxy tumbler without glitter as they are much easier than their glitter counterpart. They typically require two coats of epoxy versus three or more when you do glitter.
Epoxy Tumbler Safety
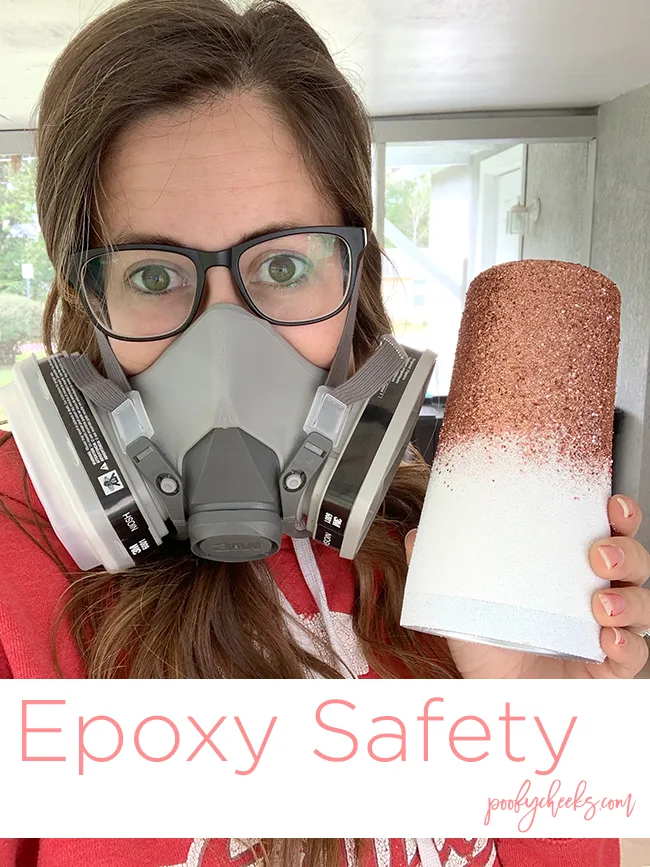
Before we begin it is important to brush up on your Epoxy Tumbler Safety. Epoxy is toxic so you should take the necessary precautions and have proper ventilation.
Epoxy Tumbler Supplies
I wrote an entire post on Glitter Tumbler Supplies. You will need most of the same supplies for this tumbler.
- Cup turner
- Disposable Gloves
- Popsicle Sticks
- Epoxy
- Medicine Cups
- Tumbler
- Heat Gun or embossing gun
- Spray paint(s)
- Vinyl Decal (optional)
- Painters Tape
**Visit my Amazon storefront to see specific supplies for different tumbler styles.
Painting an Epoxy Tumbler
To get the color of the cup you need spray paint. For this tutorial I am doing an ombre effect with red and yellow spray paints. You can watch the epoxy tumbler tutorial video below to see exactly how I acheive the look. If you aren’t ready to try the ombre cup, begin by painting the cup one solid color.

Epoxy Tumbler Steps
For a painted epoxy tumbler you will follow these steps…
- Spray paint the tumbler with your desired color(s) and let dry
- Apply the first coat of epoxy while cup is on the cup turner and let dry
- Add a vinyl decal if desired
- Apply the final coat of epoxy while cup is on the turner and let dry
These steps make the process seem quick, but epoxy takes a lot of dry time. I let my cups turn for upwards of 12 hours, usually overnight.
Weather can play a big part in the dry time of the epoxy. Epoxy likes warm temperatures and low humidity.
Epoxy Tumbler Tutorial Video
Avoiding Tacky Epoxy
Many people question why their cup feels tacky after drying on the cup turner for many hours. There are a few reasons the cup can be tacky.
- The cup hasn’t dried long enough – Different brands of epoxy have different dry times. After using a few different brands I am sold on Alumilite Clear Cast. I let it dry for 12 hours or so without any issues.
- Epoxy wasn’t mixed properly – Again, it is important to read the instructions for the brand of epoxy you are using, most call for you to mix equal parts of A and B. If you do not measure, or your parts are not equal the cup can remain tacky and cure incorrectly.
More Epoxy Tumbler Links


Wilma
Friday 15th of October 2021
What kind of spray paint are you using I was not able to see the name on the can
Jen
Thursday 17th of December 2020
Hi, Thank you This was great for a beginner. My sister always says you need the right tools for the job so I appreciate you posting the supplies needed. I am curious Is there an odor free epoxy? And if yes is it as good of a product?
Ian
Friday 25th of September 2020
This is a great tutorial...these will be great for Halloween. How important is ventilation when spraying epoxy? Should I go outside or is a basement workspace with the window open enough?