We pulled the Halloween decorations out this past week. My oldest boys were so excited they made me promise to wait to decorate until they got home from school. I pulled out our two bins of decorations and was reminded how much we actually got rid of when we moved last year. I put my crafting in overdrive after I saw the open spots that needed more decorations! Mike’s favorite holiday is Halloween so he loves to have the house decorated as if it threw up orange and black.
Right now I have staged a takeover in my husband’s man room. Every square inch of counter and table space is covered in Halloween craft supplies. There are skulls, witch hats, mini cauldrons, glitter, ribbon and so much more! He isn’t too happy about the whole thing but he has been helping me come up with ideas so he isn’t that upset about it!
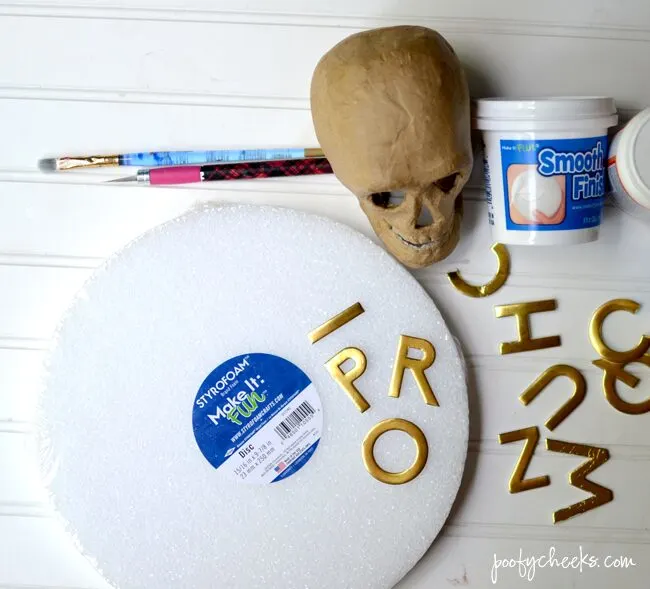
- Large FloraCraft® Make It: Fun® Foam Disc
- FloraCraft® Smooth Finish®
- Paper mache skull
- Mod Podge
- Black glitter
- Paint brush
- Foam brush
- Plastic knife
- Acrylic Paints (light gray, dark gray, black)
- Letters (chipboard, stickers or whatever you can find)
- Ribbon (optional)
- Hot Glue
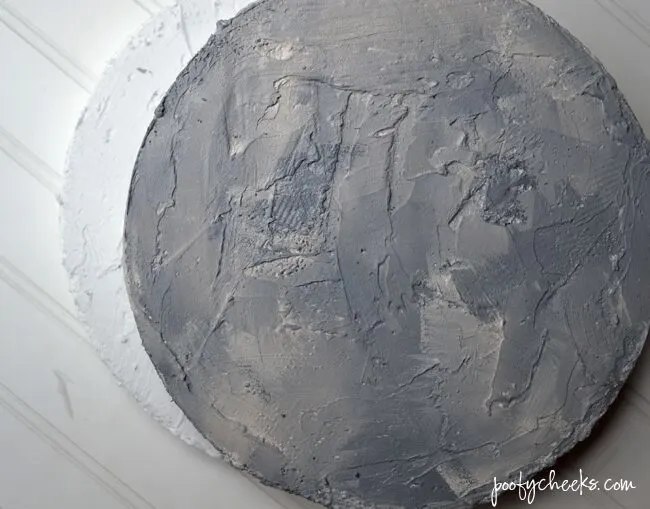
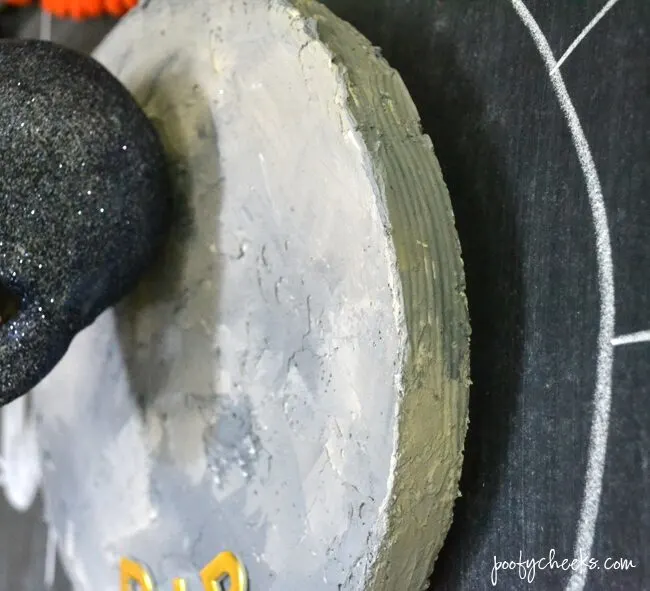
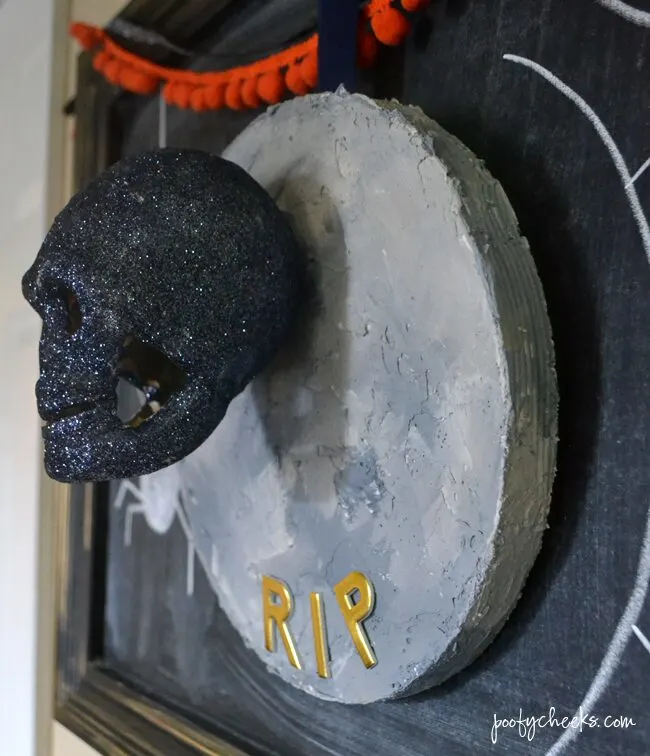
Step 1: Use a plastic knife to spread FloraCraft Smooth Finish around on the foam disc. Don’t worry about it being perfectly smooth because you want it to have texture. Set aside to dry.
Step 2: While the smooth finish is drying give the skull a coat of black paint (or a paint that matches the glitter color you are using). The paint will dry very quickly. Once the paint is dry work in small areas applying Mod Podge and glitter to the skull.
Step 3: Once the smooth finish is completely dry use a foam brush to apply the light and dark gray paints. You want to dab paint rather than brush it on to get into all the cracks and crevices created with the smooth finish.
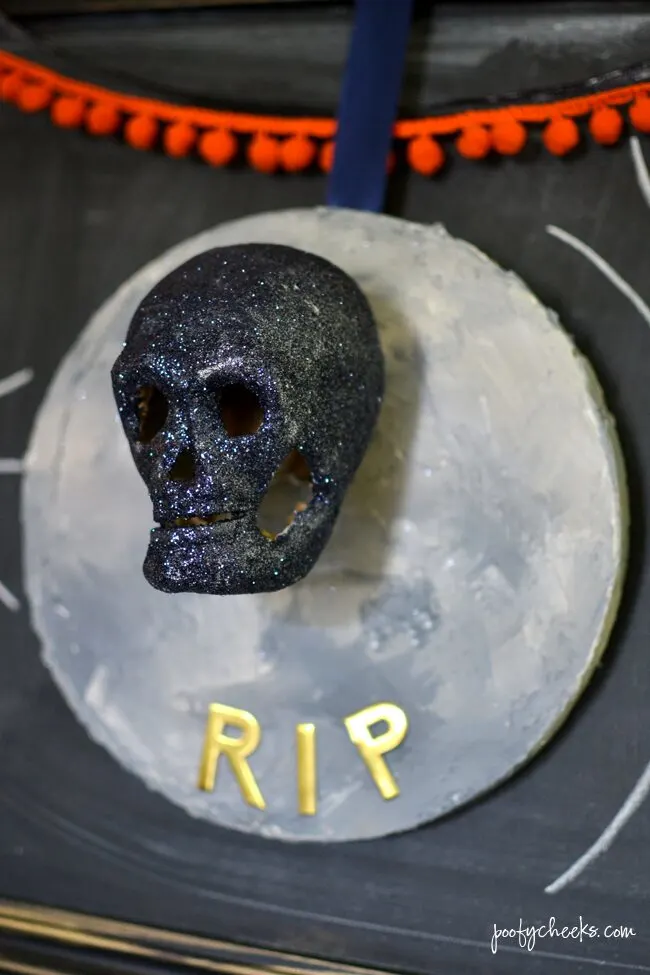
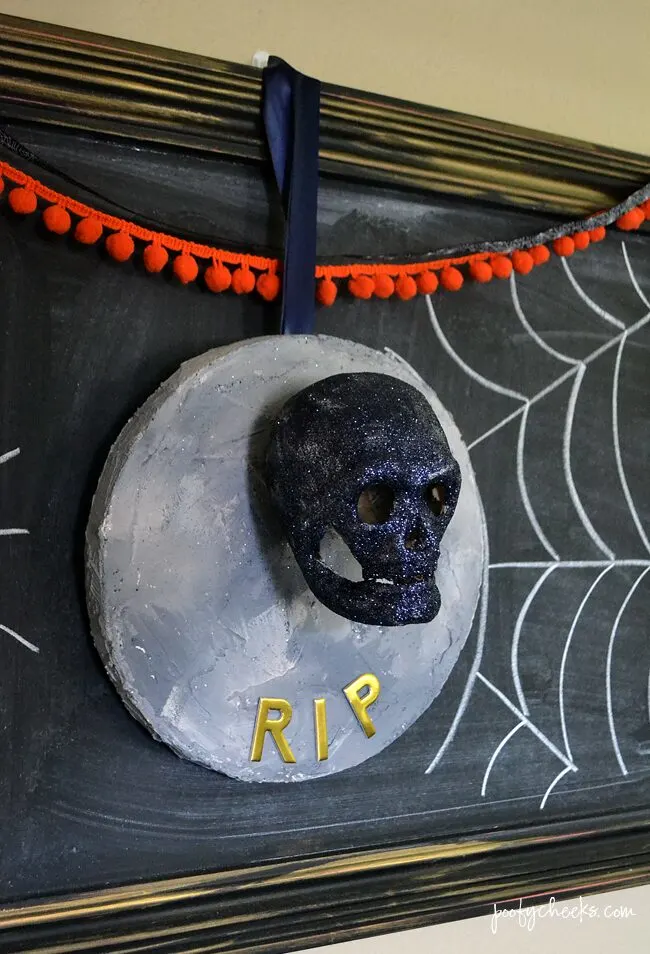
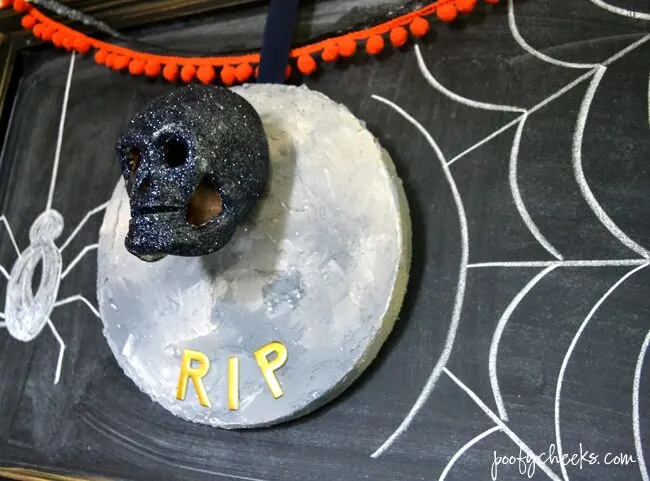
Step 4: Use a hot glue gun to glue the skull onto the ‘headstone’ and apply the letters. I also hot glued a piece of ribbon to the back so I could hang my headstone but you could prop it up against something too.
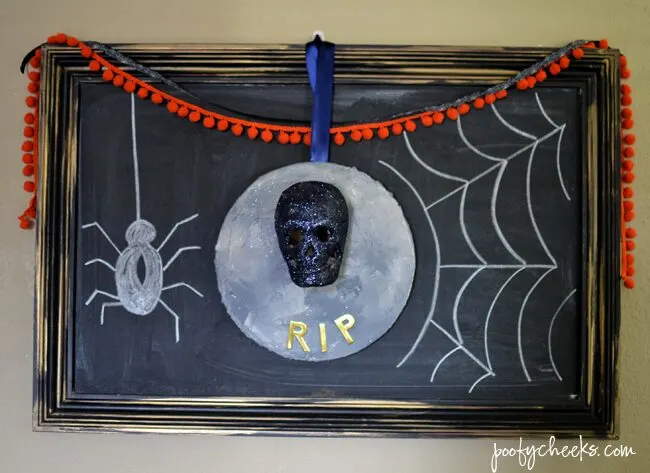
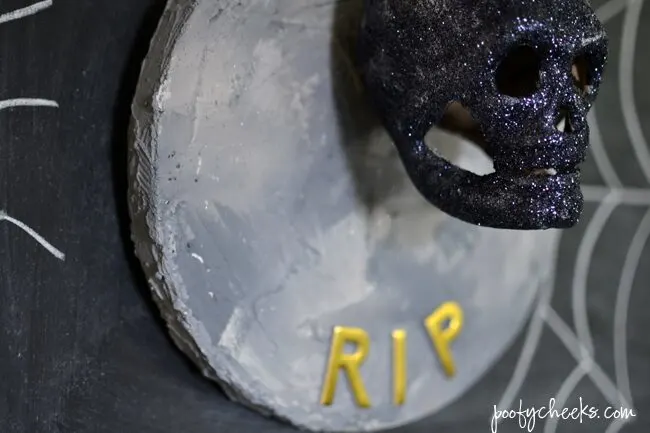
This was an easy, fun and quick decoration that makes a big impact! I have quite a few different sized foam discs that I can’t wait to use for more Halloween decorations. I might add that the foam discs are extremely light making it easy to hang them.

Sharon @ www.CraftsnCoffee.com
Thursday 24th of September 2015
Creepy fun! Thanks for the tutorial.