Poofy Cheeks

Cut Files for Silhouette Cameo and Cricut Machines

  • Silhouette & Cricut
    • Cut File Library
    • Project Ideas
    • Membership Site
    • Cheapest Supplies
  • Recipes
  • Crafts
    • Crafts
    • Parties
    • Printables
  • Home DIY
    • All Home DIY
    • Our Home
  • Contact Me
  • Shops
    • Cut File Membership
    • Cut File + Mockup Shop
    • Vanadey Bride
    • TShirt Shop
  • Blog
You are here: Home / Christmas / Wooden Christmas Word Decoration – DIY

Wooden Christmas Word Decoration – DIY

11/22/14 | Christmas, Crafts

**This post contains affiliate links to products I use and recommend. I may recieve a small commission, at no cost to you, if you make a purchase through a link.**
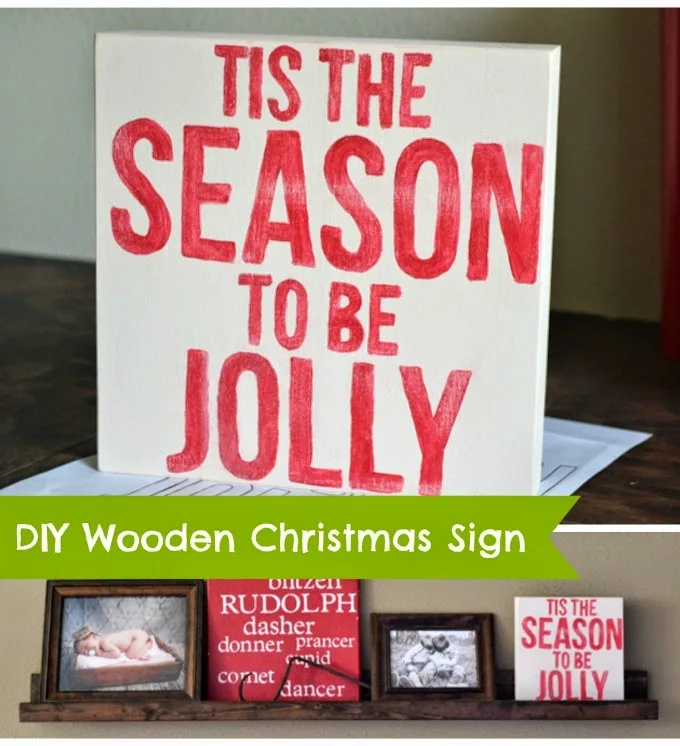
Last year I participated in 20 crafty days of Christmas hosted by my friend Vanessa of See Vanessa Craft. I really fell in love with the DIY Wooden Christmas Sign I made and couldn’t wait to share it with all of you this year. I am always looking for new decorations to add to my Christmas collection and am slowly trying to create a collection of decorations which have a rustic feel. When Mike and I had our first Christmas together we inherited decorations from both of our moms and bought a few of our own things. Everything was so mismatched so the past few years I have been trying to make or buy decorations that fit our own taste without breaking the bank.
 
 
Supplies Needed:
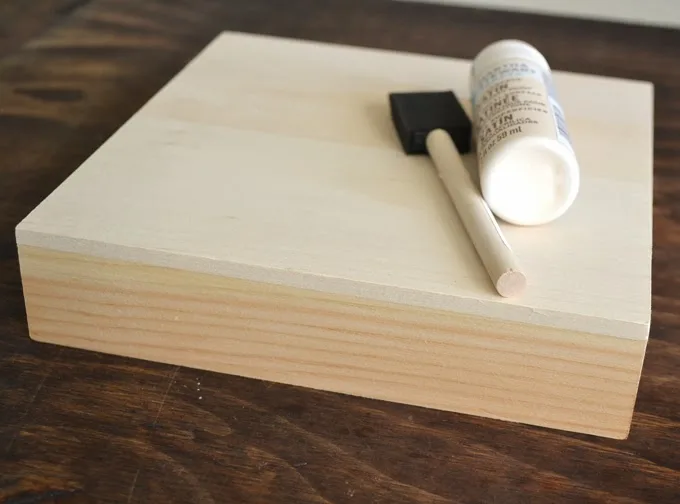
  • Wooden canvas (mine was 8×8 inches from Joann’s)
  • Acrylic paint
  • Foam brush
  • Fine point paint brush
  • Printed wording
  • Ball point pen
  • Sand paper

I started out by painting the entire wooden canvas in Porcelain Doll
Martha Stewart craft paint with a foam brush. Then I let it dry
completely.

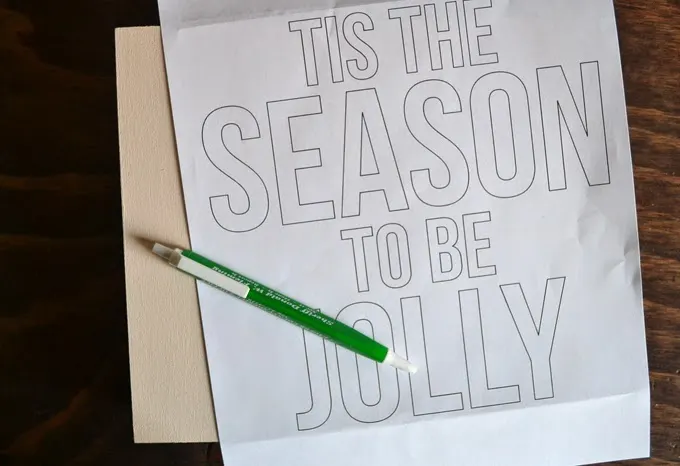
While the paint was drying I used Microsoft Word to print out ‘Tis the
Season to be Jolly’ on a piece of printer paper. Once the wooden canvas
was dry I put the paper over the canvas and traced them with a ball
point pen. When tracing use a bit of pressure so that the lines will be
lightly engraved into the wood leaving you guides for painting.

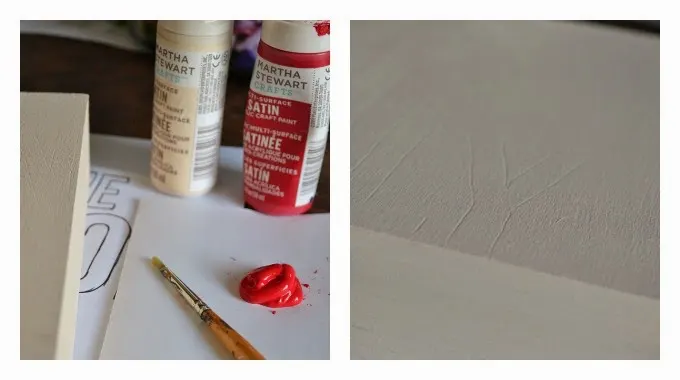
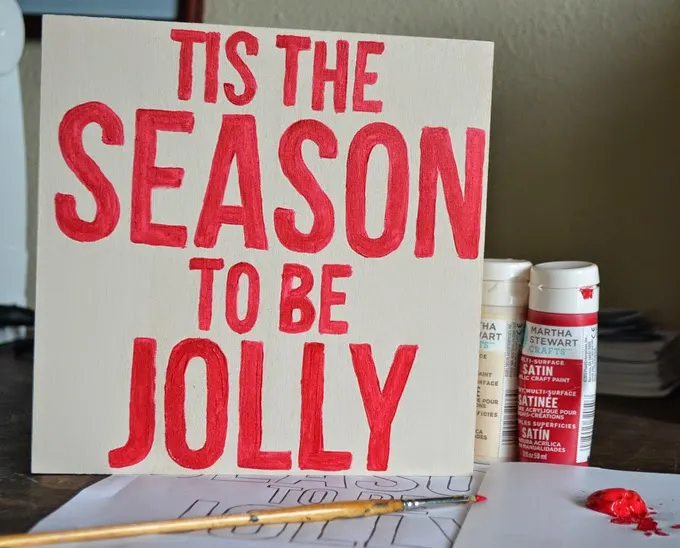
Once the design was traced on I removed the paper and began painting
with Martha Stewart Habanero. If you are right handed paint from the top
left down to avoid rubbing your hand through any wet paint (paint from
the top right if you are left handed).

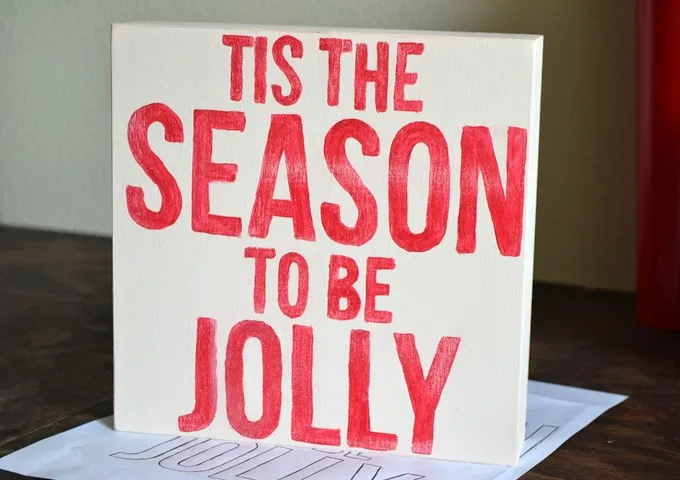
Once the letters are painted let them dry completely – I waited about
20 minutes. After they were dry I used a piece of sand paper to go over
the edges and letters to make the sign look weathered and worn. I think
the sand paper step makes a big difference and helps fix any
imperfections in your painting.

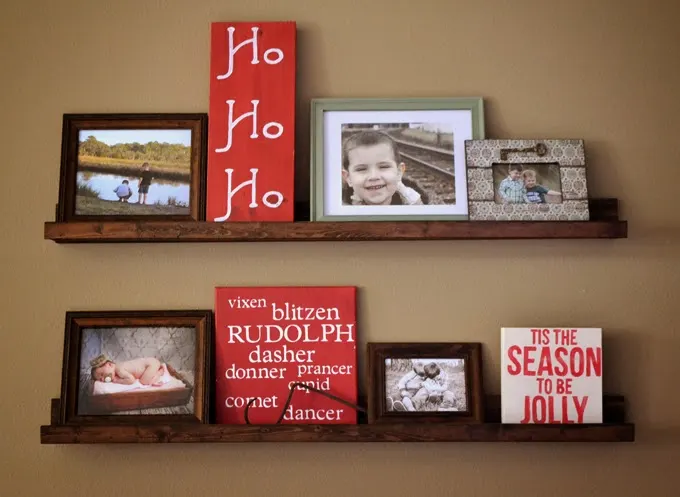
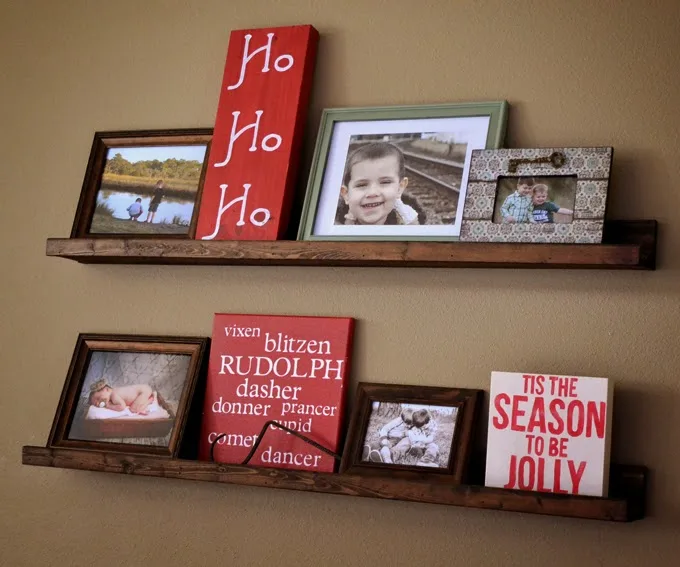
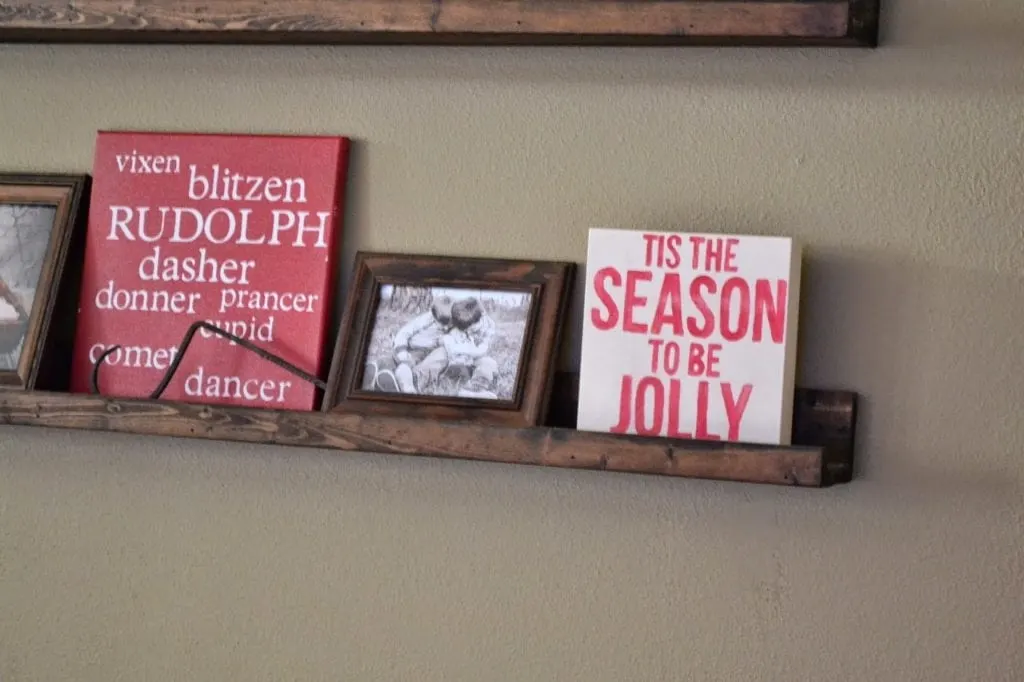
My little sign sat on the ledge shelves above my couch last year with
some other signs I had made in past years. These little signs are
simple, cute and would even make a great gift for a co-worker or friend! I can’t wait to share my Christmas home tour in a few weeks so you can see where I have this beauty now.

Enjoy,


Follow Poofy Cheeks on InstagramFollow Poofy Cheeks on TwitterFollow Poofy Cheeks on PinterestFollow Poofy Cheeks on Facebook

I party HERE

Check out the Poofy Cheeks Blog Pinterest Board for other craft and recipe ideas!
Follow Poofy Cheeks’s board Poofy Cheeks Blog on Pinterest.

Comments | Be the first!

About Kelsey

Kelsey is a wife and mom of four living in Central Florida. She shares recipes, crafts, DIY tutorials and so much more. Her passion is creating with her Silhouette and Cricut machines and sharing free cut files.

« Santa Sack Process – Selling Handmade #PoofyCheeksShop
15 Creative Elf on The Shelf Ideas »

Leave a Reply Cancel reply

Your email address will not be published. Required fields are marked *

New on the Blog

  • 20 Free St. Patrick’s Day Cut Files -Pot of Gold Cut File – SVG, DXF, PNG
  • Feelin’ Lucky Cut File for St. Patrick’s Day – SVG, DXF, PNG – Silhouette Cameo and Cricut
  • Confident, Kind Cut File – SVG, DXF and PNG for Silhouette and Cricut

Our ETSY Shops

Privacy Policy

Recent Posts

Lucky Pot of Gold Cut File - SVG, DXF, PNG

20 Free St. Patrick’s Day Cut Files -Pot of Gold Cut File – SVG, DXF, PNG

02/19/2021 By Kelsey 7 Comments

Feelin' Lucky Cut File - St. Patrick's Day

Feelin’ Lucky Cut File for St. Patrick’s Day – SVG, DXF, PNG – Silhouette Cameo and Cricut

02/12/2021 By Kelsey 1 Comment

Kind Cut File - Digital Design Cut File

Confident, Kind Cut File – SVG, DXF and PNG for Silhouette and Cricut

02/09/2021 By Kelsey 3 Comments

Connect With Me

Categories

Archives

Copyright © 2021 · Tasteful theme by Restored 316