I have been crushing on chalk paint and chalkboard paint for years now. I love the matte finish and how easily it covers all sorts of surfaces. A few weeks ago my grandma was visiting from Illinois. This is my crafty grandma who inspired me with all of the crafts she did and the one that taught me how to sew. It isn’t a visit from gram without a trip to Joann Fabrics. She helped me get some supplies for this year’s Santa sacks and while we were there I found the cutest paper mache pumpkin! Upon further inspection I found the pumpkin was 50% off so then it was confirmed that he was coming home with me. I brought him home and gave him the chalk paint and wax treatment. 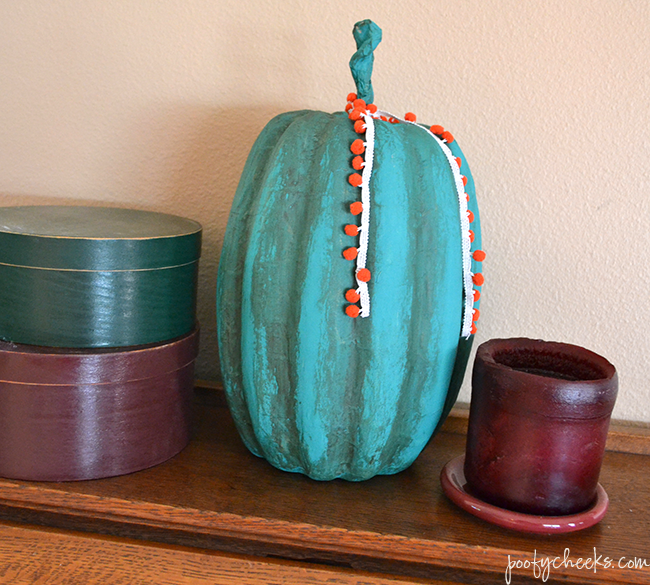
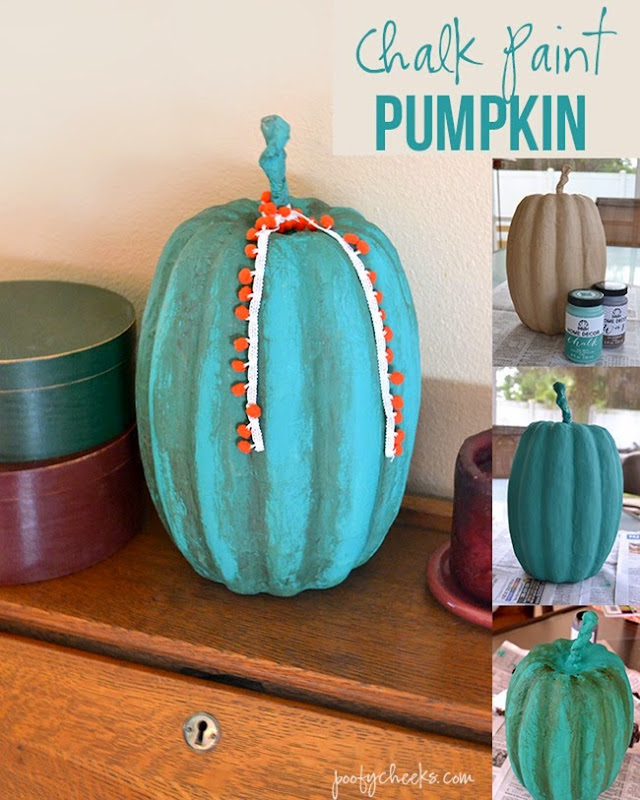 The kids and I are still living with my parents and all of my fall and Halloween decorations are buried somewhere in our storage unit. My mom has pulled out a few of her fall decorations including the fall pumpkin painting I did for her last year but I prefer a home that looks like it threw up Fall all over.
 This is how I made my pumpkin – Supplies Needed:
- Paper Mache Pumpkin
- Chalk Paint (I used the new Folk Art brand)
- Chalk Paint Wax (I also used the Folk Art brand of wax)
- Foam brush
- Newspaper
- Lint free cloth or scrap from an old t-shirt for wiping wax
Directions:
- Start out by spreading newspaper over your work area to catch any mess you might make with the paint and wax.
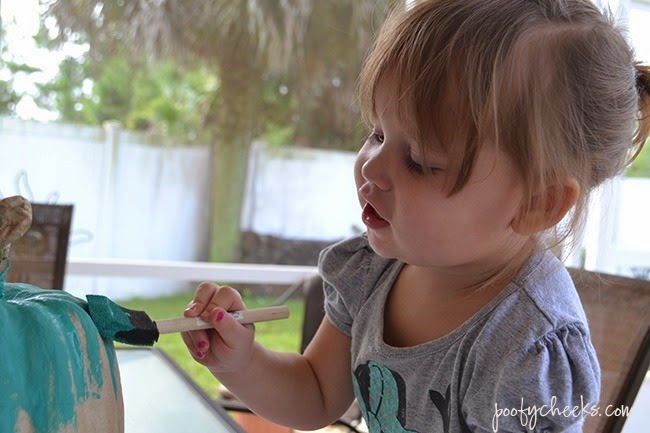
- Using a foam brush paint the entire pumpkin in chalk paint in your desired color then let paint dry.
- After paint is completely dry rub wax into crevices and lines of the pumpkin using a lint free cloth. Allow to dry for a minute and then rub off with cloth taking most of the wax back off.
- Allow the coat of wax to dry and then it is ready to display.
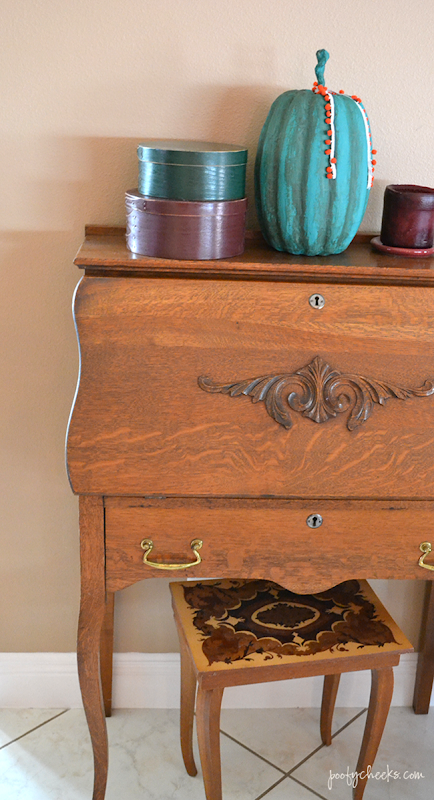
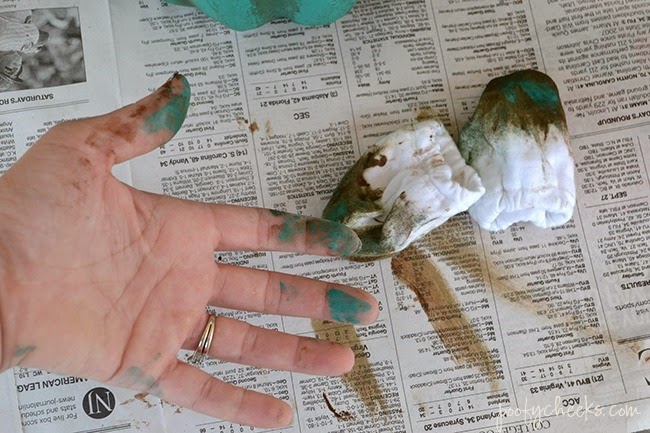
For more of a rustic look you could take a piece of sandpaper to small areas of the pumpkin. I am working on changing out my palette of fall colors so I went with a bit of a non-traditional color but I think an orange chalk pumpkin would look awesome right next to this guy. In the end I embellished mine with an orange and cream pom pom trim and it looks quite awesome in my mom’s home. Next year it will look quite often in my own home! 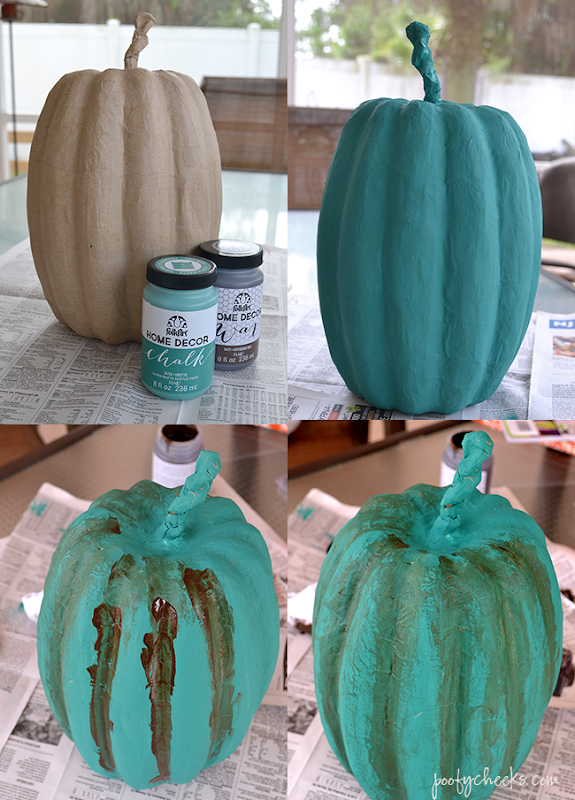 Just a friendly not – the wax process can get a little messy so you might want to wear gloves. Luckily if you don’t have any it washes off pretty easily.


 I party HERE
 Check out the Poofy Cheeks Blog Pinterest Board for other craft and recipe ideas! Follow Poofy Cheeks’s board Poofy Cheeks Blog on Pinterest.

Shannon Fox
Tuesday 30th of September 2014
So cute!And your helper is adorable too ;)Happy Fall!!