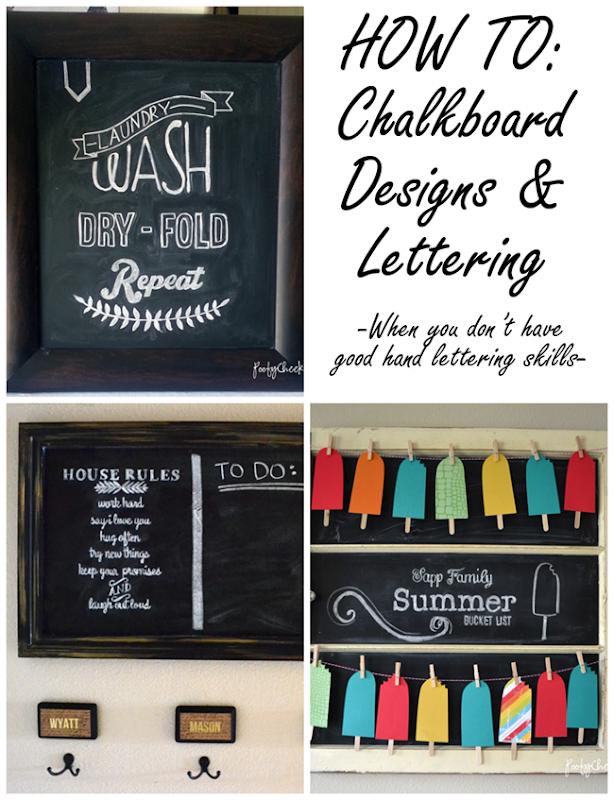
Ever since the chalkboard trend started a few years ago I have been in love with it. My creative side loves to doodle and I especially love word art and quotes so the two marry quite nicely. I am good at doodling, drawing and designing however I am not that great at hand lettering. I am going to share all of my tips and tricks for making awesome chalkboard art and lettering without having to have superb hand lettering skills!
Supplies Needed:
- Chalkboard
- A design printed onto regular printer/copy paper
- Pencil
- Pencil sharpener
- Chalk
- Washi or painters tape
- Paper towels
- Q-tip
- Water
Directions:
- Start with a well seasoned chalkboard. To season a new chalkboard turn a piece of chalk on its side and rub it over the entire chalkboard. Use a wet paper towel to wipe it and then do it once more. After rubbing chalk for the second time allow the chalkboard to dry completely and wipe with a wet paper towel again repeating until the chalkboard is clean again.
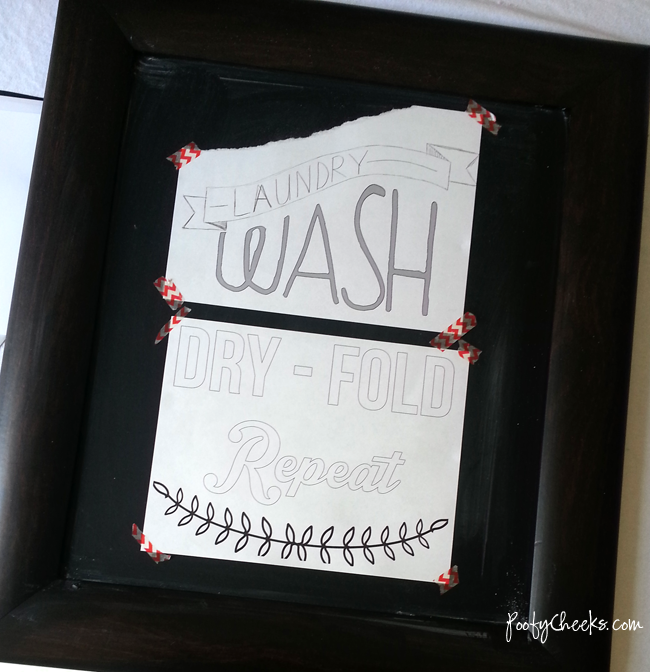
- Using your computer create a design to print. You can use Microsoft Word, PicMonkey, Photoshop or another program you feel comfortable with. Depending on the size of your chalkboard determine if you want to print landscape or portrait and you may want to use multiple pages. **If you want to download new fonts see my font downloading tutorial with some of my suggestions on where to find cool fonts.
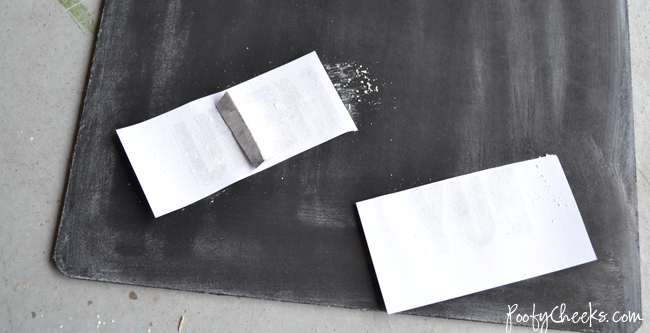
- Once printed turn the paper with the printed side down and rub the entire design with chalk.
- Now place the design printed side up where you would like it to be on the chalkboard using tape to secure it from moving.
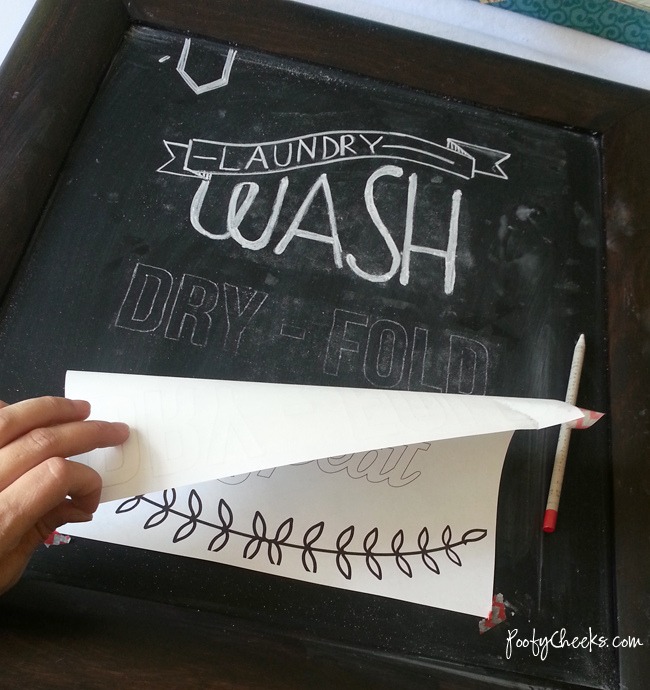
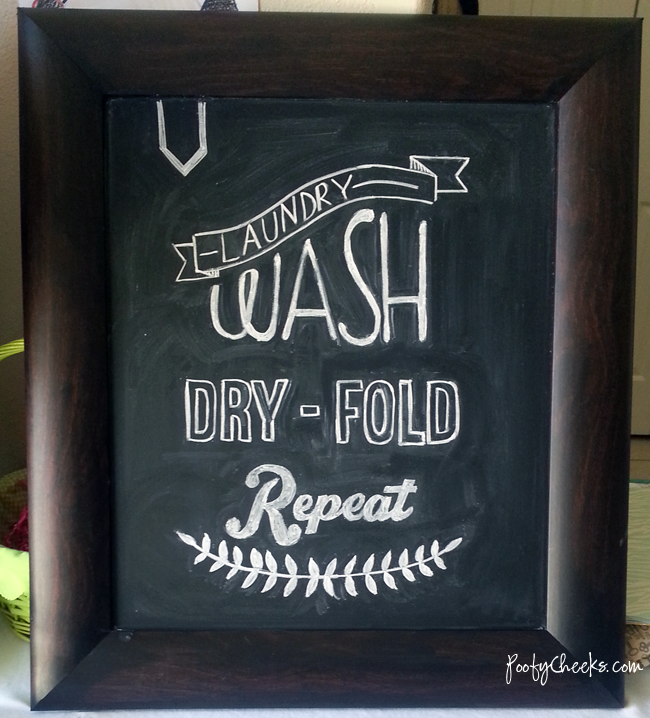
- With a pencil trace over the outlines of the text and designs you printed. It will leave behind a faint chalk line left by the chalk you rubbed on the back of the paper. **In the image below you can see where I worked from left to bottom right since I am right handed. I worked with one word at a time and folded the paper down so I didn’t smudge too much with my hand as I worked.
- Once you have traced over the design on your paper use a piece of chalk to trace back over the outlines and fill in the letters. **To draw cleaner and neater lines sharpen the chalk with a pencil sharpener. It is cheaper and just as useful as a chalk pencil.
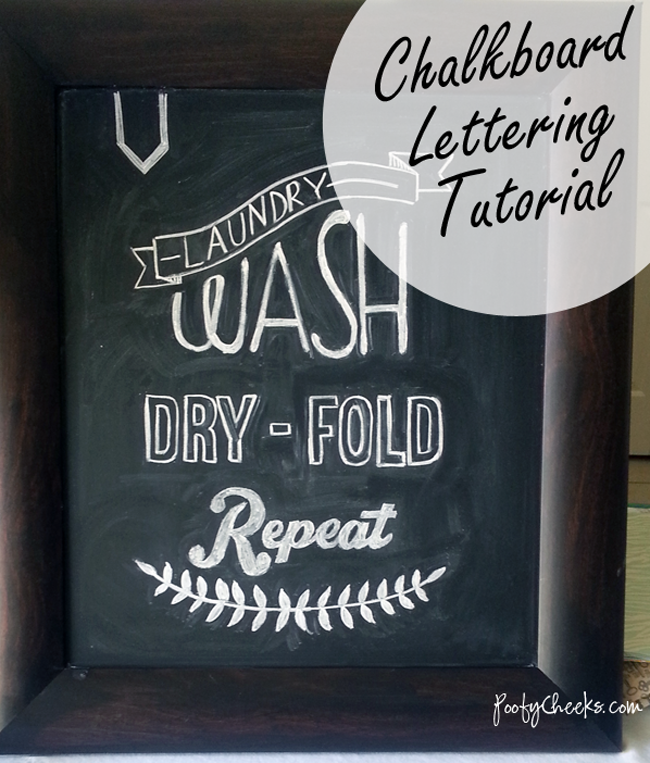
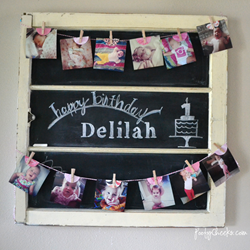
- The last step is to clean up your board. Regardless of how clean you try to keep things you are going to have unwanted smudges left behind. (See all those on my board in the picture above?) You may also have little imperfections you want to fix. First blow off as much of chalk as you can and then use a damp paper towel and a q-tip to clean things up. I dip a q-tip in water and use it to fix tiny spots and then turn it over and use the dry end to smudge things out. I also pull the damp paper towel over my pointer finger to precisely clean things up.
As you do more and more designs you will find techniques that work best for you and will be able to attempt more complicated designs. My biggest suggestion when making your first designs is to use thicker fonts because you don’t have to be as precise. You might find that you like working with more blocky fonts or more whimsical rounded fonts – it is all personal preference.



Lori Smith
Wednesday 25th of July 2018
I’’m having two issues with my chalkboard art. 1. Regular chalk doesn’t write clearly on it. I can use chalk pens but regular chalk is too faint. 2. When I try to sharpen my chalk it breaks off in the sharpener. ??
Claudia from NE
Friday 9th of March 2018
Hi! I just found all your helpful hints. My handwriting is.terrible. I just getting inti chalk boarding and I can use all the help I can get. Thanks so much
Marie Blackburn
Wednesday 16th of April 2014
I can't believe I've been trying to replicate fonts by hand and never being satisfied with the results. I use this method to transfer graphics onto my furniture pieces but I never thought to use it on my chalkboard - dahhhhh! So glad I saw your link at the Whimsy Wednesday Party. Love your site and have added you to my Must Follow List!Marie @ The Interior Frugalista
poofycheeks
Monday 21st of April 2014
Thank you so much Marie! PS - if you haven't tried sharpening your chalk with a pencil sharpener it is a MUST TRY - I couldn't believe how well it worked and how much it helped!
Chic California
Wednesday 16th of April 2014
Great tutorial! Pinning :) I'd love for you to link this up to the Be. You. Tiful Link party on Thursday @6pm PST