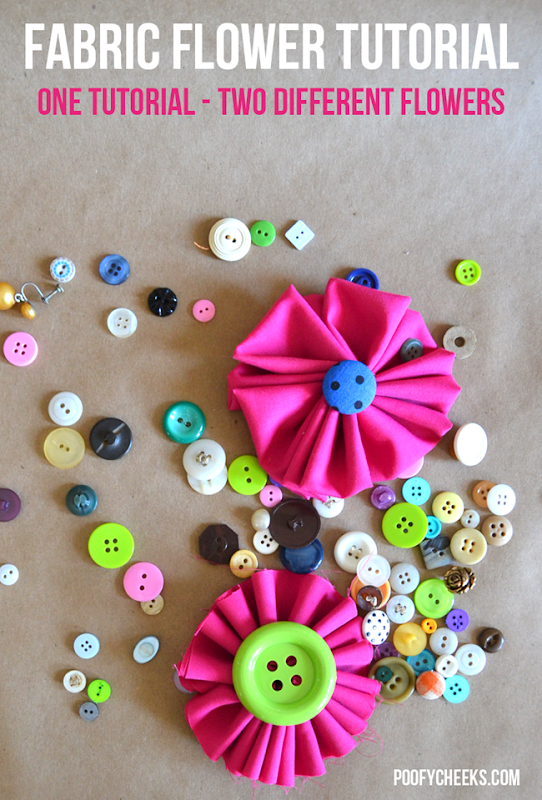
I am gearing up to host my first craftHERnoon and I will be showing the group how to make burlap wreaths that we will embellish with fabric flowers for Spring. Since I have been trying to make a few different flowers up for the ladies to choose from, I decided to share the tutorials here on the blog too.
I love making fabric flowers because they help me use up fabric scraps and are perfect for so many projects. You can embellish handmade cards, make headbands and do just about anything you imagine with them! The best part about these particular flowers is that they take little skill and about five minutes to make! I am going to show you how to use one tutorial to make a raw edge flower and a folded edge flower.
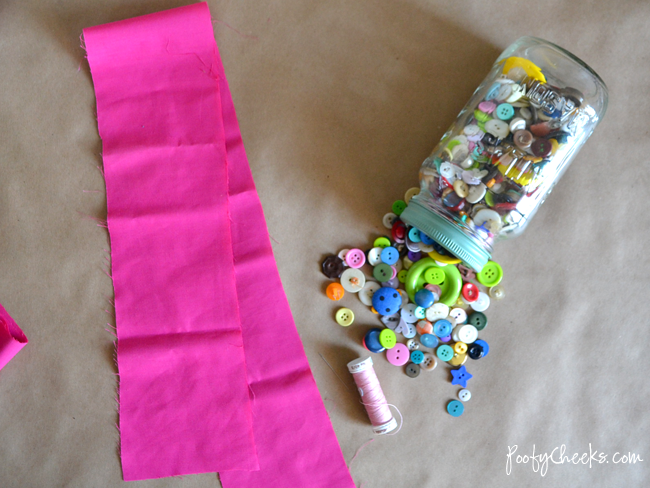
- Fabric Scraps (long skinny pieces – mine were about 3 inches wide x 30 inches long)
- Needle
- Thread
- Scissors
- Glue gun (optional)
- Buttons (optional)
*** The size of your fabric scrap will be part of what determines the end result. A wider piece will make a wider flower and a longer or shorter piece will effect how many ruffles it has.
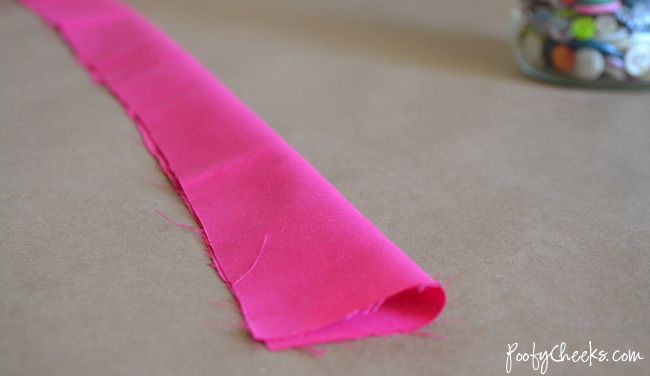
For both flowers you will start by folding your piece of fabric in half. My 3 x 30 inch piece is now 1.5 x 30 inches.
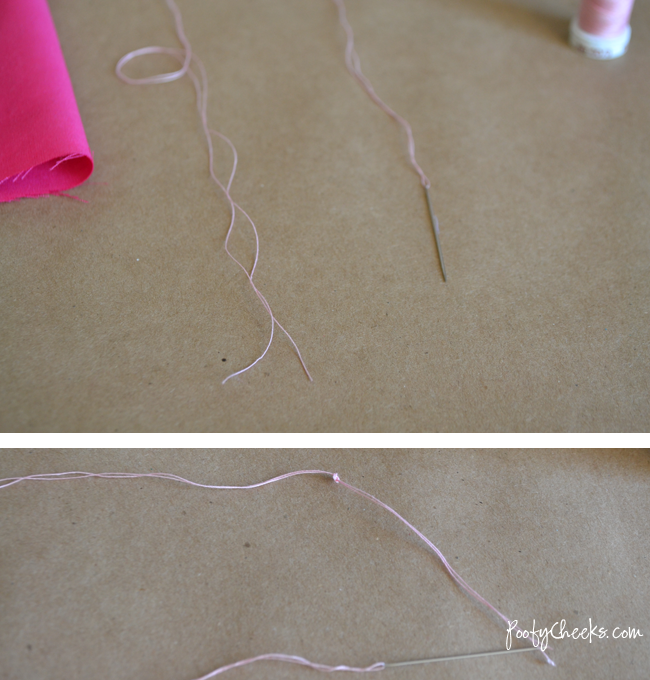
Cut a piece of thread double the length of the length of your fabric and thread it halfway through your needle. Take the two loose ends and knot them at the end. For the folded edge flower you are going to start sewing back and fourth along the raw edges as seen in the image below. The knot you tied in the end of the thread will keep it from going all the way through and as you sew further along you can start to push the fabric up from the thread to create the ruffle of the flower. **I sewed mine with about 1 inch gaps but you can sew closer or farther for bigger or smaller ruffles.
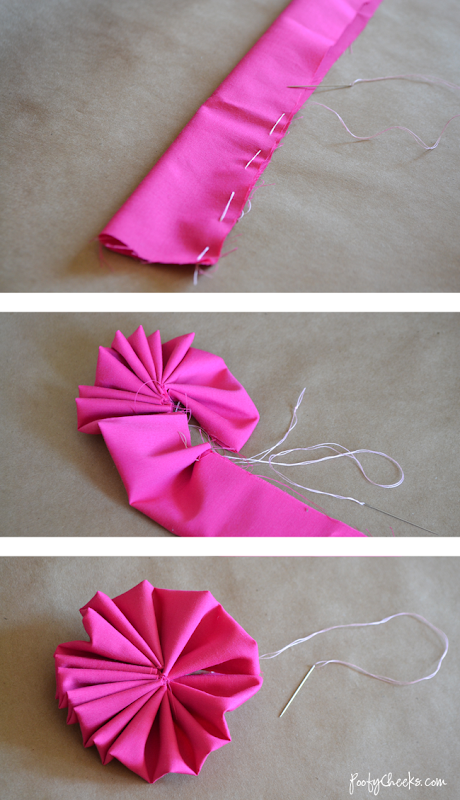
Once you get to the end of the fabric pull the two ends together and sew them together. Use your fingers to even out the ruffles. It was hard to show but I try to sew an X through the middle of the petals (near the raw edges) to keep it together. This is also where a hot glue gun comes in handy because you can glue the middle together and glue on a button.
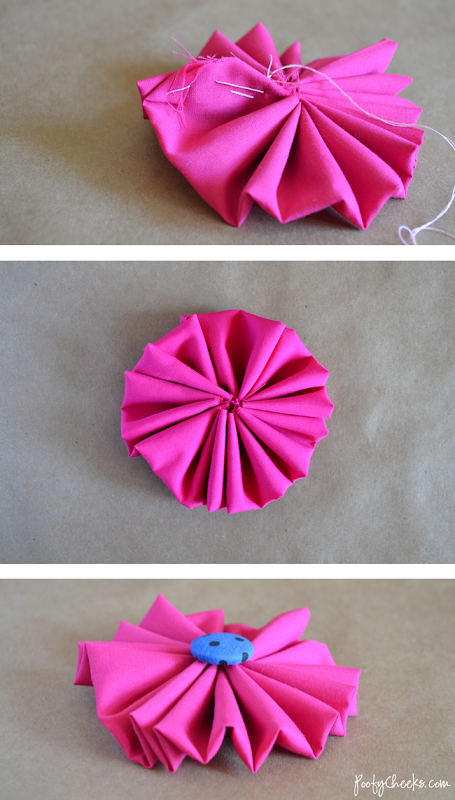
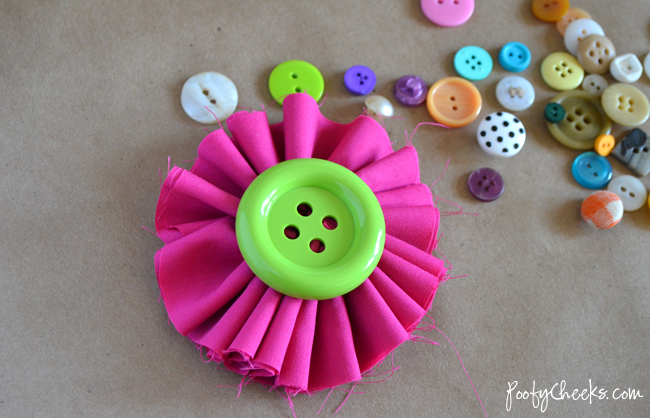
All the not-so-pretty parts are underneath and it is the perfect little fabric flower! To create a raw edge flower you will do the same thing as above but instead of sewing along the raw edges of the strip of fabric you will sew along the folded edge.


Ana Lopes
Thursday 13th of February 2014
Super cute! Thanks for sharing this great tutorial! Would love to have you visit me sometime :)Have a wonderful Valentine's Day!Hugs from Portugal,Ana Love Craftwww.lovecraft2012.blogspot.com