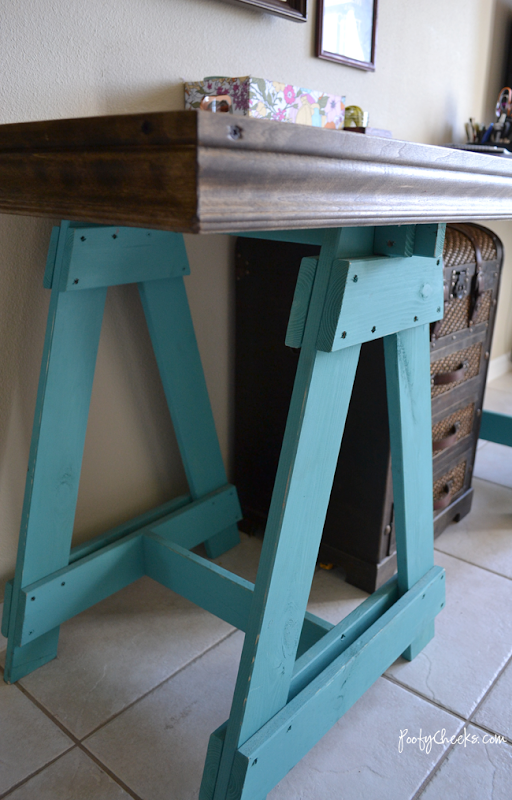
I promise I won’t put up another post about my craft room/desk this week (I can’t promise there won’t be another one though!) I just got so many questions that I couldn’t put it all in one post. Today I am going to share how we built the desk. It went a little something like this… I told my dad what I wanted and he built it. Then I painted, sanded and stained everything. There was no way that I could afford to purchase something that would be as long as I wanted, and even if I did have the money I don’t think I would have been able to find exactly what I was envisioning. The total cost of this desk (with wood, paint, stain, sanding pads) was somewhere between $70-$100 and it is twelve feet long. 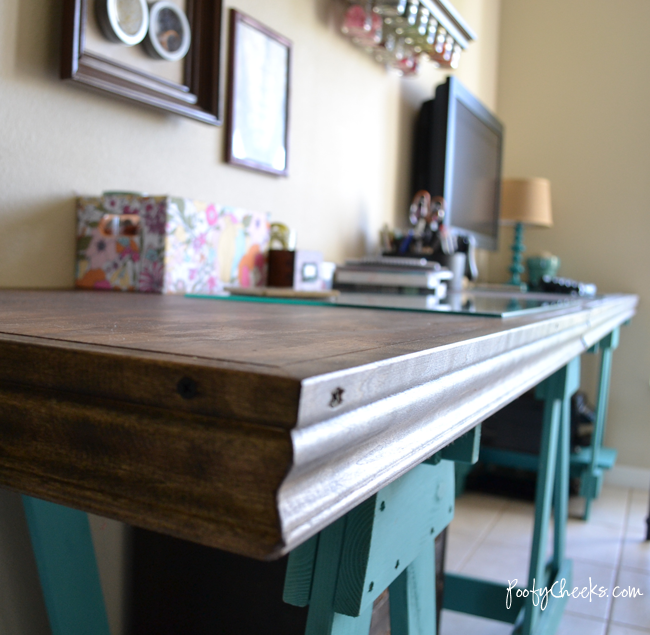 He first built locking sawhorses. I don’t have the exact plans, but these pictures will give you an idea of how he built them. He has had a few requests to build more, so when he does I will get some step-by-step instructions. I tried finding some like these online but didn’t have any luck.
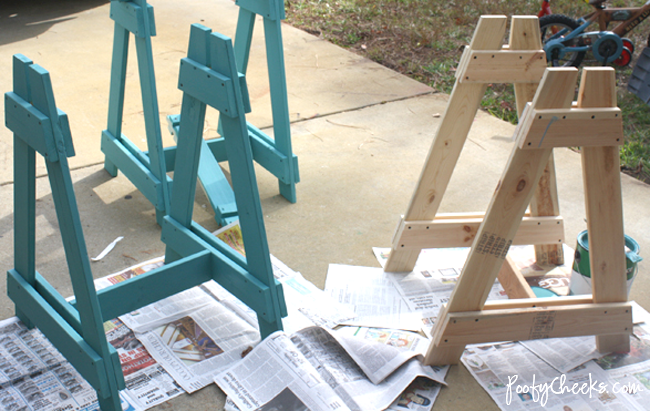
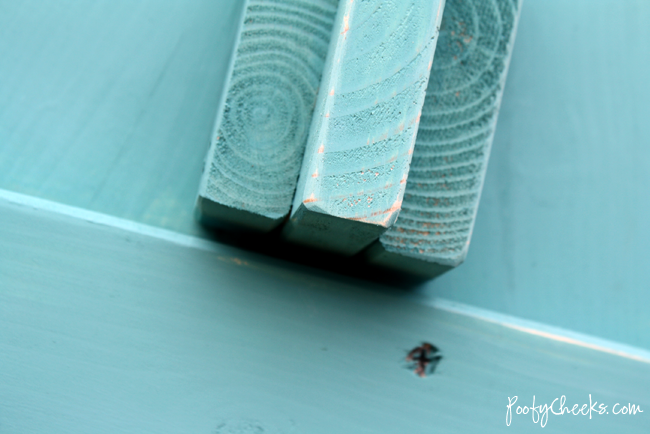
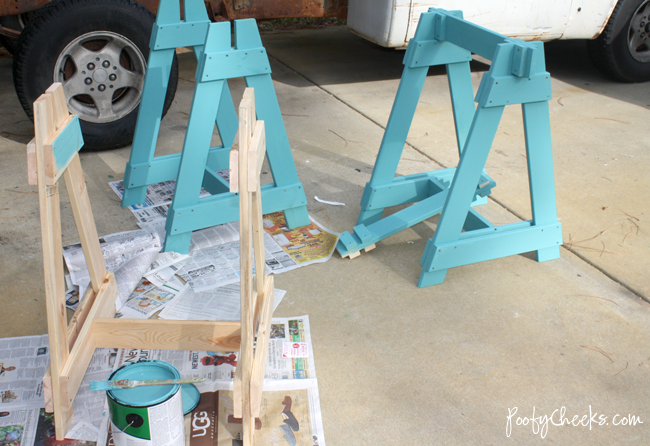 I wasn’t trying to spend loads of money, so I painted them with Wal-Mart’s ColorPlace brand in Teal Lake. A whole gallon cost me less than $10 and I have plenty leftover for touchups or other projects. After I got the sawhorses sanded and painted I did a little bit more sanding to add character.
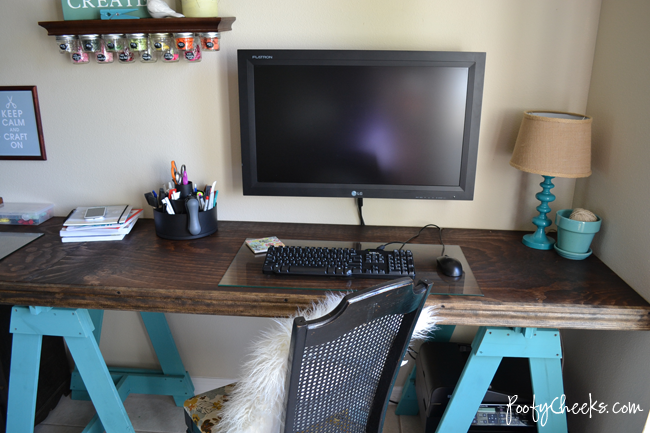
  The first time around this is what the desk looked like… (in our old house). The top is ply board which I sanded and stained. We had a small bead trim along the edge, but when we moved we had to take the trim off and I knew I wanted to add a thicker trim the next time around for a different look.
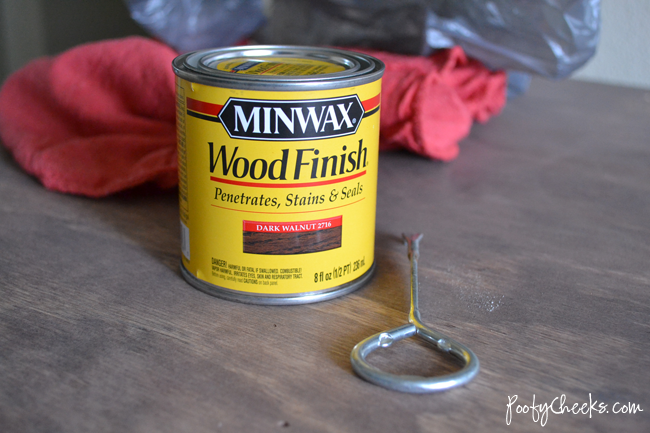
 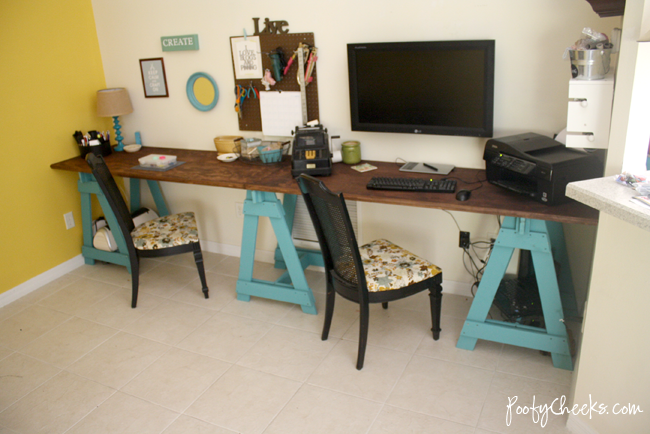 When we started setting things up in our new house (picture below) the desk was too long and had to be trimmed down a bit. I called my dad over and he cut the desk down to size and added on the new trim I purchased. Once he added on the new trim I gave everything a good sanding and re-stained it.
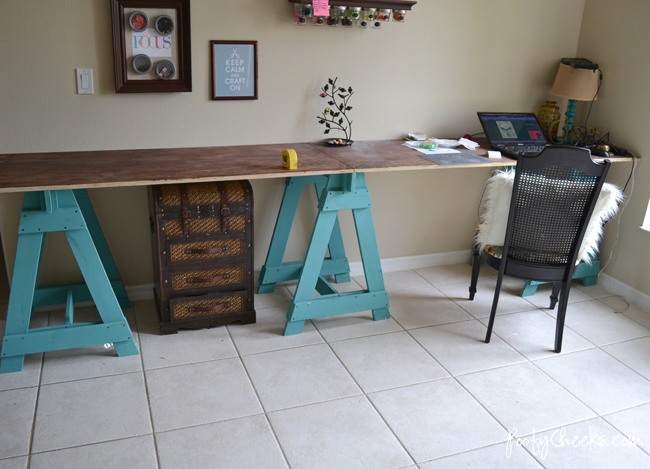
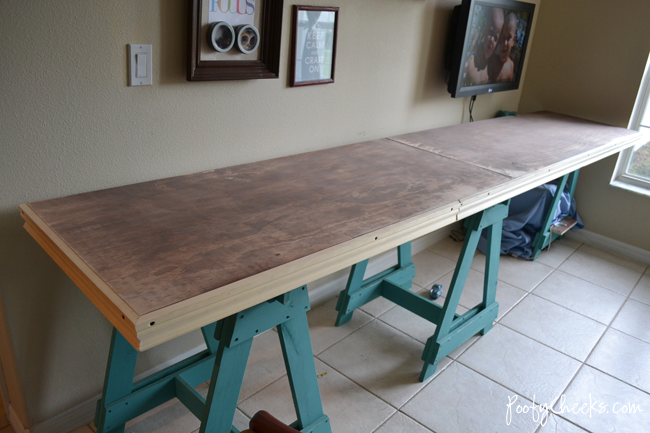
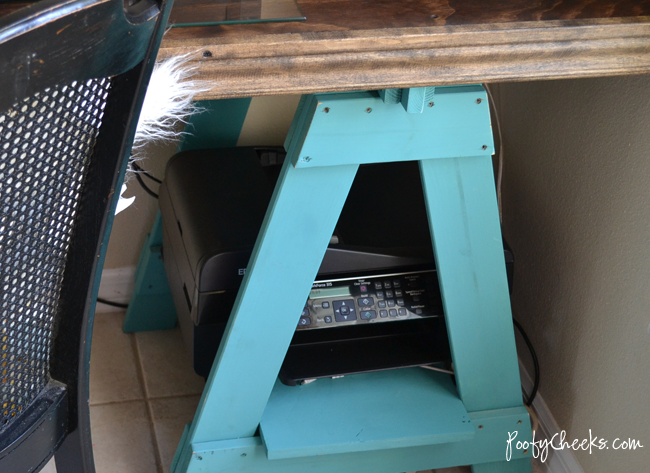
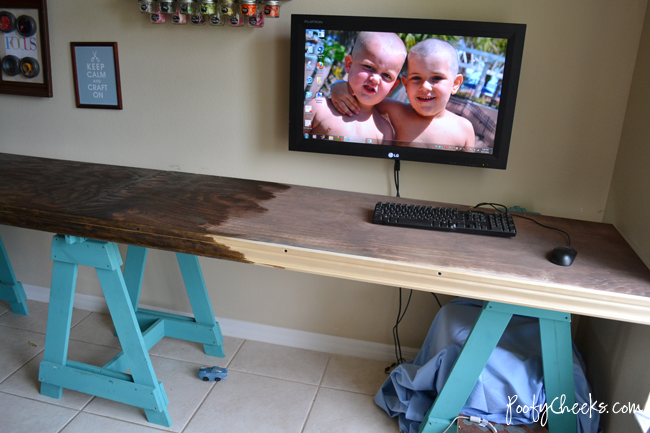 The piece of ply board that we trimmed off of the desk (since it was too long) fit perfectly as a ledge on the far sawhorse and is now the home to our printer to make more room on the desk.
 Enjoy,

 >
>





My Craft Room Reveal - Poofy Cheeks
Tuesday 6th of March 2018
[…] a tablecloth into curtains, made a few changes to my sawhorse desk and hung my mason jar […]
34 Creative DIY Craft Table Plans to Make Your Own - Lemon Slide
Wednesday 22nd of November 2017
[…] Build this table […]
amy
Monday 26th of June 2017
any more details for the sawhorses yet? would save me time to know the dimensions for cutting pieces. thank you
Anonymous
Tuesday 24th of March 2015
Great project for grandpa! Setting up a new craft room for the little darlings. Thank you so much for sharing.
Anonymous
Friday 28th of June 2013
Very inspiring! You are wonderfully productive! Wish I could be such a doer!