When I went to SNAP last month, they hosted the Queen Bee Market. It was AH-mazing! I was in handmade/craft heaven. One of my favorite booths was by Cut it Out. I spent quite a bit of time there deciding what I was going to get and what would fit in my suitcase. If I had been able to purchase the really big frames and bring them back in my suitcase – I WOULD have! Instead I got a collection of 5×7 and 4×6 frames.
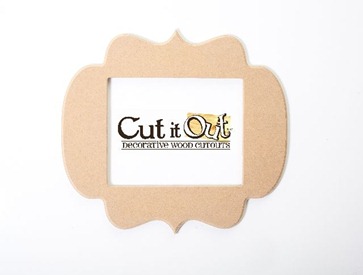
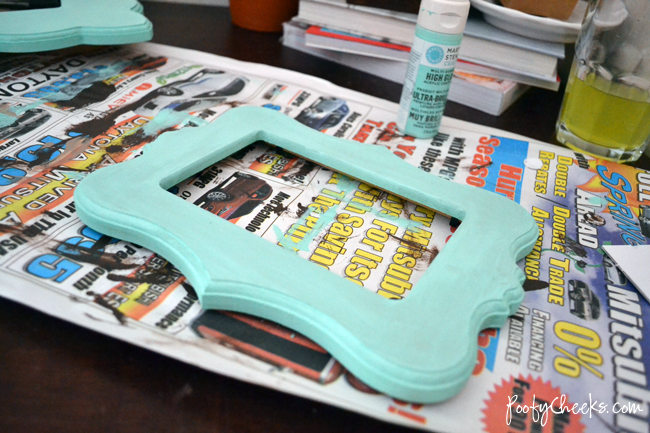
When you purchase the frames they are just raw wood and it is your job to bring them to life. (Like the one below.)
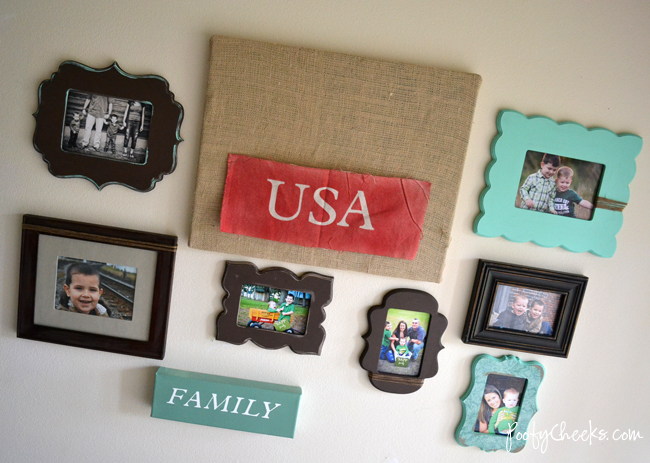
I painted all of mine with Martha Stewart paint. There is just something about her paint that I love! Maybe it is the fact that there are different finishes like high gloss or satin. I used three different colors – beach glass, rootbeer, and vanilla bean. These frames are super cute – and paint alone wouldn’t do the job. I did different techniques on each of them.
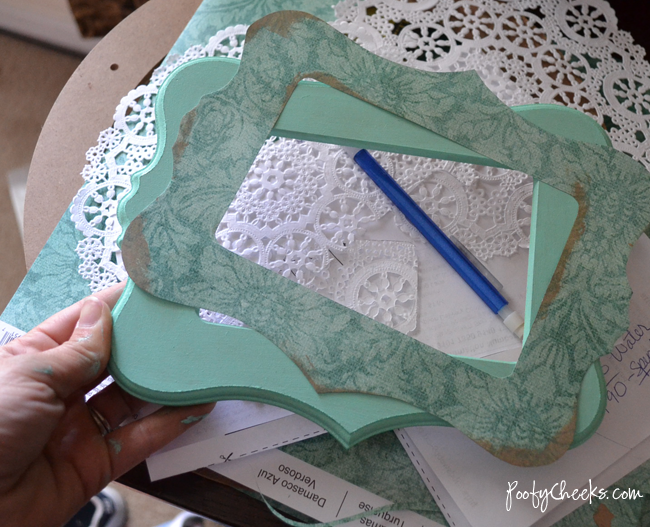
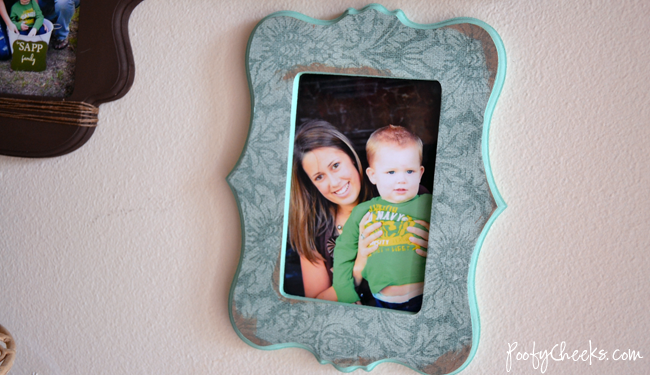
I decoupaged one in scrapbook paper, wrapped hemp around some, and then used a paper towel and a mix of colors to accent the lovely edges of these frames on others.
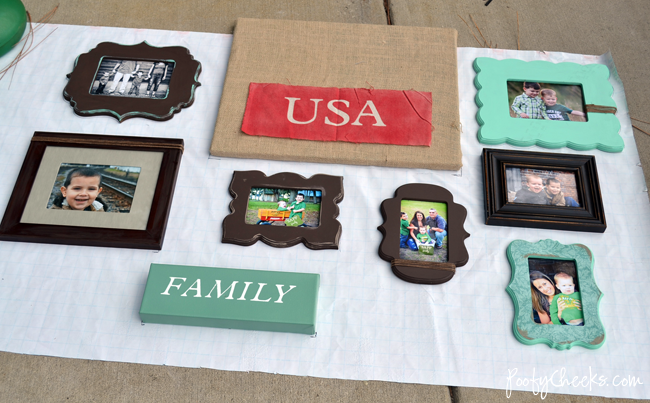
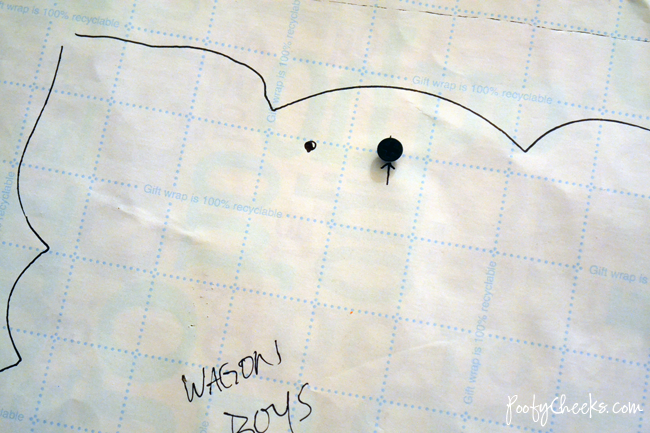
Then there was the hard part- hanging them on the wall. I am known for drilling three holes to hang on picture or hanging pictures a little on the not-so-straight side. I had seen where people used a roll of kraft paper to mark things, but I didn’t have any on hand. What I DID find was a roll of last year’s Christmas wrapping paper – with grids to keep lines straight. Wah-la – better than kraft paper my friends! I gathered all of the things I wanted to incorporate and lined everything up. Then I traced around each frame. After that I measured to find where each screw would need to go and marked it on my paper.
 .
.
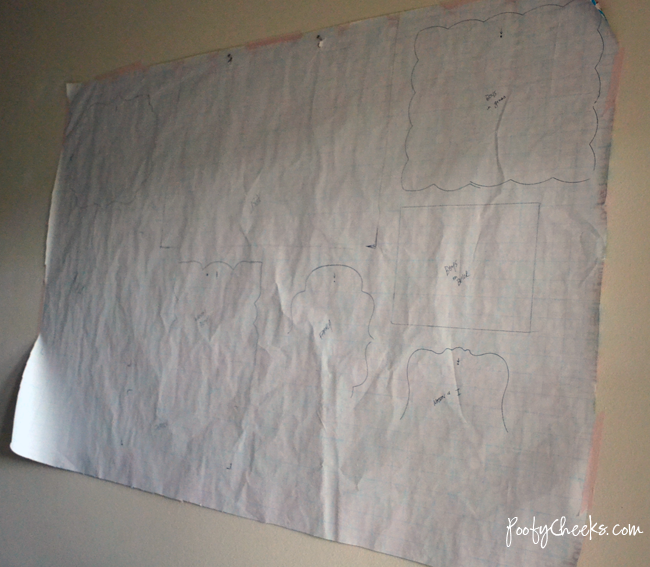
So now when I made sure to hang my wrapping paper on the wall – STRAIGHT – I just drilled right through the paper. After all of the screws were in I pulled off the paper. Keep the paper as intact as you can incase you forget where one of your pictures go.
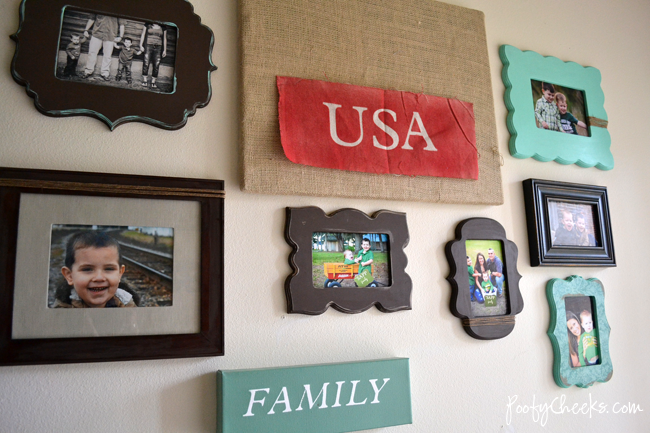
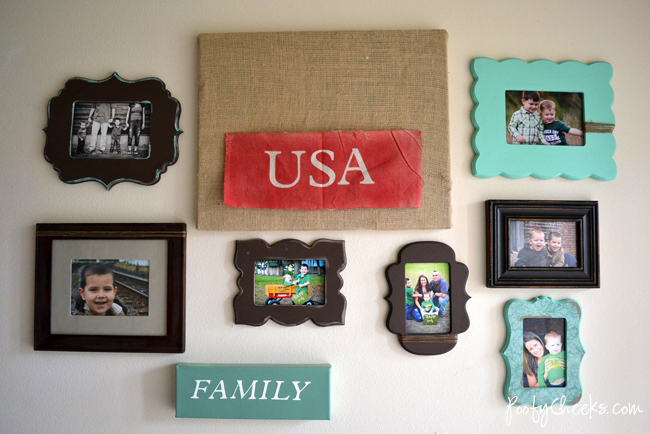
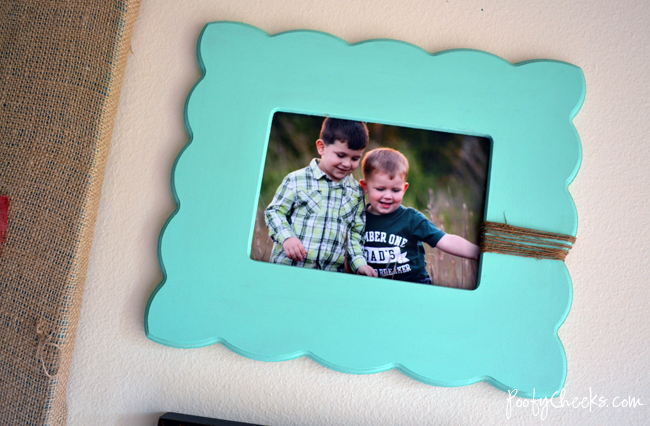
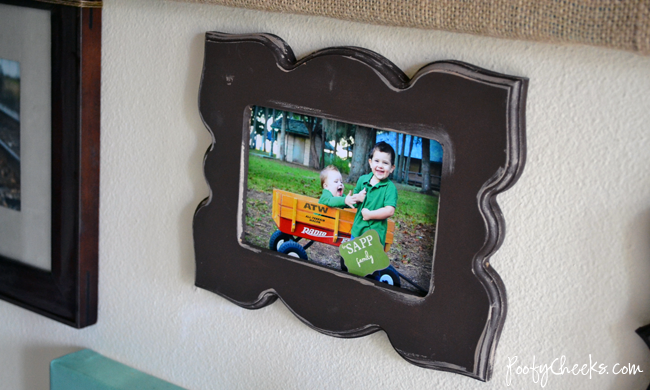
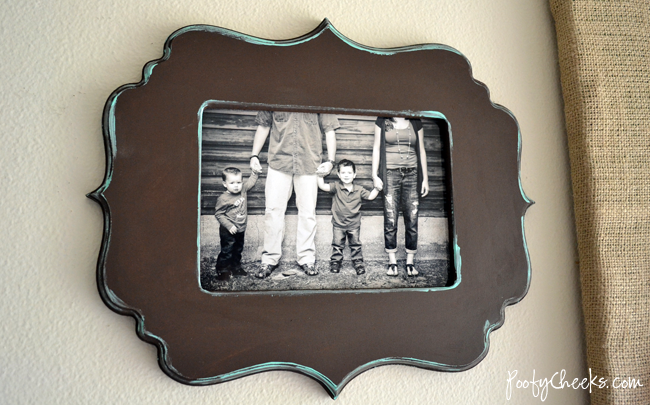
Most of the framed pictures are by Sara Purdy Photography (check out her blog!!!). I think it is about time we visit her again, but I figure we should wait until after baby #3 gets here!
Enjoy,

