Poofy Cheeks

Cut Files for Silhouette Cameo and Cricut Machines

  • Silhouette & Cricut
    • Cut File Library
    • Project Ideas
    • Membership Site
    • Cheapest Supplies
  • Recipes
  • Crafts
    • Crafts
    • Parties
    • Printables
  • Home DIY
    • All Home DIY
    • Our Home
  • Contact Me
  • Shops
    • Cut File Membership
    • Cut File + Mockup Shop
    • Vanadey Bride
    • TShirt Shop
  • Blog
You are here: Home / Crafts / Paper Pinwheel Tutorial

Paper Pinwheel Tutorial

03/23/12 | Crafts

**This post contains affiliate links to products I use and recommend. I may recieve a small commission, at no cost to you, if you make a purchase through a link.**

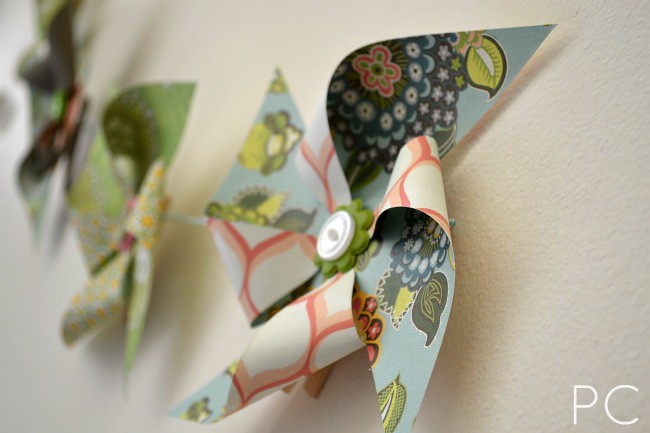
There is something about pinwheels that just scream SPRING! When I went to decorate my entryway, I instantly thought of pinwheels! I thought they would add a lovely touch. Today I am showing a tutorial on how to make your very own paper pinwheel decorations! They are super easy and a great craft for the kiddos too!

Paper Pinwheel Tutorial - Spring Banner

Supplies for a Paper Pinwheel

  • Scissors
  • Double sided scrapbook paper cut into squares. (Mine were 6×6 inches)
  • Buttons
  • Large brads (optional)
  • Clothespins
  • Hot glue gun

Paper Pinwheel Directions

Fold each square of paper diagonal from corner to corner. Unfold and fold the other corners together.

Paper Pinwheel Tutorial - Spring Banner Paper Pinwheel Tutorial - Spring Banner Paper Pinwheel Tutorial - Spring Banner

Then you are going to cut from each corner halfway to the middle.

Paper Pinwheel Tutorial - Spring Banner

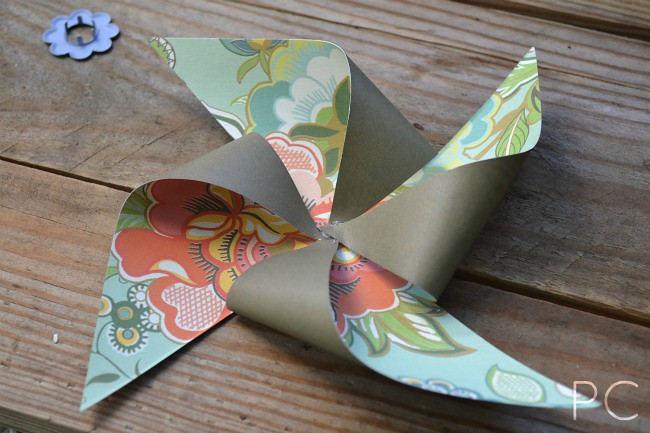
Now you are going to put a dab of hot glue right in the center where the two folds meet. Fold one corner into the middle and press. (Make sure you are not picking two corners next to each other or it won’t come out as a pinwheel.)

Paper Pinwheel Tutorial - Spring Banner

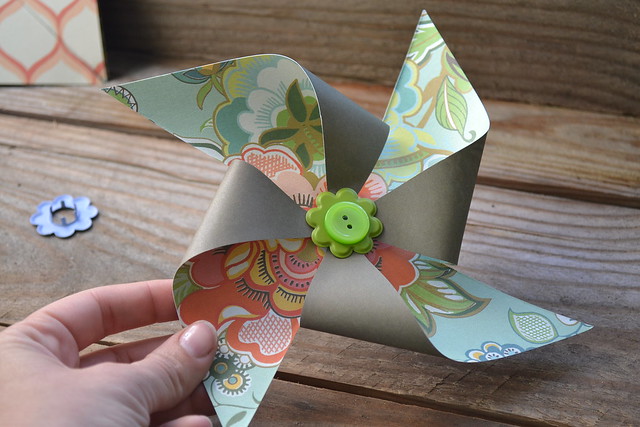
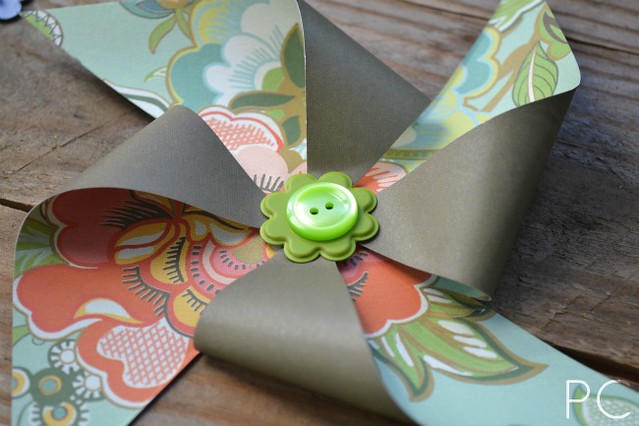
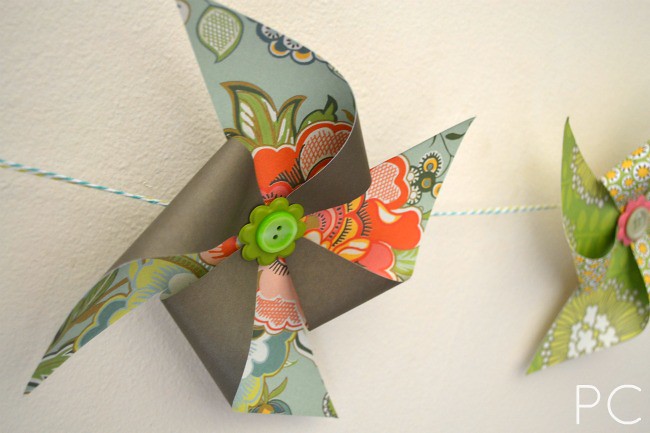
It doesn’t matter if it looks kind of messy with glue because that is what the brad and buttons are for. If you don’t have any large brads you can just use a button. I gently pushed the brad through the layers and then used hot glue to add a button on top.

Paper Pinwheel Tutorial - Spring Banner

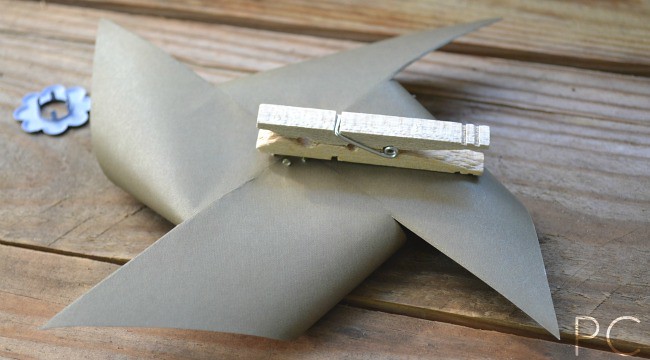
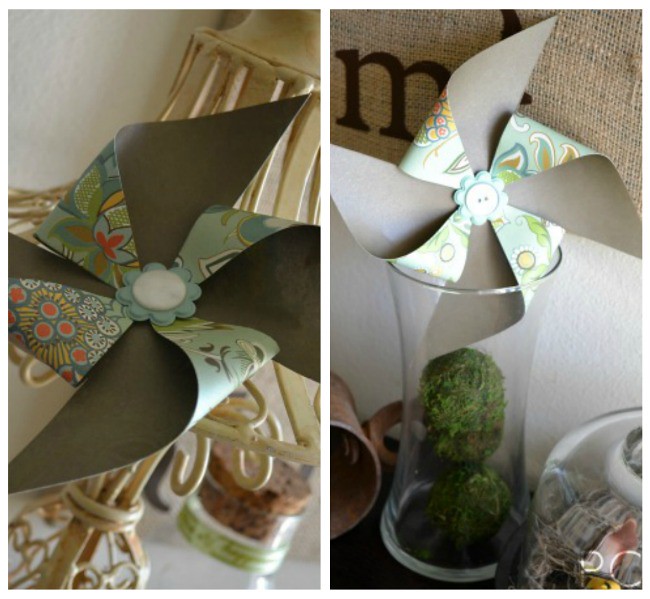
On the back I hot glued a clothespin so I could attach my pinwheels wherever I wanted. Some of them were attached to twine to make a pinwheel bunting, and others were added here and there to tie the theme together.

Paper Pinwheel Tutorial - Spring Banner

Paper Pinwheel Decor

Paper Pinwheel Tutorial - Spring Banner

Comments | 1 comment

About Kelsey

Kelsey is a wife and mom of four living in Central Florida. She shares recipes, crafts, DIY tutorials and so much more. Her passion is creating with her Silhouette and Cricut machines and sharing free cut files.

« Clean & Scentsible Crafty Space – Guest Post
In Full Bloom Link Party #1 – Featuring Take the Cannoli »

Comments

  1. Anonymous says

    01/21/2013 at 5:47 am

    What a cute idea; must repin & try it too!

    Reply

Leave a Reply Cancel reply

Your email address will not be published. Required fields are marked *

New on the Blog

  • Why Fit In Stand Out Cut File – Dr. Seuss SVG, DXF and PNG
  • Dr. Seuss Cut File – SVG for Cricut, DXF for Silhouette Cameo, PNG Clipart
  • 20 Free St. Patrick’s Day Cut Files -Pot of Gold Cut File – SVG, DXF, PNG

Our ETSY Shops

Privacy Policy

Recent Posts

Why Fit In Stand Out Cut File

Why Fit In Stand Out Cut File – Dr. Seuss SVG, DXF and PNG

02/26/2021 By Kelsey 7 Comments

Dr. Suess cut file - I will read here or there.

Dr. Seuss Cut File – SVG for Cricut, DXF for Silhouette Cameo, PNG Clipart

02/26/2021 By Kelsey 2 Comments

Lucky Pot of Gold Cut File - SVG, DXF, PNG

20 Free St. Patrick’s Day Cut Files -Pot of Gold Cut File – SVG, DXF, PNG

02/19/2021 By Kelsey 9 Comments

Connect With Me

Categories

Archives

Copyright © 2021 · Tasteful theme by Restored 316