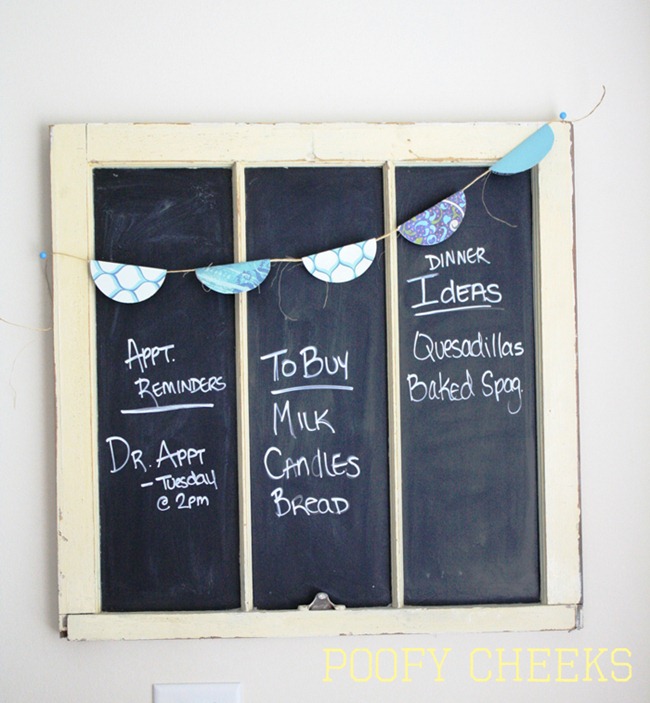
and after I finished the post I was determined to do something with window #2
Window #2 went a little something like this…
I mixed up my chalkboard paint…
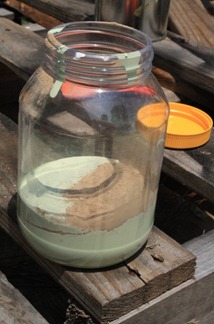 only to find…
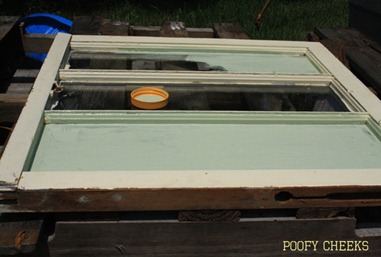
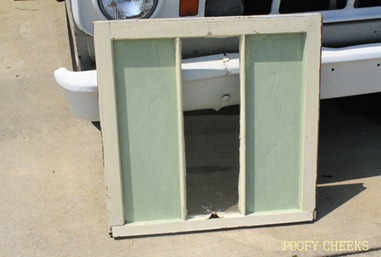
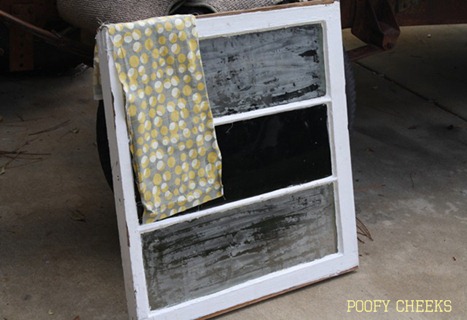
that it was WAY to gritty and had a sand texture. There was no way I was going to be able to write anything legible onto this chalkboard paint area! I started to wipe it off but then I was frustrated so I just put everything back in the garage, shut the garage door and went back inside. I had to wait a week to finally feel motivated enough to look at this darn window again. I knew it wasn’t going to be fun trying to remove the paint!
Then finally I was determined, so with a razor in hand I started removing the paint and attempted to do something with this window for the second time.

This time I decided to use the ol’ trusted Krylon chalkboard spray paint. I wanted to spray the middle pane with chalkboard paint and decoupage fabric to the sides. 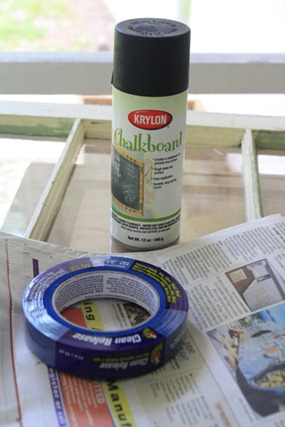 I got everything taped off.
 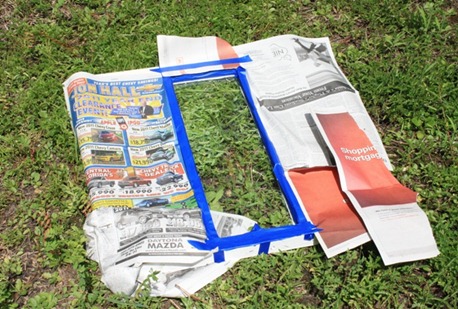 Opened the cap to start spraying only to find….the nozzle was missing! UGH! I was really cursing Wal-Mart at this point.
 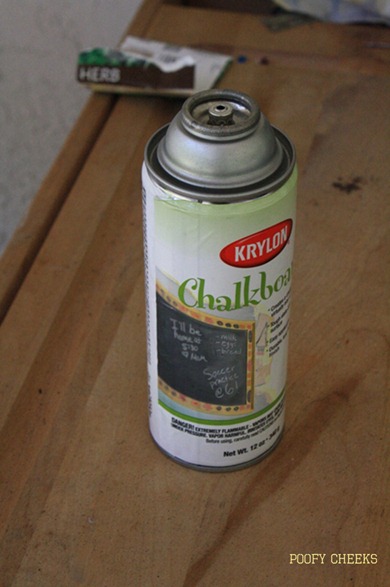 The next day I headed back to Wal-Mart and exchanged this bottle for one that WORKED! So after that point it went something like this… U-G-L-Y… you ain’t got no alibi! Your ugly! The colors don’t match AT ALL and you can still see some of that ugly green chalkboard paint from the last attempt. UGH! YOUR UGLY!
 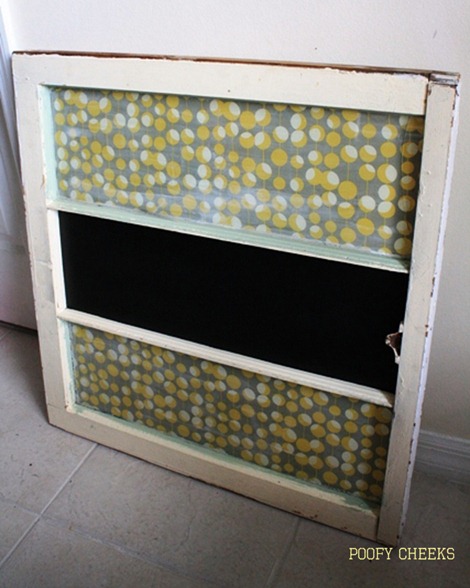 So yesterday I tried for the last time to do something I liked with this window. Forget LOVED – I didn’t care if I loved this window anymore, as long as I liked it my self esteem was going to feel WAY better! I headed out in the heat, ripped off the fabric and decided to use chalkboard paint on all of the window panes.
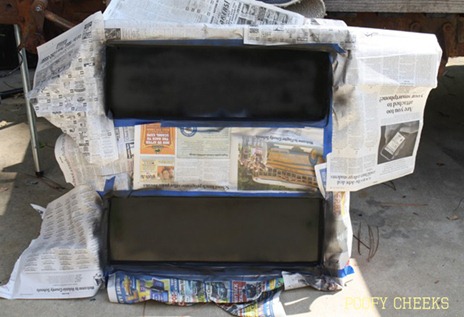
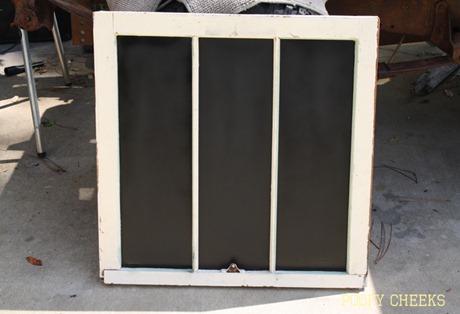 OMG! I liked it. There was only one problem that I didn’t think about. I was in such a hurry to fix the ugly window panes, that I didn’t think to sand everything down first to get rid of that old green chalkboard paint. I then taped off all of the window panes with newspaper and got to work.
 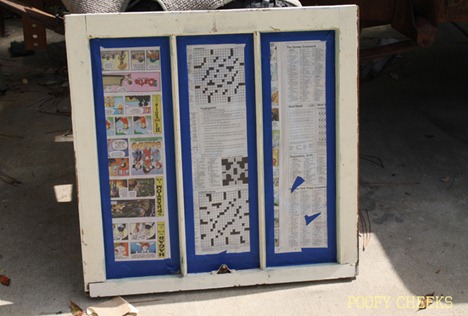 I sanded everything down and then sprayed some paint (that ended up being almost the exact same color as the paint already on the window) over the ugly green stuff.
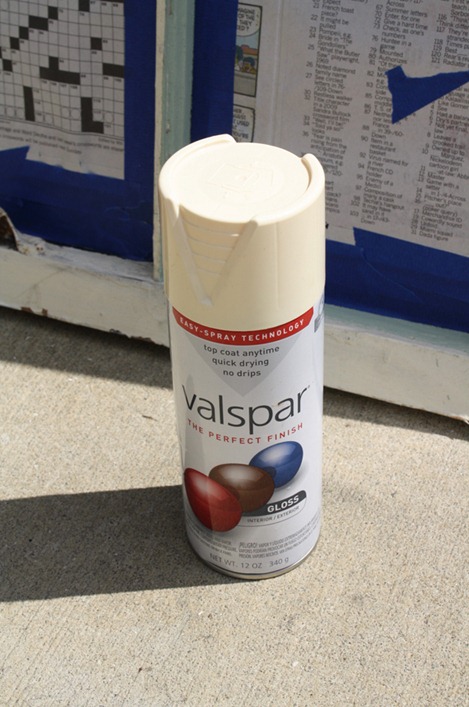
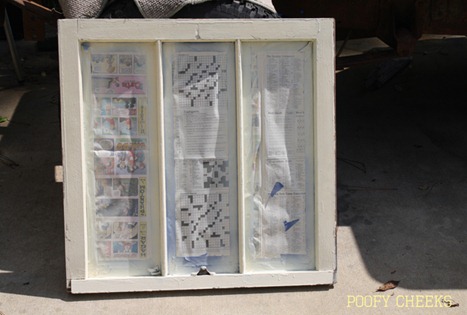 Then I rubbed the sandpaper over it a little bit more once the spray paint dried to add a shabby chic look. By this point the sweat was dripping down and I stunk to high heaven (as my grandma Pearl would say). I headed inside to create the finishing touches to this window.
I must say I now LOVE the finished window! 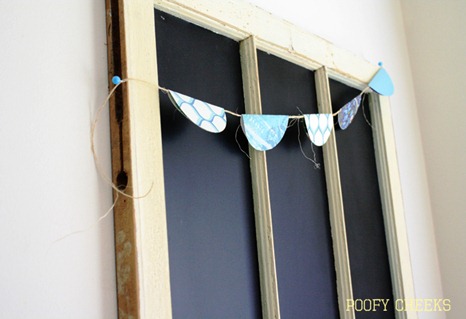
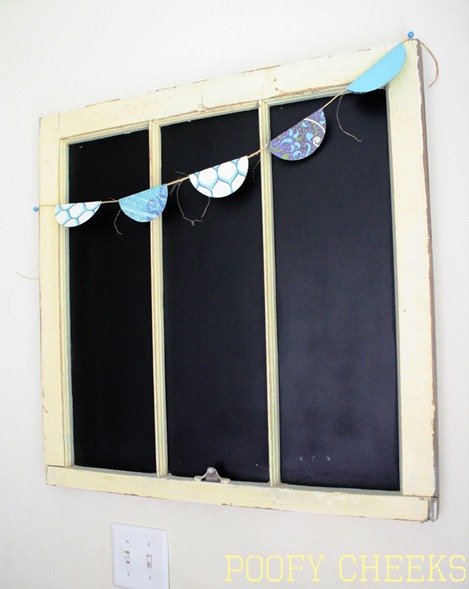
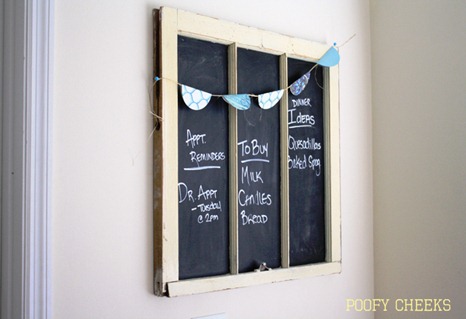
What about you? Enjoy – I’m taking a break from the outdoors. We are batting down the hatches as hurricane Irene is going to be kicking up high winds in our neck of the woods. ![]() I’m linking up at…Funky Junk Interiors
I’m linking up at…Funky Junk Interiors

