A few weeks ago I came across a necklace on the Anthropologie website and I instantly knew I had an idea on how to make my own affordable version. The Anthro necklace came with a $78 price tag – a little out of my price range for one accessory. Here is my version… 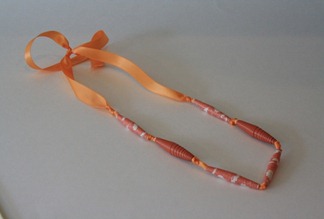 It comes with a $4 (or less) price tag. I already had all of the supplies so mine was FREE! Here are two of the necklaces which are sold at Anthropolgie.
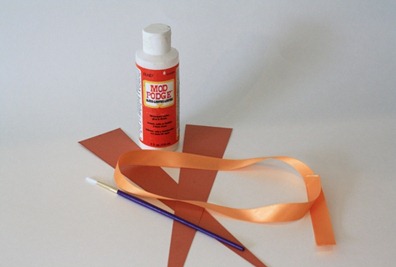
 As soon as I saw the necklace it reminded me of a paper bead necklace I made in 4th grade. Miss Sawicki’s class to be precise. You will need the following supplies:
-
12×12 Scrapbook paper
-
Ribbon
-
Bamboo Skewer
-
Mod Podge
-
Paintbrush
-
Ruler
-
Pencil
-
Scissors
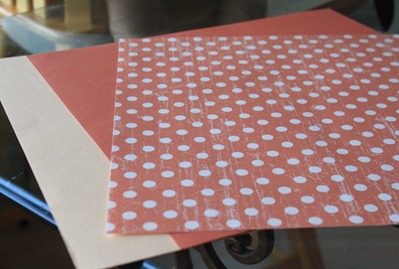
 To start – take the papers of your choice and turn them with the wrong side up. Use your ruler and pencil to make a mark each inch along one side of the paper. On the opposite side make a mark each 1/2 inch.
 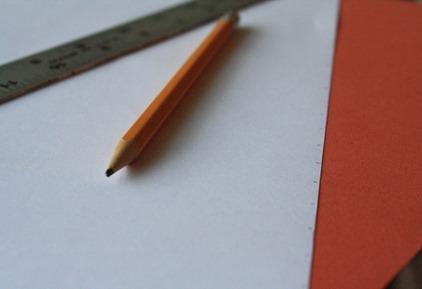 Then use your ruler to make triangles. I made mine two inches wide at the widest part. (Though, if I were to do it again I would make them one inch wide.)
 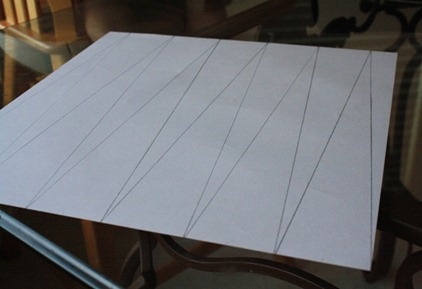 Then cut your triangles out.
 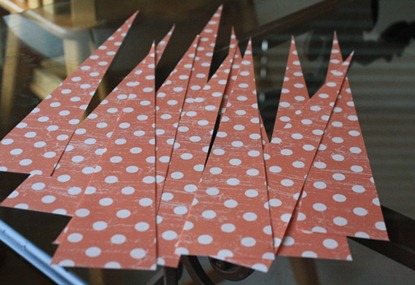 Take your skewer and wrap the paper around it. Use a strip of mod podge on the wide edge to secure it while you wrap.
 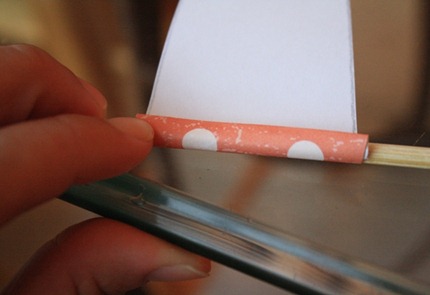 Once you have it wrapped secure the other edge to the rest of the bead with mod podge. After the entire triangle is wrapped around the skewer cover the entire bead in mod podge.
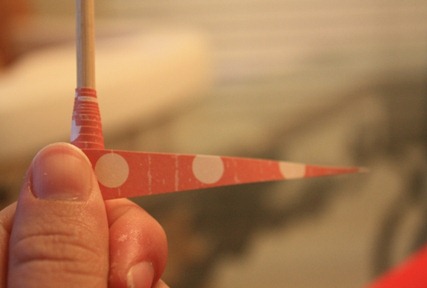
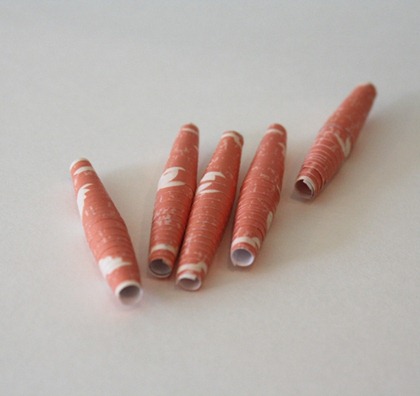 Once the beads are done and dry, measure a piece of ribbon to the length you want. Take into account extra ribbon for the knot. Fold the ribbon and feed through the bead. You may need to continue to fold and feed through the bead depending on the width of the ribbon you use.
 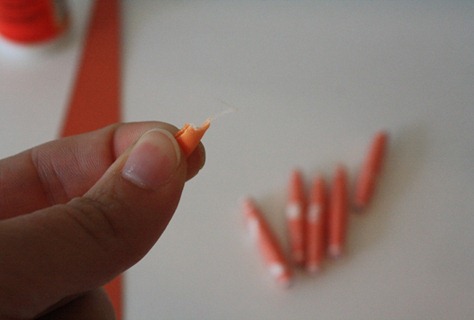 Once you have all of the beads onto the ribbon, knot the two ends together and use a lighter to melt the ribbon edges. Melting the edges will keep them from fraying.
 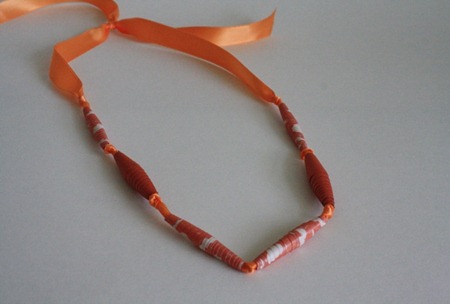 Wahlah! An anthro inspired necklace! Enjoy, I’m linking up at…
 ![]()


