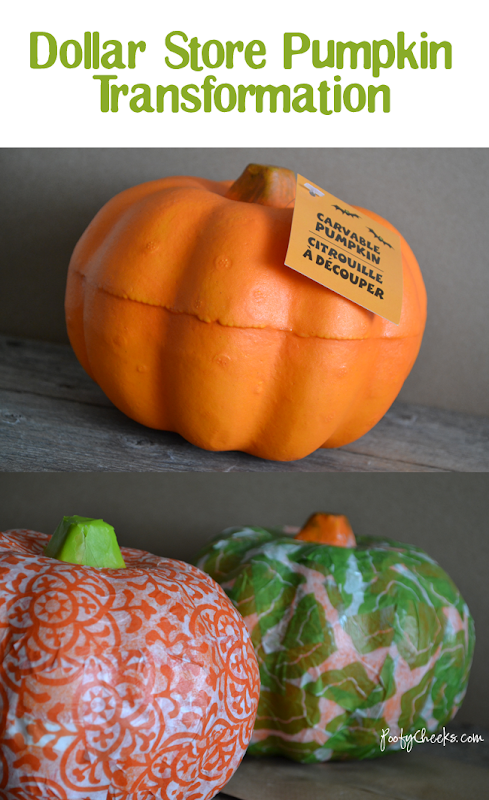
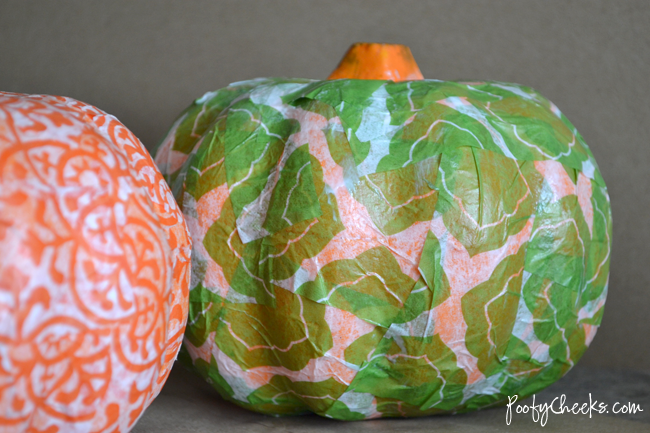
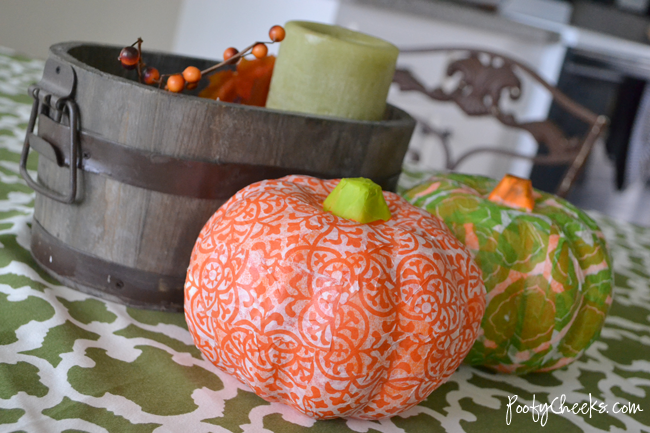
 I mentioned that I am trying to keep our fall décor within a budget, so when I found carvable pumpkins at the dollar store I knew I had to grab a few and give them a makeover! This project was so super simple and only cost me a few dollars. Cheap and easy – now that is my kinda’ project!
 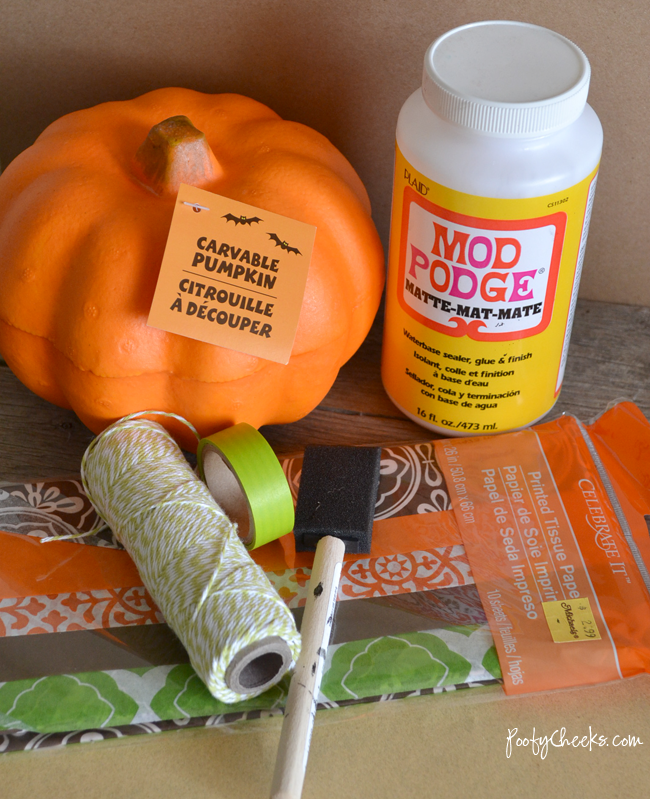 Supplies:
- Pumpkins (really any kind of material would work if you can’t find the styrofoam ones)
- Mod Podge
- Paint or foam brush
- Tissue Paper
- Scissors
- Twine and washi tape for extra decoration (optional)
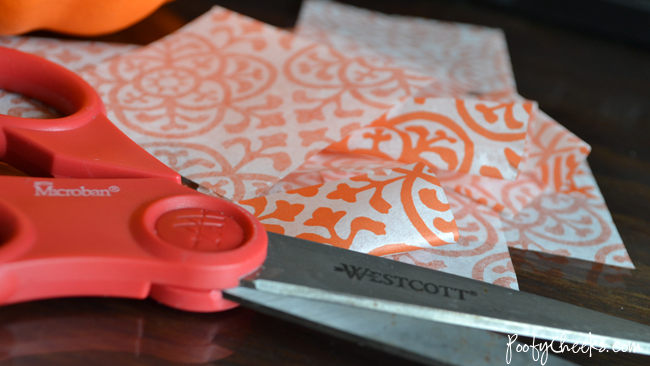
- Cut Tissue paper into one inch sized squares or rectangles. Don’t worry if they aren’t perfect!
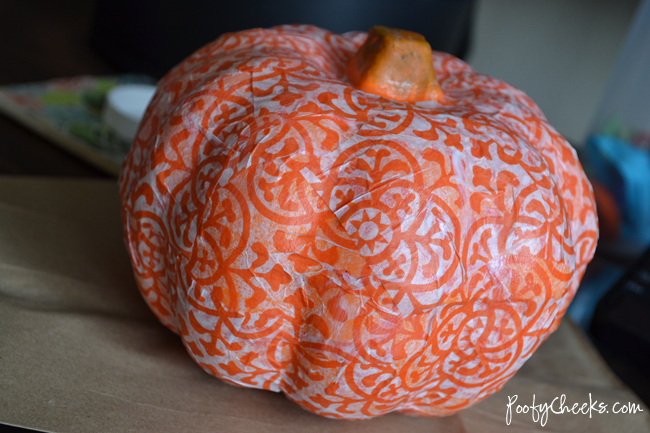
- Apply mod podge to small area of the pumpkin with your brush and then stick on a piece of tissue paper. Put another coat of mod podge over it and continue this until the whole pumpkin is covered and let it dry.
- For the orange pumpkin I used washi tape to cover the stem and for the green one I left it as-is.



Amy
Tuesday 8th of October 2013
Hi! I love these pumpkins. :) And I LOVE that they will last forever! Hope you don't mind that I linked to this post on my blog: http://definingcrazy.com/2013/10/08/diy-fall-decor-roundup-2/. Thanks for sharing!