There is something about pinwheels that just scream SPRING! When I went to decorate my entryway, I instantly thought of pinwheels! I thought they would add a lovely touch. Today I am showing a tutorial on how to make your very own paper pinwheel decorations! They are super easy and a great craft for the kiddos too!
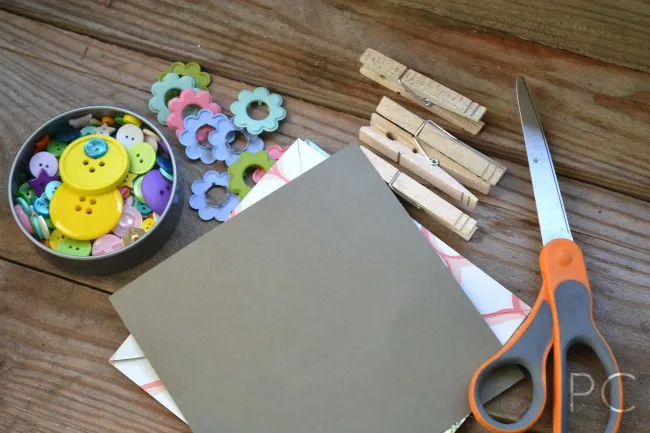
Supplies for a Paper Pinwheel
- Scissors
- Double sided scrapbook paper cut into squares. (Mine were 6×6 inches)
- Buttons
- Large brads (optional)
- Clothespins
- Hot glue gun
Paper Pinwheel Directions
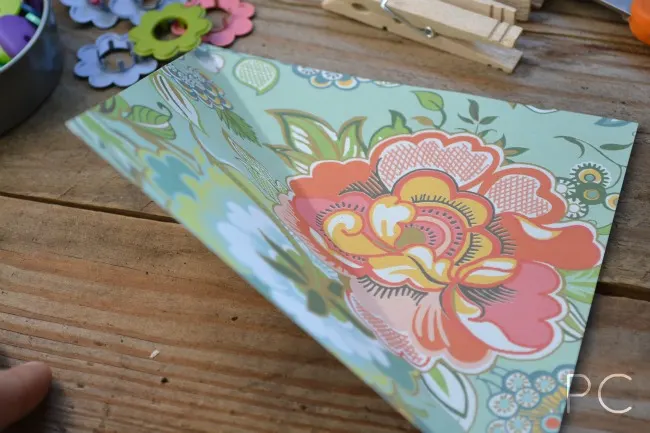
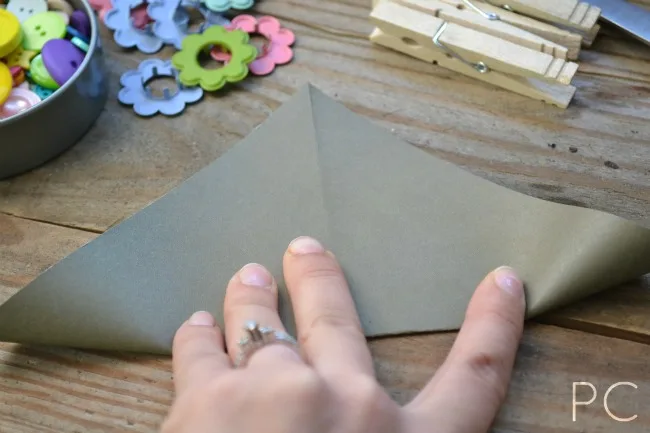
Fold each square of paper diagonal from corner to corner. Unfold and fold the other corners together.
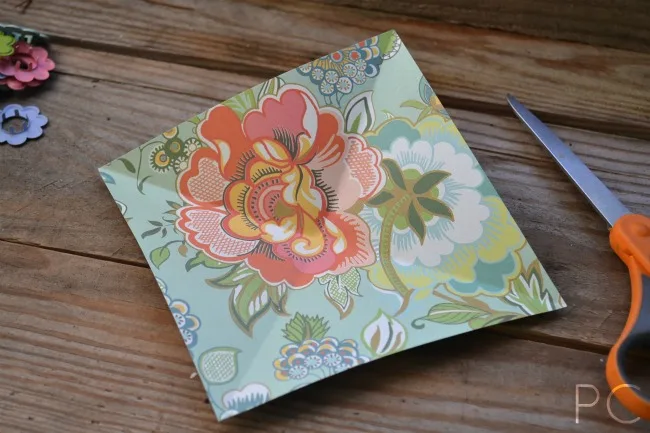
Then you are going to cut from each corner halfway to the middle.
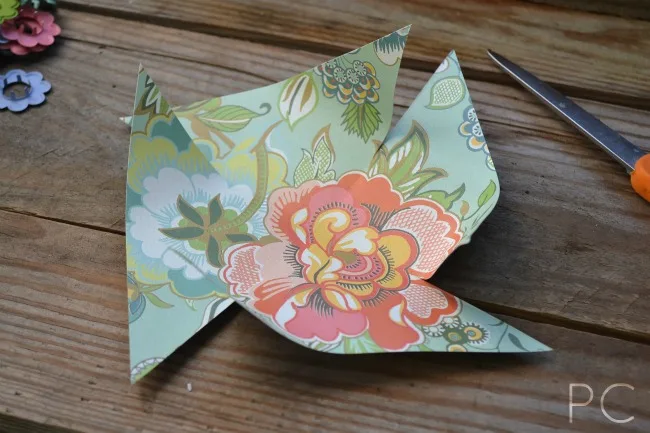
Now you are going to put a dab of hot glue right in the center where the two folds meet. Fold one corner into the middle and press. (Make sure you are not picking two corners next to each other or it won’t come out as a pinwheel.)
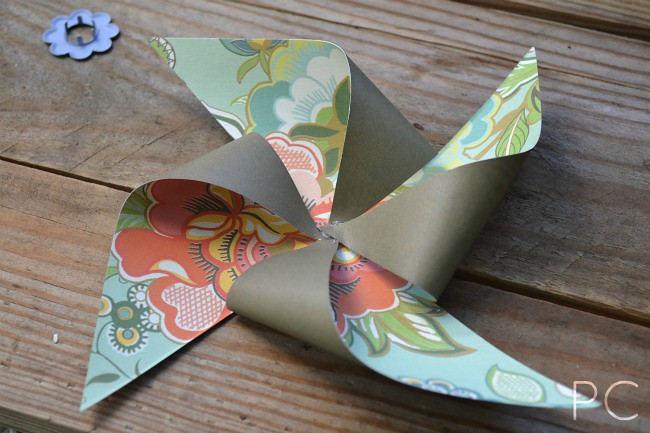
It doesn’t matter if it looks kind of messy with glue because that is what the brad and buttons are for. If you don’t have any large brads you can just use a button. I gently pushed the brad through the layers and then used hot glue to add a button on top.
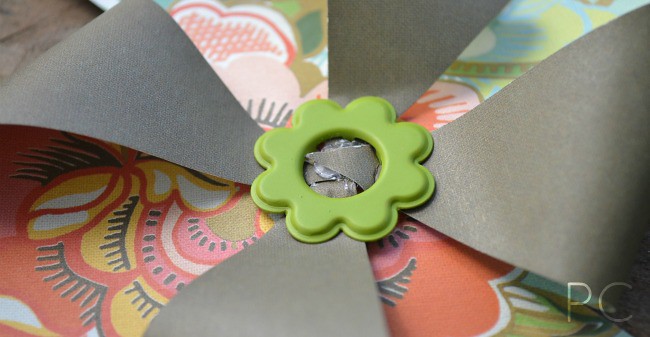
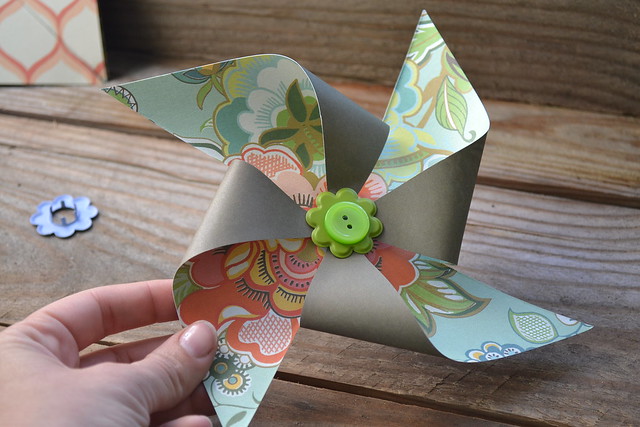
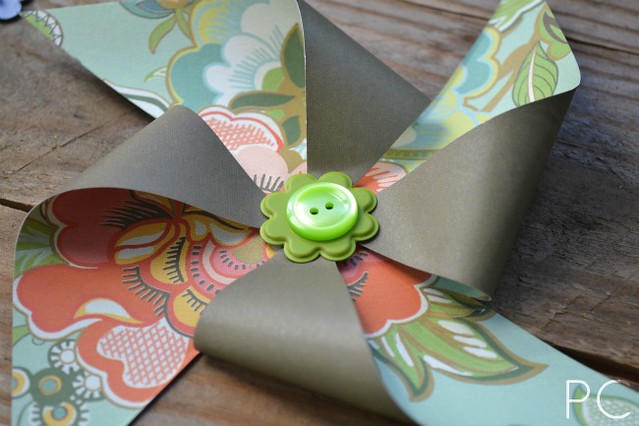
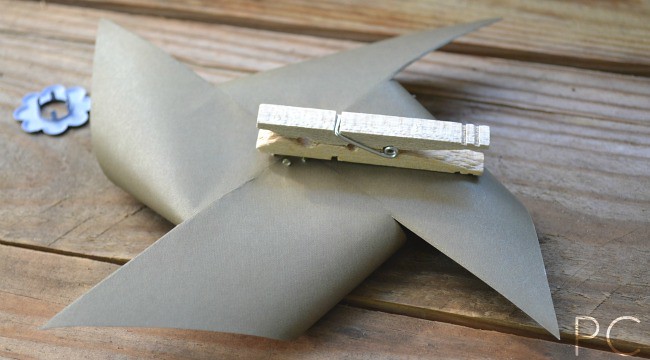
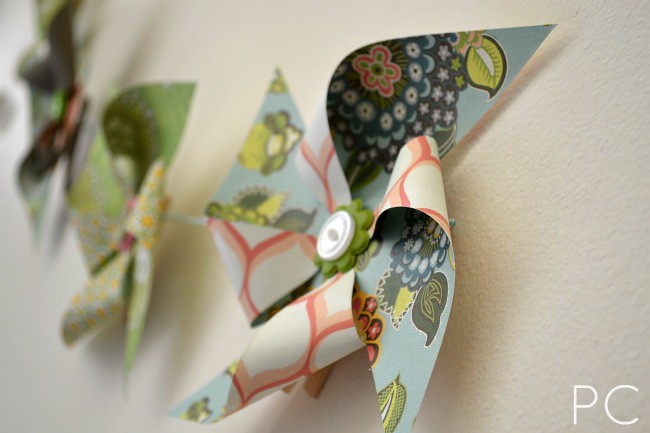
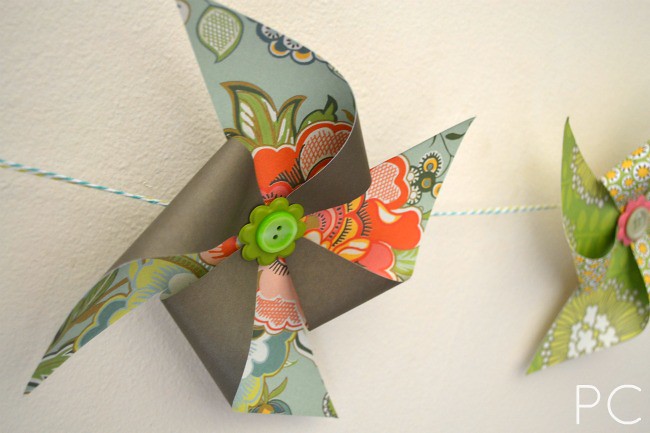
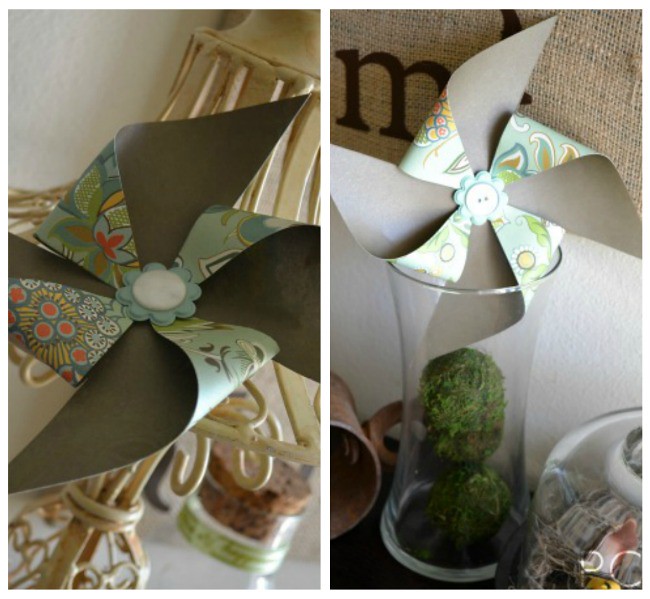
On the back I hot glued a clothespin so I could attach my pinwheels wherever I wanted. Some of them were attached to twine to make a pinwheel bunting, and others were added here and there to tie the theme together.
Paper Pinwheel Decor

Anonymous
Monday 21st of January 2013
What a cute idea; must repin & try it too!