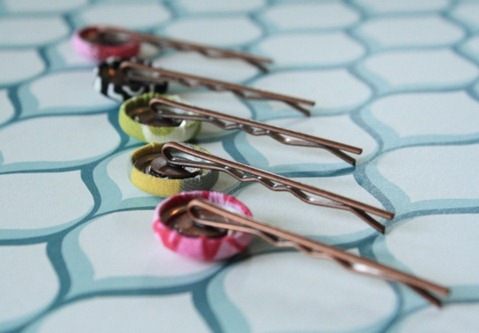
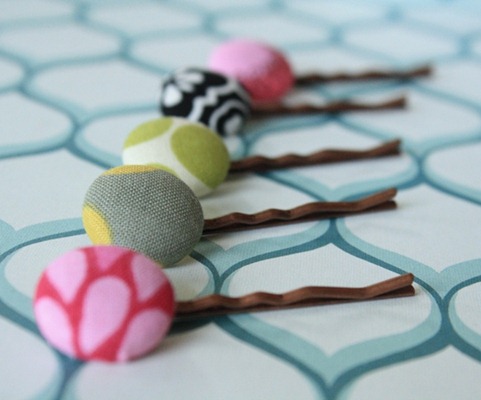
As most of you know – I have two boys. I don’t get to make many girly items like barrettes or hair ties. Although recently I have seen a few hair accessories that I wanted to make for myself. I absolutely love fabric button bobby pins!
The other day when my friend invited me to go to Hob Lob with her I picked up some bobby pins with a platform to add embellishments. I am so happy with how the bobby pins turned out… I can not wait to wear them!
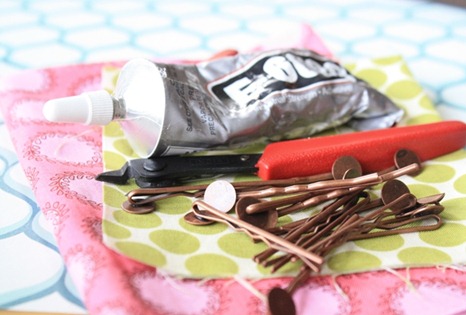
Fabric Button Bobby Pin Supplies:
- Bobby pins
- E6000
- Scrap Fabric
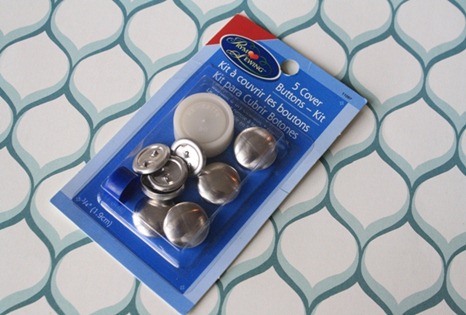
- Cover Button Kit (Found mine at Wal-Mart)
- Wire Cutters
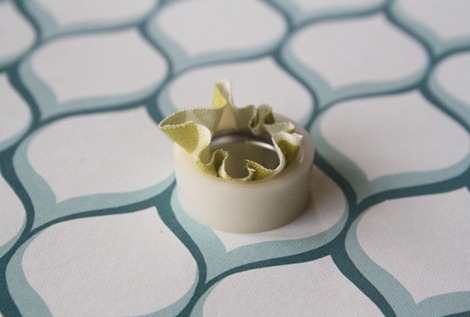
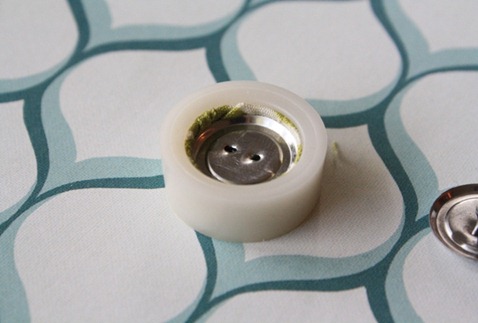
To make them you need to cut a circle of fabric which is twice the diameter of the button. Then lay it wrong side up and center the button in the middle. Press it down into the button maker.
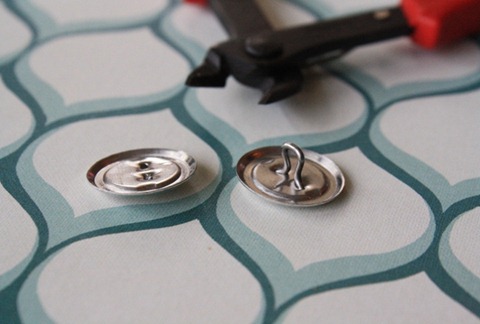
Take the other side of the button and snip off the button loop (as seen on the right) with wire cutters. In the end it should look like the one on the left.
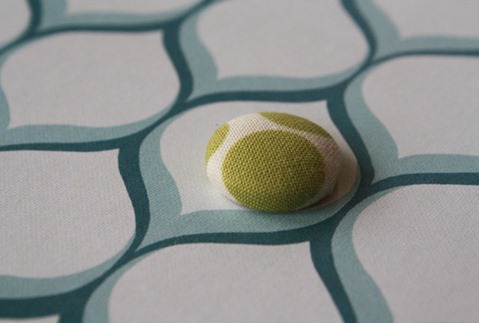
Then press down the overlapping fabric and push the button back into the button maker. Then push the entire button out. I was so glad to find this button maker because it made the process so easy. I never even knew that this contraption existed!
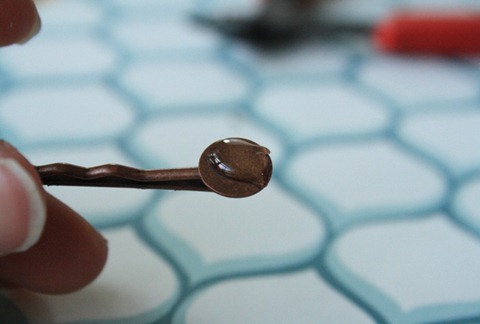
Next take your E6000 and put a dap on the bobby pin platform.
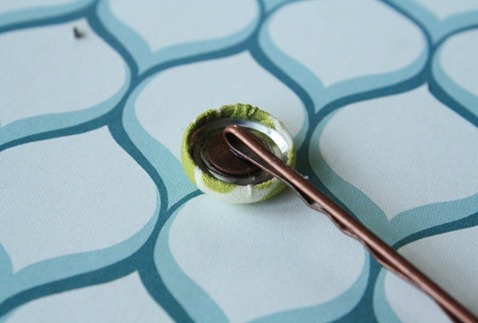
Stick the button onto the platform and lay upside down until the glue dries.
I am in LOVE!
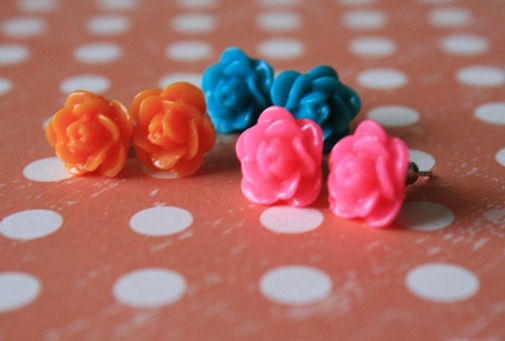
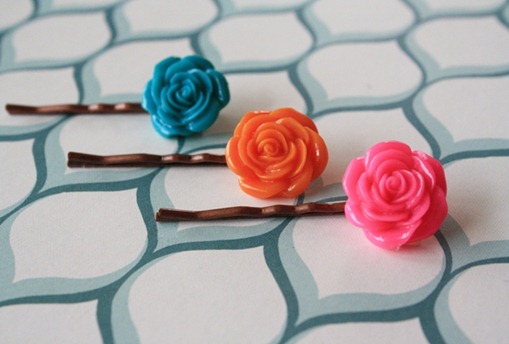
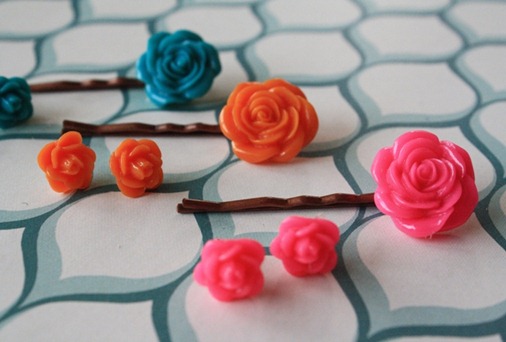
Oh – and you know those earrings I made last week? I had some leftover resin flowers which were too big to make earrings with so I made matching hair pins for those too!


