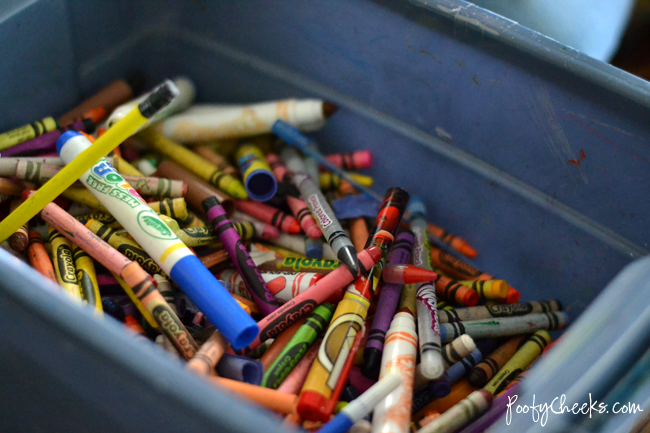
I have been doing a lot of spring cleaning and sorting around my house. There isn’t one safe area – I think the nesting instinct has kicked in and I am determined to get rid of all unnecessary items and finish all projects around the house before baby number four arrives! The boys’ room was my target area the other day and it still doesn’t have any toys in it which made it easy for me to sort through their clothes and notice things like an overflowing box of mostly broken crayons.
The boys love to color and each holiday we usually get them a new coloring book and crayons not to mention the ones they receive from family or friends. It seemed like a waste to just throw out the broken crayons so I decided to have the boys help me sort through the crayons and then I showed them how to make magic crayon stained glass art. One of my elementary teachers did this with our class when I was in 3rd grade and I remember my brother and sister and I doing it a lot after that. With crayons and a few other household items you and your big kids can make these too! This craft does require adult supervision and a bit of help as it involves scissors and using an iron – I recommend it for kids ages 6 and up.
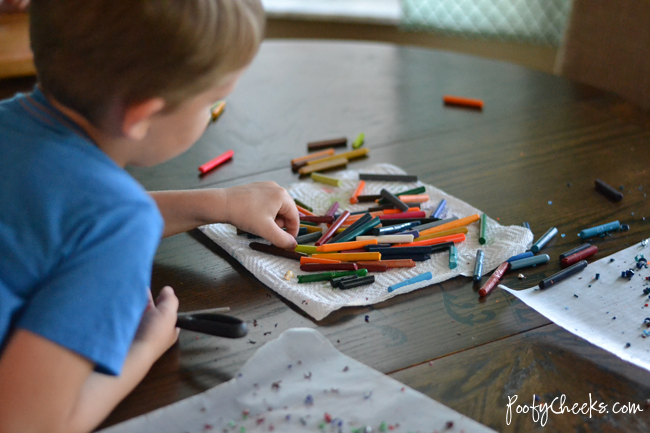
The first thing we did was sort through and make a pile of all the broken crayons and a pile of crayons to keep. Since longer crayons work better for this craft and we have WAY too many crayons even one with a broken tip went in the broken pile.
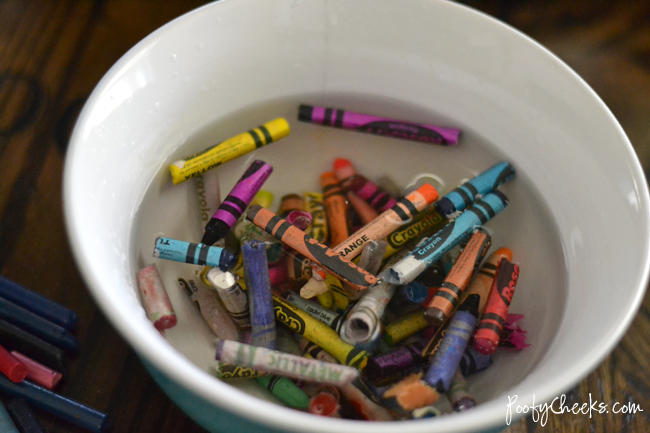
To easily get the paper off we soaked small batches of the broken crayons in a bowl of water for about five minutes. Then we banged the end of the crayon on a hard surface and the wrapper should slide right off. We tossed any crayons that didn’t peel easily because it can get time consuming and a bit messy. The boys actually really loved helping with this part because they got to dip their hands in the water and make a big pile of crayons.
Peeling tips:
- Make sure you protect your surface from crayon marks by putting down paper towels.
- Some wrappers will still give you trouble after soaking so you can peel it off the hard way or just toss it.
- If you have any dry erase crayons they will melt into a gooey mess if placed in water so I advise just tossing them right away – we learned this the hard way when our hands and water turned all different colors.
Once we peeled all the wrappers off I patted the crayons dry with more paper towel and sorted them into small tiny broken pieces (which we couldn’t use for this craft) and longer ones (more than half the length of a full length crayon).
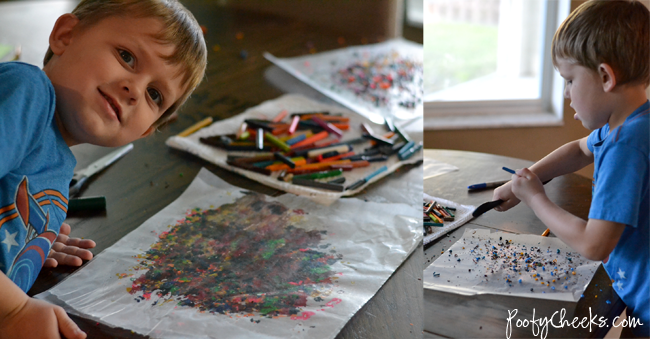
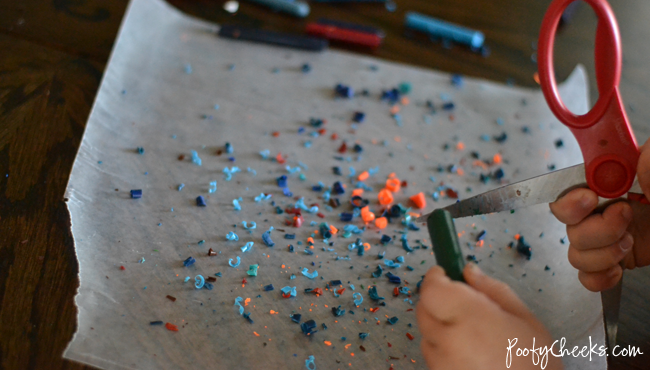
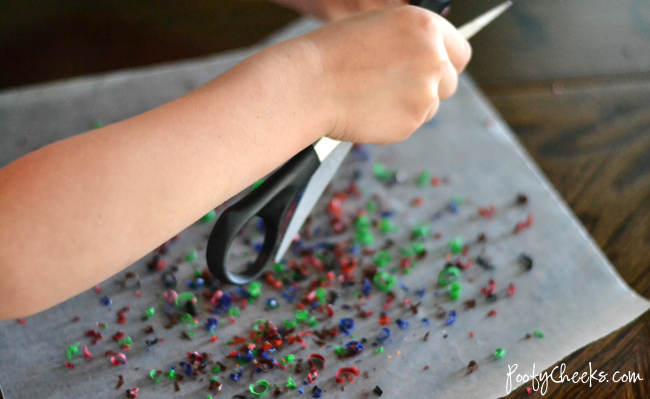
I set the boys up with a piece of wax paper, a pair of safety scissors and their long broken crayons. Mason is almost five and Wyatt is six and I would advise this craft for kids who are six or older. Mason did good but he did make me nervous with the scissors at first while he was trying to get the hang of it!
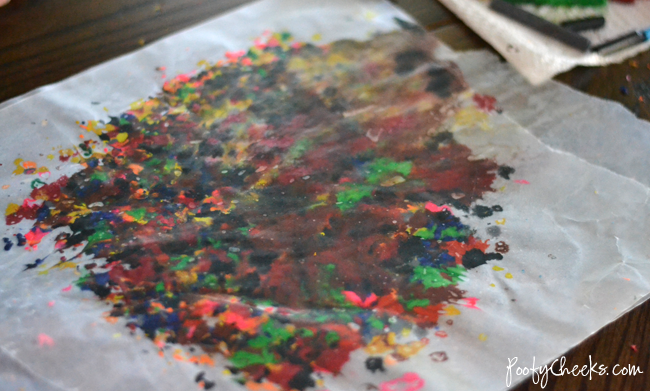
What you do is open the scissors as wide as they will go and use them to shave off pieces of crayon down onto the piece of wax paper. The reason I stress using longer crayons is because it gives them a longer area to shave down. Once they fill up their piece of wax paper with shavings use a finger to gently push any shavings within a few inches from the edges of the paper. Then cut a piece of paper the same size and lay it over top the shavings.
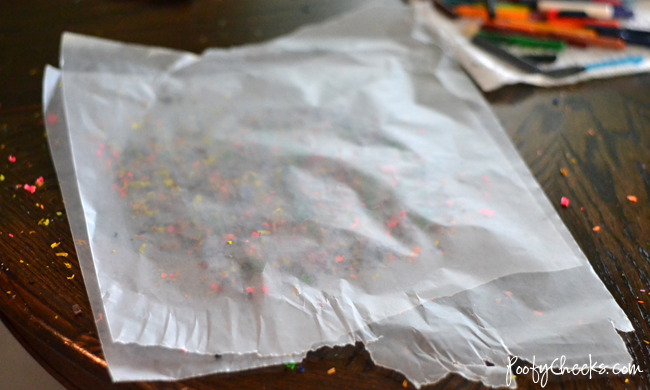
Now for the magic part that requires an adult– make sure your kids come and watch this step! Slowly and gently carry the paper and shavings to an ironing board covered with an old towel and use an iron on medium heat without any steam to quickly press straight down and lift over all the areas with shavings. Do not spread the iron like you are ironing clothes or you risk pushing the melted crayon too close to the edges and onto your iron or ironing board. The old towel will help protect your ironing board in the case that this does happen but getting it off of your iron will be a huge pain in the neck!
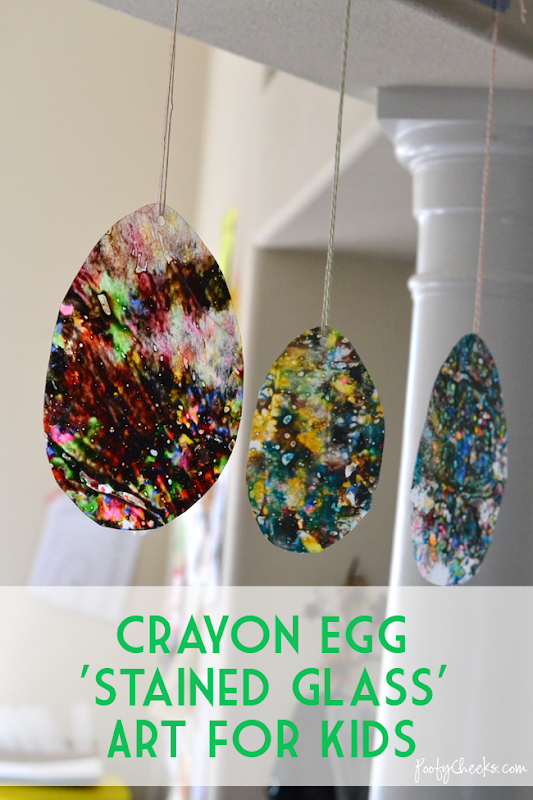
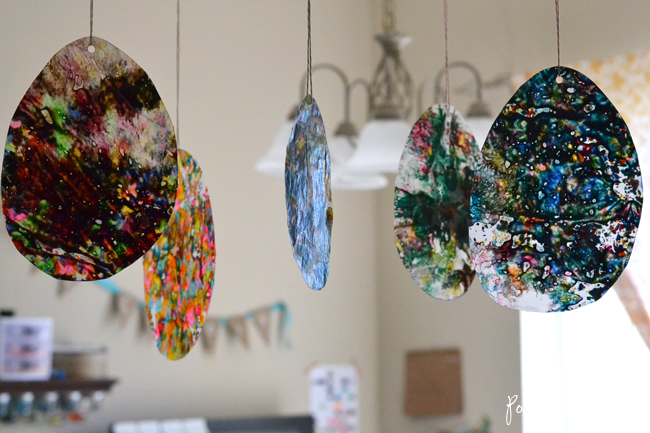
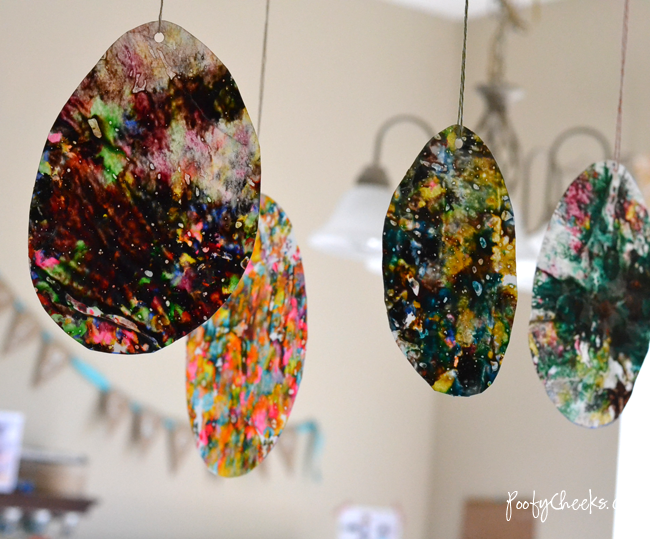
My boys were amazed after this part and wanted to make more and more of them! This craft kept them busy and held their attention for longer than most of their toys do! Once they finished using all of their crayons and ironing the last of their creations I drew Easter egg shapes over one side and let them cut the eggs out to create stained glass eggs. You can cut these into any shape but they look so cool hanging near or on a window where the light brings out all of the amazing colors!
Enjoy,


 I party HERE

Makkie
Tuesday 16th of August 2016
I've done this before but used an old cheese grater that I didn't care about. It was Tupperware, too, so less likely to have kiddos scrape their fingers on it.
Richard C. Lambert
Thursday 4th of August 2016
Plan this one with your children and let the fun begin!My Kid Needs That
Anonymous
Tuesday 25th of March 2014
This is a VERY VERY good idea. Do you know of I could use parchment paper instead?
Pat O
Friday 18th of December 2015
No, parchement paper will not work. Wax paper must be used.