On Tuesday I went with my mom to the Orlando Ikea. My brother is transferring from the University of Central Florida to Florida State University and he is going to go from living in a dorm to an apartment. We got to Ikea around 7:30 and when we walked in a voice came on over the intercom that the store was closing in thirty minutes. WHAT? Thirty minutes is not nearly enough time to explore through two levels of Ikea and if you can hear me Ikea gods — you need to stay open later! We went into panic mode and headed straight for the bed frames which was what he was purchasing and luckily he already had it narrowed down to two beds. After he made his decision we sprinted for the housewares section downstairs and I hurried ahead to do some power shopping of my own. I could have stayed and picked out so much more, but in a rush I bought a door mat, cork trivets, three frames and two flower pots – my bill rang up to $15 and some change which is why I LOVE Ikea! Today I am showing you how I took the plain Sindal Door Mat from drab to fab in ten minutes. The door mat that cost me a whopping $4.99! 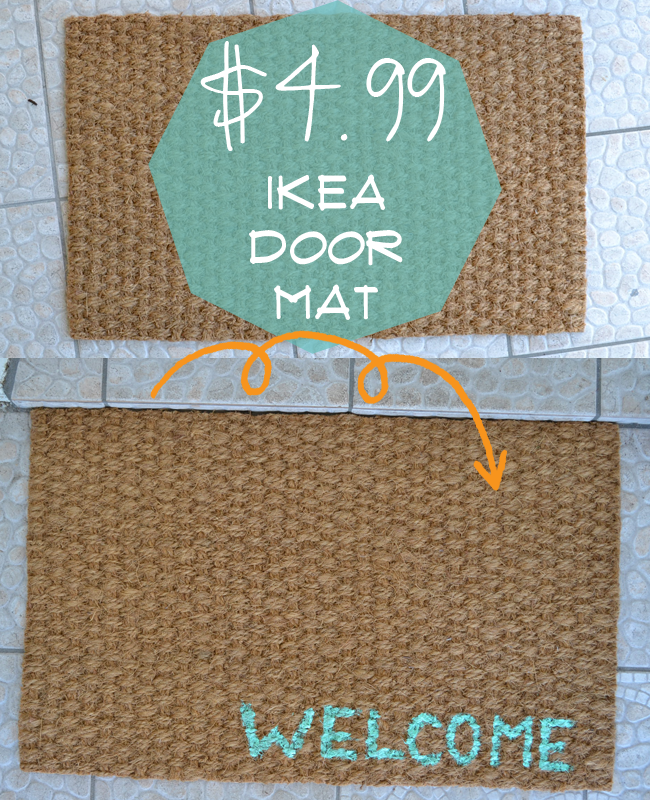 All I did was pull out some of my acrylic paint (in my favorite color), a foam brush and a small paintbrush. I went for it freehand without using a stencil which always makes me a little nervous, but I think it turned out perfect.
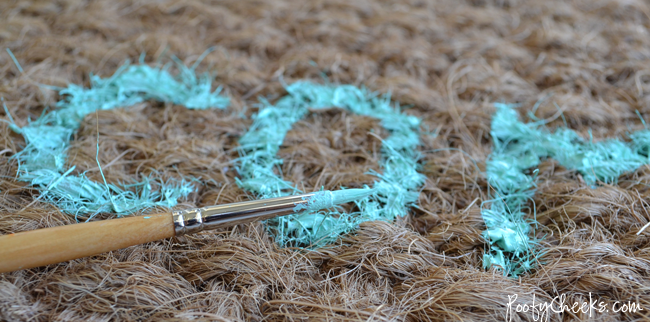
 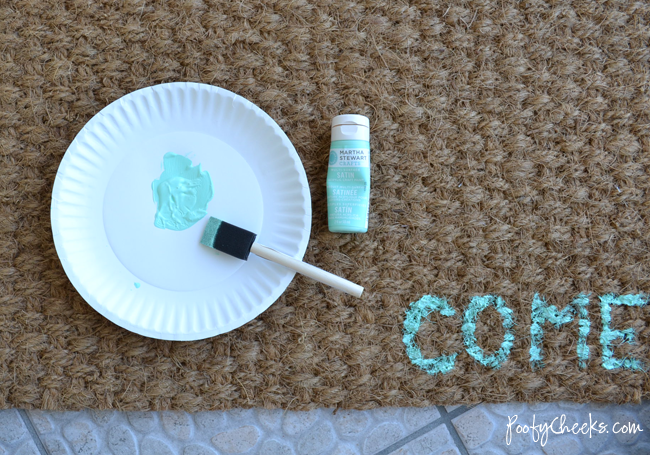 I used the foam brush first and then once I was done I used the paintbrush to fill in any spots that didn’t get paint due to the texture of the rug. Feel free to gob the paint on since people will be wiping their feet on it.
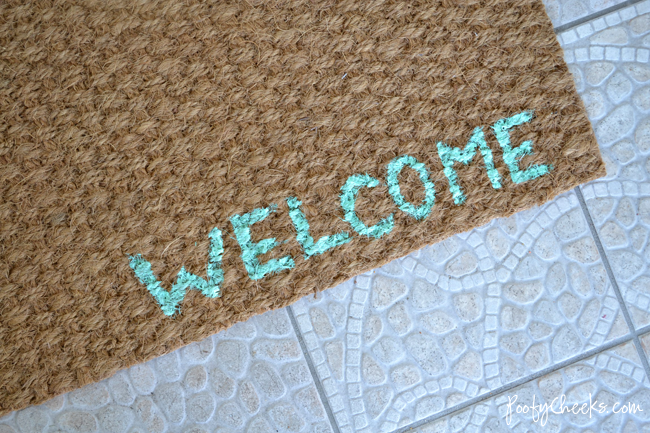
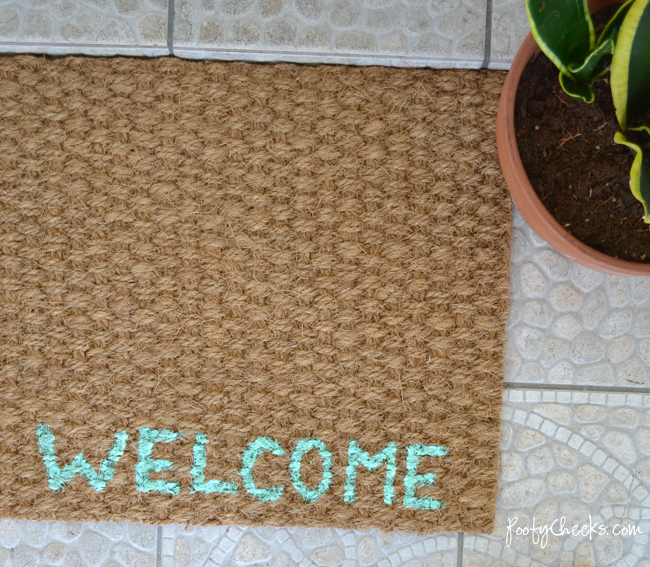
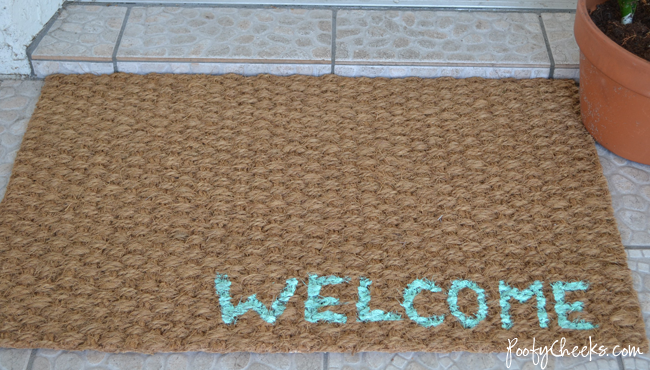 I love it and it is way better than the beat up blue rug that used to be there given to me by an old neighbor who was moving and didn’t want to take it with her. How is that for a run on sentence?


32 Impressive Yet Inexpensive DIY Doormats You’ll Love - Homesteading Alliance
Saturday 28th of April 2018
[…] You’ll write ‘welcome’ on the bottom corner of the rug. You could use a stencil or freehand it. Whichever method works best for you. When you’ve finished with the writing, your rug is done. […]
Christine Roppel
Monday 4th of April 2016
So Cute! Just wondering how well it will hold up (in rain/etc.). Any feedback?
Courtney @ Sweet C's Designs
Wednesday 17th of July 2013
Cute cute! I love the color you picked- the martha paints have the BEST colors!
Katie
Wednesday 17th of July 2013
What an awesome idea!!! must make one soon!
holdtheoffice.com
Sunday 14th of July 2013
Visiting from Sundae Scoop Link Party and I love this idea! I want to do baskets with numbers on them but have been putting it off since I didn't want to deal with spray paint and stencils. I think I will follow your lead and just paint away:)
NicoleHold the Office
poofycheeks
Sunday 14th of July 2013
I love numbered décor items! Go for it!!