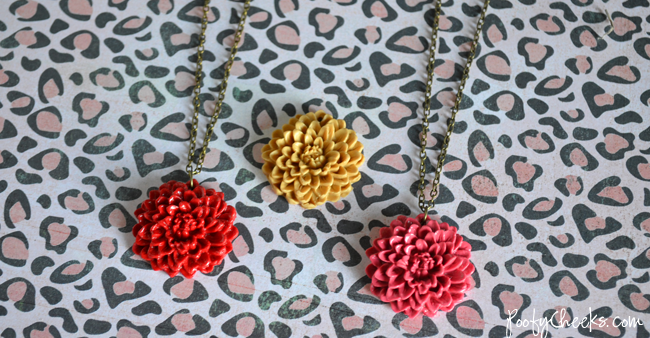
I love working with resin flower charms in my shop so today I am sharing how you can make similar looking charms using clay. These are super simple and you can make a whole bunch for a little bit of nothing. The most expensive part is the mold (about $5-$7) but when you factor in that you can use it over and over again it is worth it!  To make your charm you will need:
- Sculpey or Premo clay
- Mold (I buy mine from MoldMuse on ETSY)
- Toothpick
- Oven
- Baking Sheet
- Wax or parchment paper
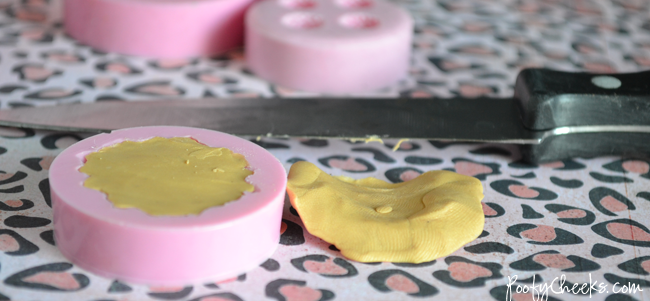
To start you take a piece of clay and smoosh it into your mold. I’m using my favorite mold for this tutorial– the Chrysanthemum. I also prefer to use the sculpey clay over the premo because the premo seems to be too soft and doesn’t come out of the mold as well. 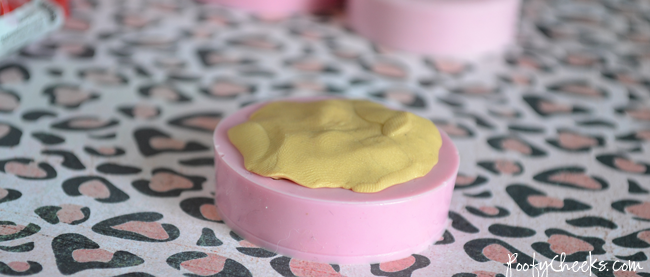 To get the back flat I carefully use an old steak knife to run across the top of the mold. Go slow in a fluid motion instead of a sawing motion. Then I use my finger to gently smooth any little scraps.
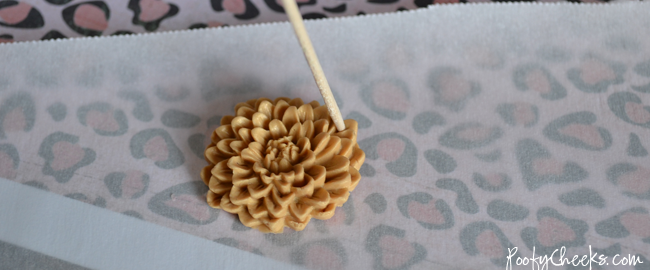 In order to make a hole for a jump ring I use a toothpick and gently push from the front to back and then do it from the back to the front while gently holding the clay in my fingers. If you prefer to glue on a bail then you can skip this step.
 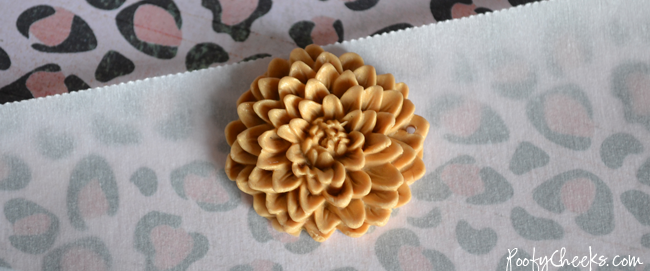 To set the clay bake it on a baking sheet lined with wax or parchment paper according to the directions on the package of clay. Once it is done let it cool and then put your jump ring or bail on it. Doesn’t get much easier than this! If you want earrings just use a smaller mold and follow THIS tutorial.
  Enjoy,


 I party HERE

Tiffany
Thursday 14th of March 2013
SAY WHA...??? You mean I could have been MAKING cabochons this whole time? :-OThanks for the awesome tutorial! Pinning away...
Jenn
Monday 4th of March 2013
Oh my gosh. Those things are gorgeous. I wonder if that would work with fondant? That would be super cute on a cake. BTW - I have an iPad KIC Mount giveaway going on right now if you would like to come enter. http://eatcakefordinner.blogspot.com/2013/03/ipad-kic-mount-giveaway-and-review.html
Christine Williams
Saturday 2nd of March 2013
I love cabochons. You make it look so easy to make I might have to buy these supplies :)
Jenna
Saturday 2nd of March 2013
how darling!!! i love this.
new follower :)
www.fivefootseven.com
Whitney
Saturday 2nd of March 2013
Your stuff is so cute! And you are so welcome for the blog feature! Your stuff is ADORABLE. You're so crafty!
www.missmamame.blogspot.com
Whitney