I’m on a roll with sewing tutorials. As always I have to put in my sewing post disclaimer: My grandma taught me how to sew and then gave me her 1970s sewing machine but I’m no expert. If I can sew these you can too! Let me just warn you now that I may not use the correct sewing terminology but I tried to make up for it by adding lots of pictures. Towards the end of my pregnancy with Delilah I couldn’t find a crib blanket that I loved. They were all baby pink with bears or the typical baby prints. I wanted something that said ‘Hey look at me – I’m bright, fun and gonna’ keep you warm baby!’ Okay so really I just wanted something unique but you get the point. 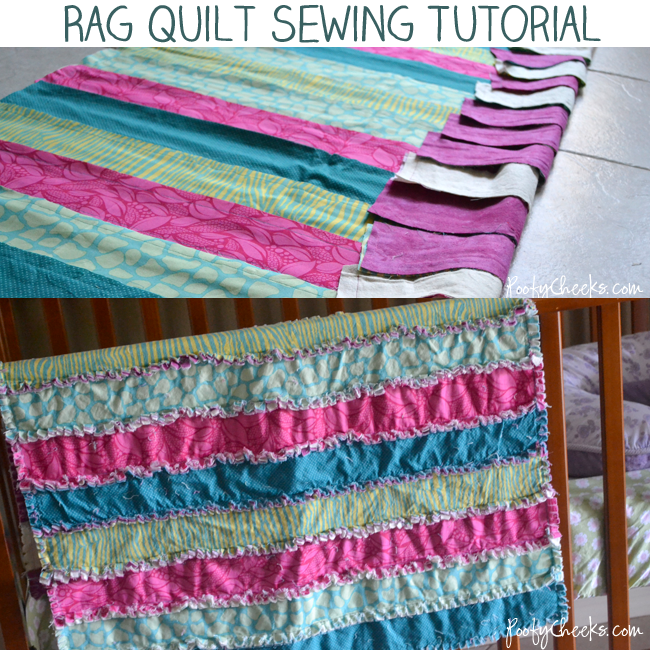 I started out by cutting all of my strips of fabric. Most standard crib blankets are 52×34 so I cut my strips to be 38 inches wide (because you are going to trim and fray the ends) and 5 inches wide. I am actually a huge dork and didn’t want to have two of the same prints touching so I drew out a diagram. If you go with 5 inch wide strips you will loose two inches (because they will be cut and frayed) and they will actually end up being 3 inches in which case you will need 17 strips total.
 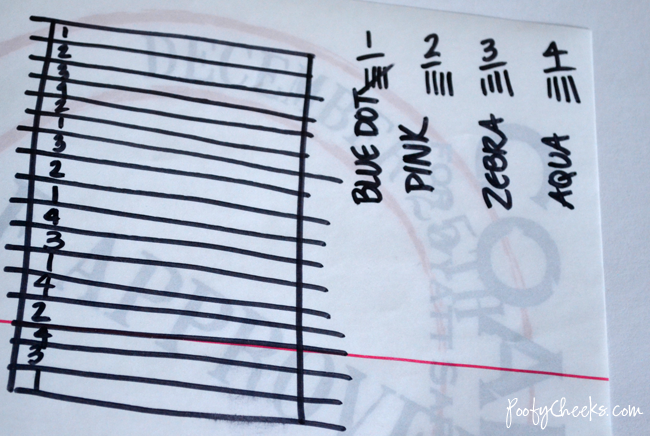 I made this blanket over a few days time and on the first day I spent most of my time cutting 17 strips of cotton fabric and 17 strips of flannel fabric.
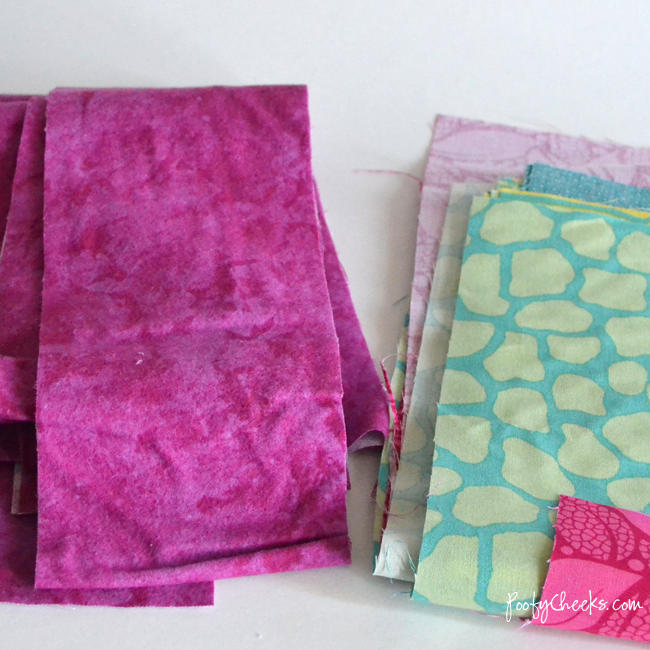
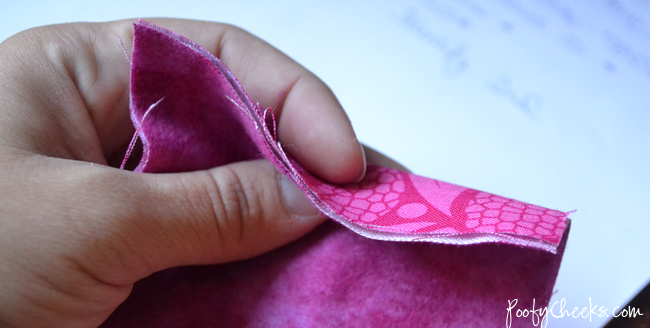 Then when your ready to sew put the wrong sides of a piece of flannel and a piece of cotton together and sew around it one inch in. Once your finished you will have 17 flannel/cotton strips.
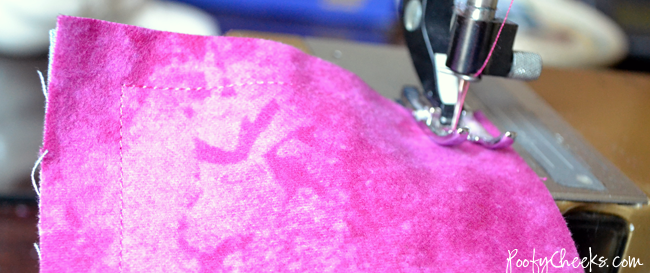
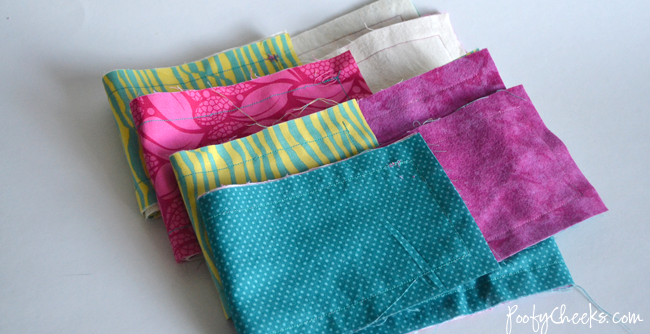
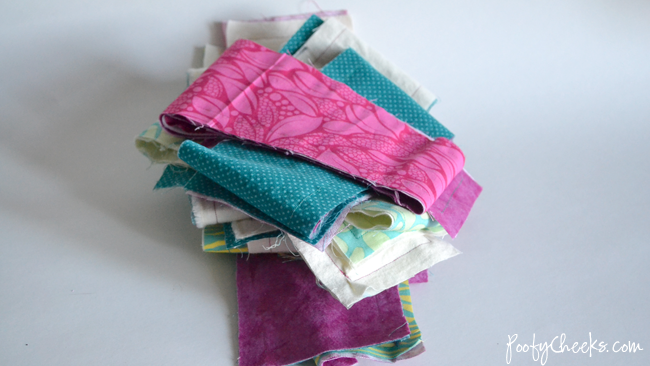 Using my diagram I started sewing my strips together in the order I wanted them to be. Putting the wrong sides (or flannel sides in my case) facing together and sewing along the same line that you already did one inch in to attach the strips together.
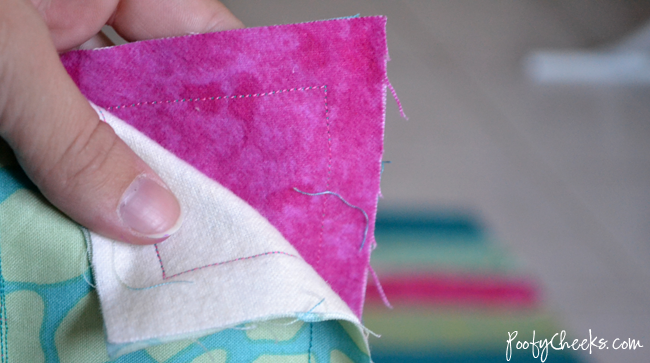
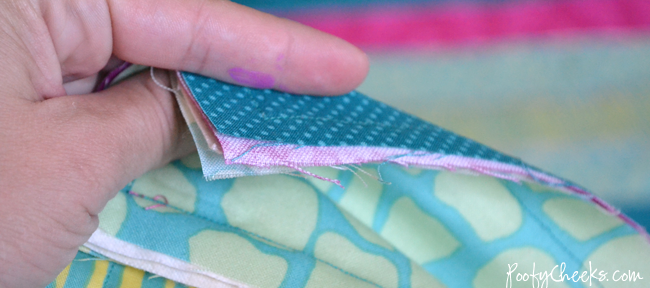 Then just keep adding to it the same way.
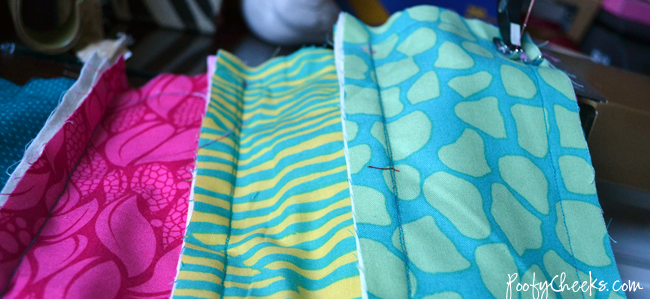
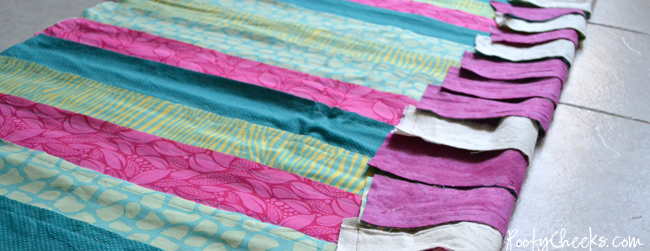
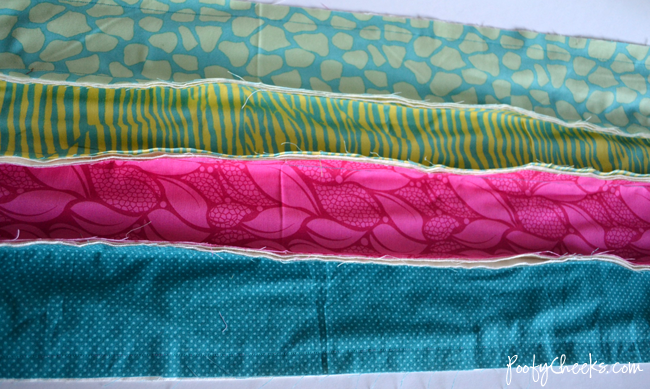 In the picture below you can see what the top of the blanket (left) and the bottom part (right) should look like at this point.
 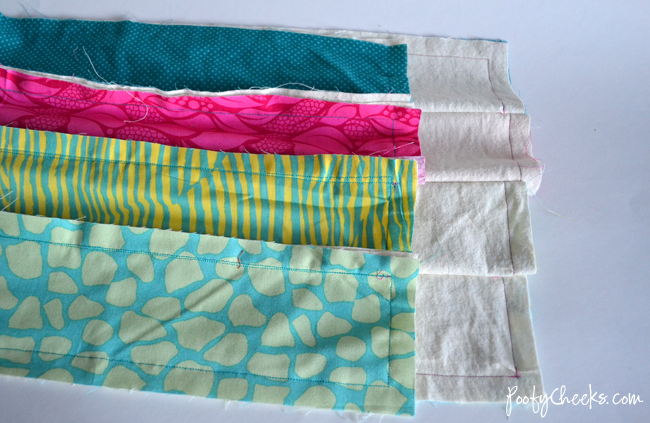 This is what it looked like when I finished sewing all the strips together, but even with my careful measuring some of the strips were different lengths.
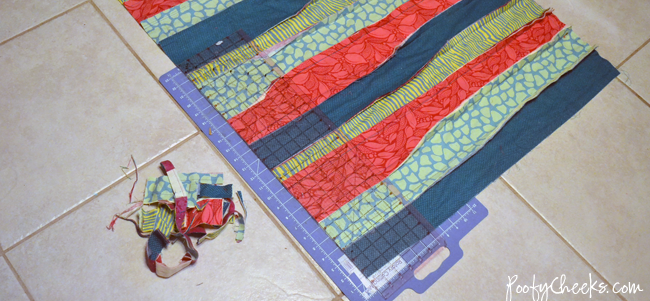
  In order to fix that problem I trimmed the side and then sewed all around the perimeter of the blanket one last time.
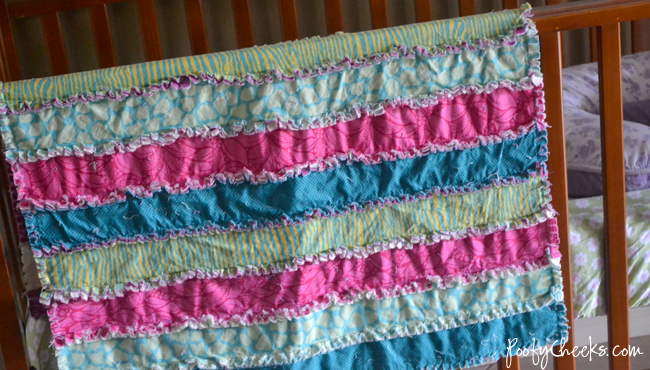
  The final step is to use scissors to snip all of the raw edges in between the strips and all around the edges of the blanket. I snipped every 1/4-1/2 inch. This part is the most tedious so I did it on the couch while catching up on DVR shows. (It was nighttime so I don’t have a picture for this part). Then toss it in the washing machine and dryer by itself. The more you wash it the more frayed the edges get. I recommend doing it a minimum of two times and washing it alone for the first 3-4 times unless you want frayed fabric all over your other laundry. I finished this in three days and LOVE it. It can get tedious at times but I was nesting so I was determined to get it finished for my little girl. PLUS it is way easier than a real quilt (which I will probably never attempt!)
  Enjoy,


 I party HERE

retete simple
Monday 30th of October 2017
Awesome post.
Richard C. Lambert
Wednesday 10th of February 2016
My goal for June is to get my 'stuff' shipped from North Carolina to Montana so that I can really get to sewing and feel like I am doing something other than a lot of driving and packing.how to use machine embroidery stabilizers
LindieLee
Wednesday 12th of August 2015
The last time I bought flannel from Joanns it's pilled horribly. Were you happy with the quality of flannel you used from joanns in this quilt? What brand was it?
poofycheeks
Saturday 15th of August 2015
Hey Lindie! I don't remember what brand but I used cotton for the front and flannel only on the back of the quilt. Both this one and the one I made for my son have held up great and get softer with every wash :)
Heather Hageman
Monday 2nd of June 2014
When you sew the strips together do you lay them on top of each other? I am confused by that part.
poofycheeks
Wednesday 4th of June 2014
Yes Heather - I put the flannel sides of two strips together and sew then keep adding a strip.
Dodo
Saturday 22nd of February 2014
Do you all use such a wide seam allowance? Is 5/8-3/4" good enough to keep things in place after rag trimming? Yes, I made that term up. Sorry guys.