One of the most important parts about selling online is making sure that you have GREAT product photography. People who purchase your items online don’t have the luxury of seeing your items up close, touching and feeling them. They have to rely on what they see in your pictures, so if your pictures are so-so then they may pass you by. Your items might be quality made, the colors may be vibrant and in real life the item may be totally awesome but you need to make sure you are portraying that in your pictures to make that sale!
First I am going to show you how to set up a cheap and easy picture background (sort of like a homemade lightbox). This method is great for smaller items. We’ll talk about bigger items in a minute.
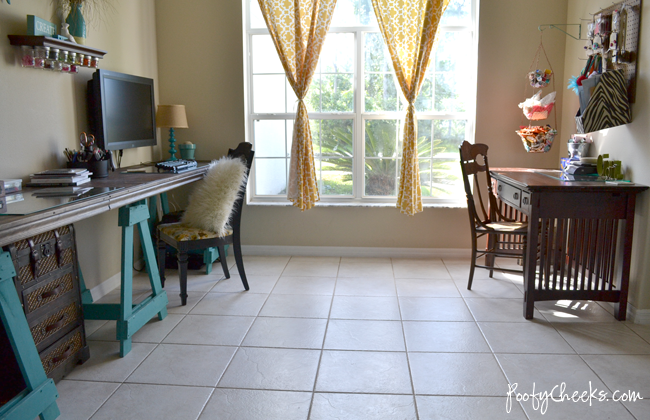
Have you seen my craft room? That is where I take my product pictures because I believe in using ONLY natural light without a flash so that my pictures don’t end up with a yellow or blue cast. My craft room gets the best light in the house for most of the day when I open up the curtains.
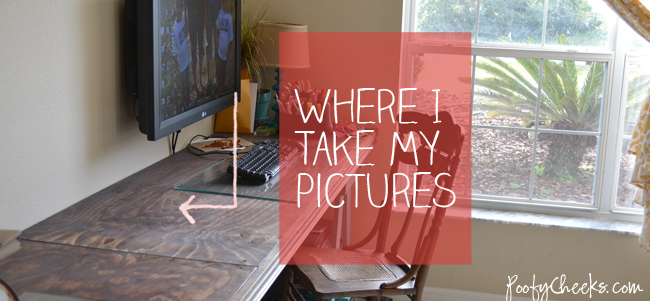
So here we go – it isn’t going to look too pretty, but the end result will! I take a piece of white posterboard and tape it to the wall with painters so that it swags and there are no seems in the background. I then take a piece of foam board and set it up on the side opposite of the way the light is shining in to reflect it back onto my item. Sometimes I also use a mirror to reflect the light back so that there are minimal shadows on either side of my item.
When I am not using my poster board I tape it to the side of my fridge so the kids don’t get it all dirty. I usually buy a new piece of poster board about once a month because I also use it for blog posts (and as you will see I have some chocolate from a recipe post on this one… time to get a new one soon!)
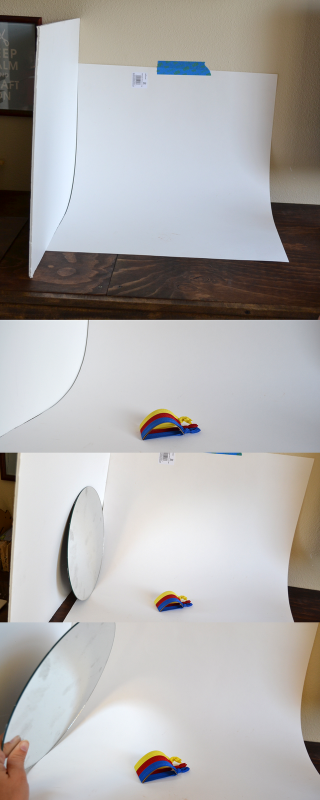
So you have the idea right? Less than $10 and you have yourself a seemless background. Now take the pictures!
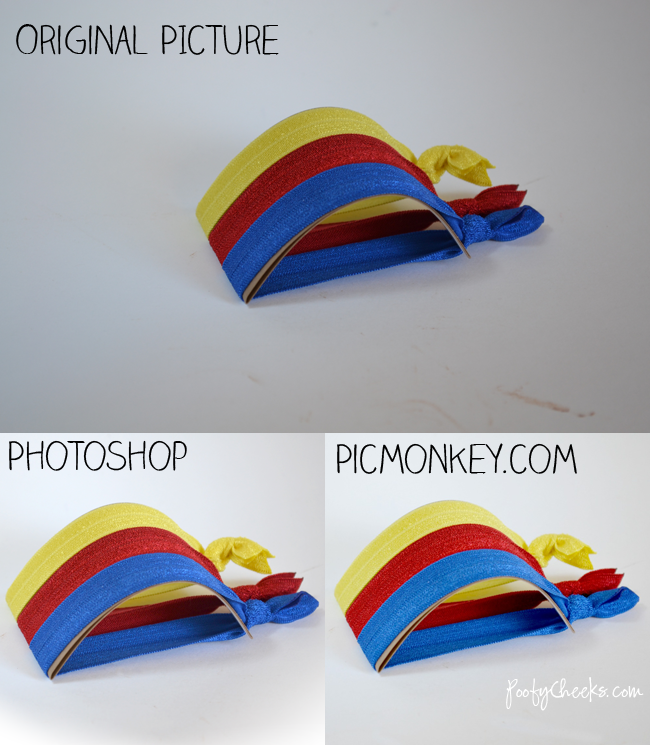
Below I am showing you a picture I took up close. The closer you get to your item the less light comes through the lens so even though the background is white it is showing up sort of gray. Now it is time to edit. I use photoshop most of the time because I purchased it when I was a web design student. For most of you it is probably out of your budget which is FINE! I also used picmonkey.com which is a FREE photo editing site for the same picture. If I was asked my honest opinion I would say I think I like the picmonkey edit better! Most of the time the only edits I have to make are with the exposure and contrast. I also crop my pictures to a square and resize to 1000×1000 pixels. The key is to edit your picture as little as possible so that it doesn’t change the color of your items!

So now say that you have bigger items and a small poster board isn’t going to work for you. You can still use the same method but with a large roll of white paper. I have seen them at craft stores (they are like the ones you used to trace yourself in 5th grade art class.) Set it up against a wall swagging onto the floor with a cheap back-of-the-door mirror from the dollar store.
Another solution (depending on what you sell) is to find a photographer and trade. I trade products for the permission to use watermarked photos with a photographer in Utah. This is one of the best things ever! There are lots of facebook groups for photographers and vendors where you can easily find someone to trade or work a deal with. You can even try contacting local photographers or photographers you find on facebook. What is the worst thing they are going to say? No? Then move along. If you go this route be sure to keep in mind that there are different types of photographers (newborn, family, product, etc) and you don’t want to contact a newborn photographer if you are trying to get pictures of a cutting board or wine rack!
Bloggers are great resources for pictures too. Do you know of a blog you love and it has great photography? See if they want to trade. If they are a food blogger and you sell wine bottle openers ask if they would be willing to use your opener in a few pictures and they can keep it in trade for use of the pictures.

Once you get the hang of things and perfect your pictures I can almost guarantee you will start selling more online! Think about your own online purchases… would you buy an item without a picture or one WITH a picture that might cost a few dollars more? Would you purchase an item with a horrible picture over one with great pictures for the same or a little bit more? My point exactly!
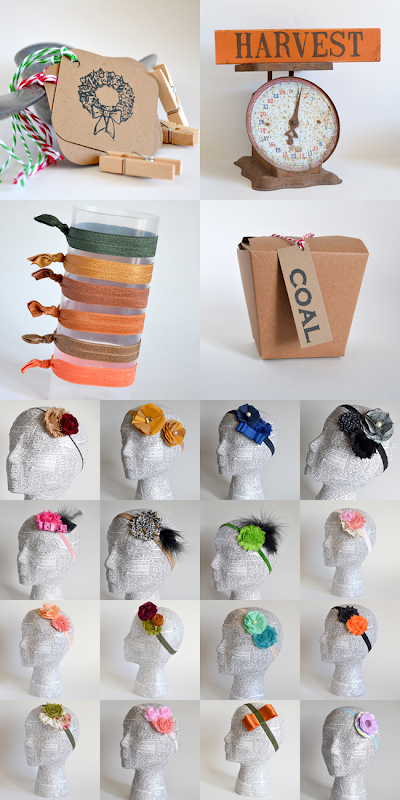
So just to sum things up I have attached a few more pictures of items from my shop using the poster and foam board method.
The upcoming schedule for ‘I’m A Mompreneur… Now What’ is below so mark your calendars OR sign up to receive the exclusive ‘I’m A Mompreneur… Now What’ weekly email–
- November 18th – Using Social Media for your Business
- November 25th – Creating Community
If you missed previous Mompreneur posts you can find them all here: