
The Silhouette Academy for beginners posts contain affiliate links. These links don’t change the cost of the product however we do receive a small percentage which we use to keep the blog running and buzzing with new content.
Hey friends welcome to Silhouette Academy full of Tutorials, Tricks and Tips!
I know this is the day a lot of you have been waiting for and a day I have spent a lot of time planning and preparing for. Today I am launching what will become a regular series here on the blog called Silhouette Academy. My hope is to share all of my knowledge about the Silhouette software and tricks and tips for cutting with your Silhouette machine. To kick things off I will be going through tools for beginner and kick things up a notch as the series goes on. Even though these first tutorials are considered beginner tutorials you may find tips and tricks within the posts that help even novice users.

I will be using a Silhouette Cameo and the latest version of Silhouette Studio software (V4.0.837 released on 06/02/2017). If you are running an older version of the software go to the Silhouette website and click on ‘update software’ to download the newest version. When I did the upgrade from my previous version I found there were a lot of new updates. Many tools changed location and overall the software was improved to use some of the new features Silhouette has added since they released the original Silhouette Cameo. I create a lot of my designs using Adobe Illustrator and with the upgrades Silhouette Studio is starting to have many of the tools Illustrator has.
First things First!
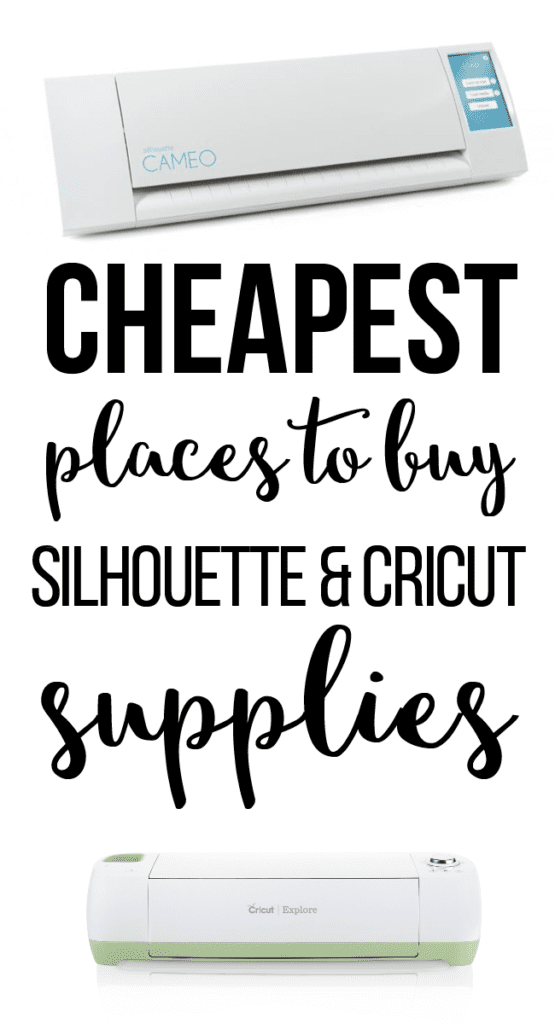
The first thing I do when I open a new file in Silhouette Studio is determine the size of my material. I am usually cutting HTV or adhesive vinyl. You can read about where I buy my supplies at in the post where I tell you about the Cheapest Places to Buy Silhouette and Cricut Supplies. Sometimes I am using a brand new sheet of 12×15 or 12×12 and other times I am using a scrap piece. I keep a ruler quickly accessible on my desk to easily measure my scraps.
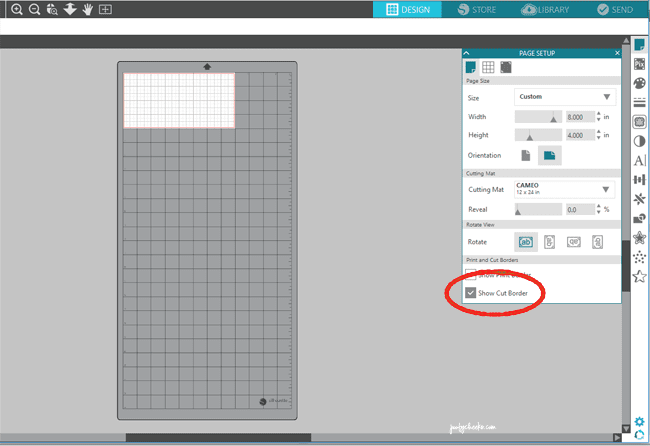
To get to the pages tab make sure you are on the DESIGN tab across the top and then click the PAGE SETUP PANEL along the right toolbar. I have circled the elements we are talking about in red to help you locate them and follow along. Then you will see a panel show up to the left of the toolbar.
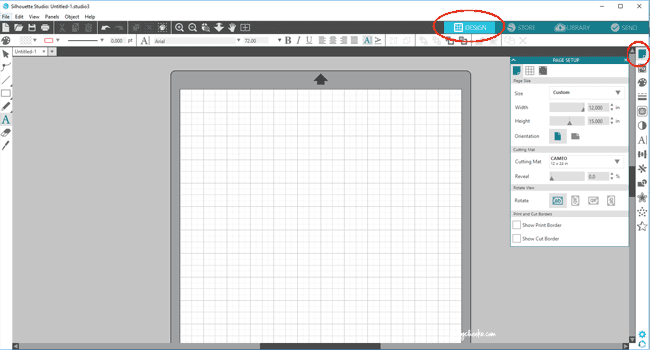
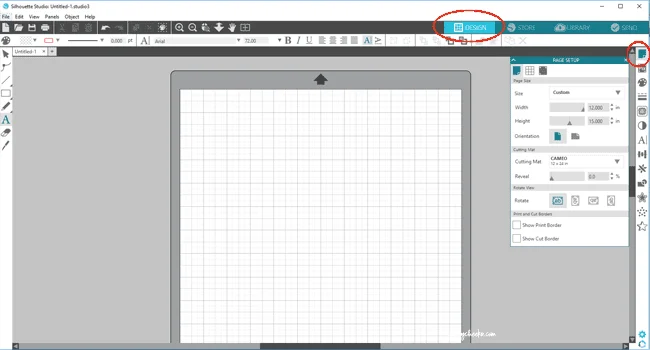
Here is a zoomed in photo of what you will see on Page Setup. By default you will be taken to the Page Size tab. This I where you can change the size of your material. I usually use HTV (heat transfer vinyl) that measure 12×15 inches so that is what I changed my size to. I also use a 12×24 inch mat. Click on the dropdown arrow to change your mat size. I know many people use 12×12
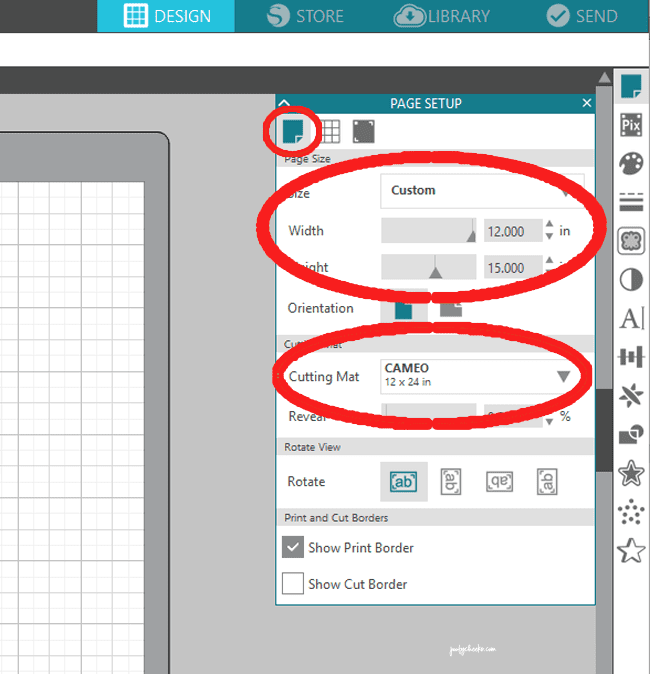

Why I Use a 12×24 Inch Mat
Really quickly I want to tell you why I use a 12×24 inch mat. I do this because I am usually cutting 12×15 inch heat transfer vinyl so that I can get double use of the mat. I make sure to leave the protective cover on my mat whenever I am not using it and when the first side starts to loose it’s stick I rotate the mat and use the other side. The mat gets used until there is absolutely no stick left! More on mats in another post soon!
In the image below you can see where I changed the page size to 8×4 inches. I often cut designs on scraps because I try not to waste any vinyl. Measuring and adjusting to the size of your scrap is a great way to see how big or small you can size a design to make sure it fits.

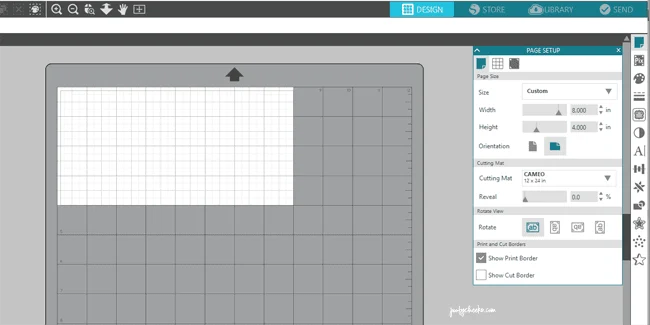
At the bottom of the page size tab is the ‘show cut border’ button. I always leave it on when cutting scraps so I can tell where to place my design. It creates a tiny red line around the area where cutting will take place. If any part of your design is outside of the red outline it may not cut correctly. I can’t tell you how many times I have accidently measured incorrectly or (gasp) not measured and ended up with half a letter or word because the design was bigger than the piece of vinyl I was using. That is always frustrating! As my dad always says ‘measure twice and cut once.’
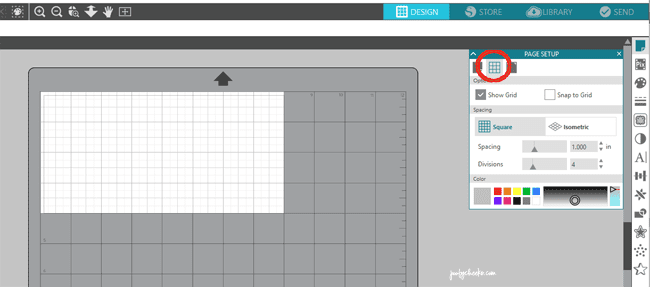
If you click over to the second tab (circled below) you can make a few more adjustments to the grids. You can choose to get rid of the grid altogether, change the increment of the grid, snap items to grid to keep them lined up straight and change the color of the grid. What you see below is how I typically keep mine all the time. Using the grid to see the size of my designs works best for me.
That’s a wrap – all you need to know about he page setup tab
I hope this helps you adjust your sizing and grids and use up your scraps. Experiment with these two tabs until you find what works best for you. You really can’t hurt anything!
The next tutorial I am sharing is how to cut and adjust cut settings for your design. Join the Silhouette Academy newsletter to be alerted when new posts are published. I have met so many of you who tell me your intimidated by your machine or don’t know where to start. Let’s change that! I can’t wait to see all the things you are going to create.
In the meantime here are few posts you might want to check out –
Cheapest Places to Buy Silhouette and Cricut Supplies

Adhesive and Iron on Vinyl Blanks
![]()
![]()
Sandy
Sunday 20th of October 2019
I’m a new beginner. I have had my silhouette camo for a year now but to scare to use. Don’t know where to even start lol. Any help would be appreciated.
Kelsey
Thursday 24th of October 2019
Hi Sandy! Start with this series here - https://poofycheeks.com/silhouette-challenge/ This will get you going! :)
Kay
Monday 21st of January 2019
I really enjoyed your post and recommendations. It was helpful and I look forward to future posts. Best regards, Kay
Silhouette Tutorial - Add Designs to Silhouette Studio Library - Silhouette Academy - Poofy Cheeks
Friday 18th of August 2017
[…] Setting Up Page Sizes and Mat Sizes in Silhouette Studio […]
RONALD F ANTINORA
Tuesday 20th of June 2017
THANK YOU !
Kelsey
Tuesday 20th of June 2017
You are so welcome!