When I was living with my parents I wanted to help them with their master bedroom and bathroom. They have lived in their house for almost two years and have painted every room besides for their own master suite. Their whole house has a cozy feel until you open the door to their bedroom and things seem a bit stark and cold. They have a huge master bedroom with high vaulted ceilings and an open archway into their master bathroom which is about the size of my current bedroom. We weren’t able to finish everything yet but we did give their tub area a facelift.
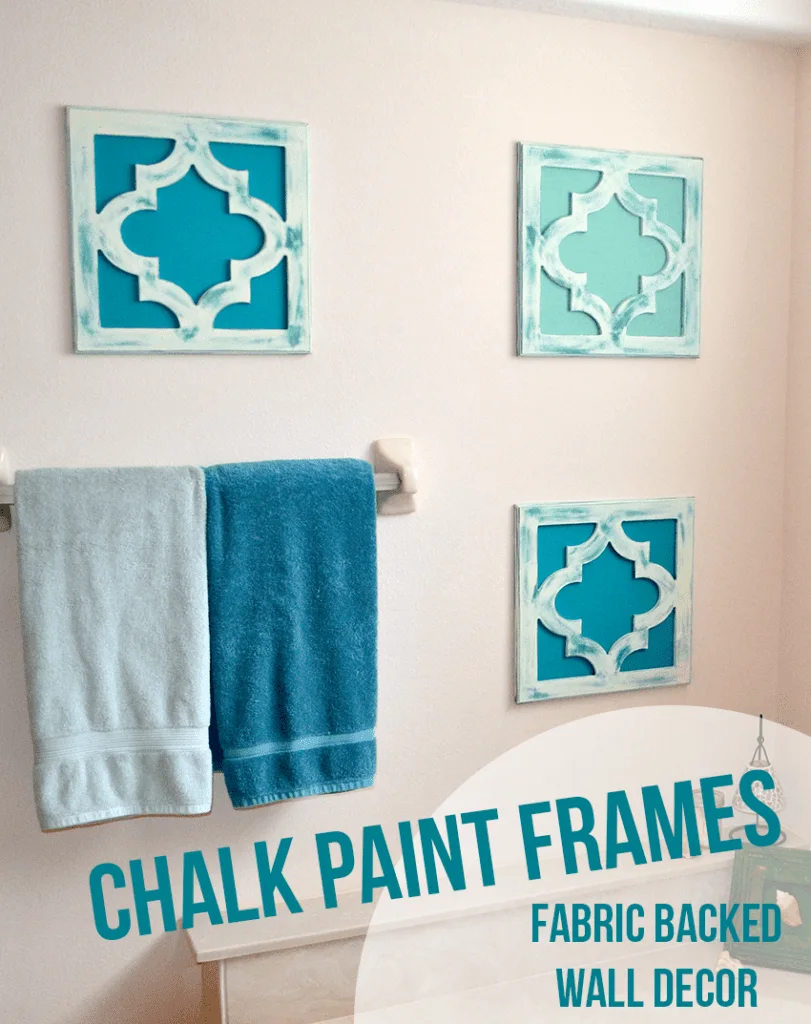
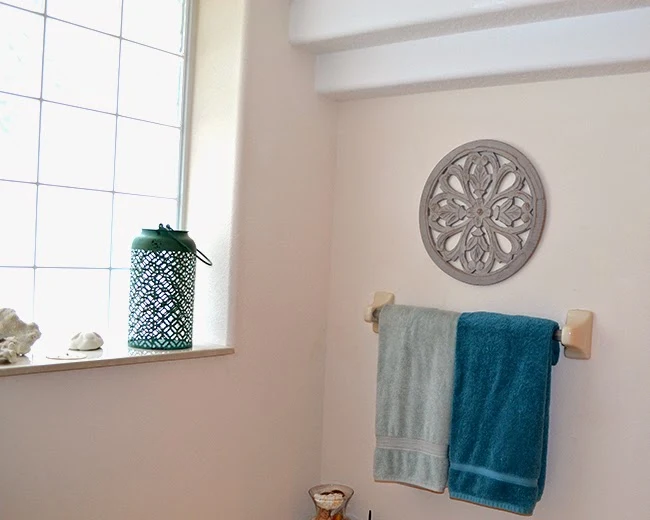
My mom wants the color pallet for the rooms to be sea glass colors and if you ever watch Trisha Yearwood’s show on Food Network – she is putting a color similar to Trisha’s kitchen on her bedroom walls. I picked up a few new décor items, used some décor she already had and then used frames from Cut It Out as the focal point.
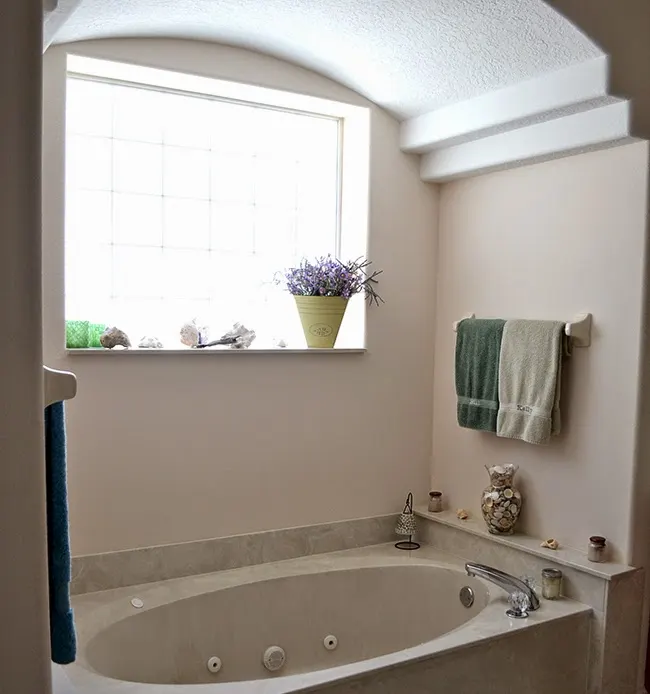
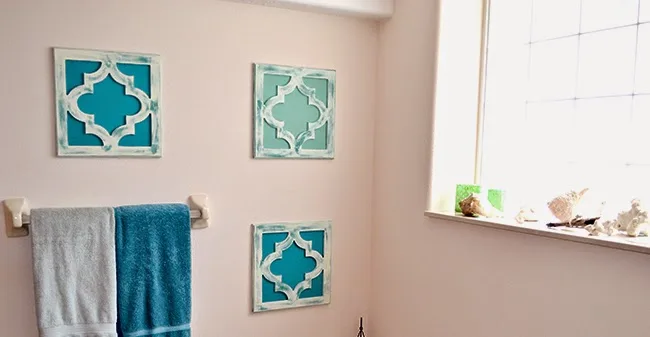
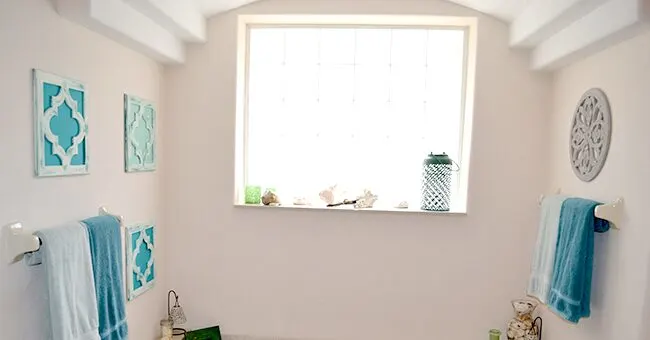
The picture below is how the tub area looked before – the colors were purple and green. You can’t see the wall on the left but it didn’t have anything hanging besides for an oddly placed towel rack. By adding three frames to that wall it balanced out the towel rack placement and added a pop of color which will coordinate with their bedroom wall color.
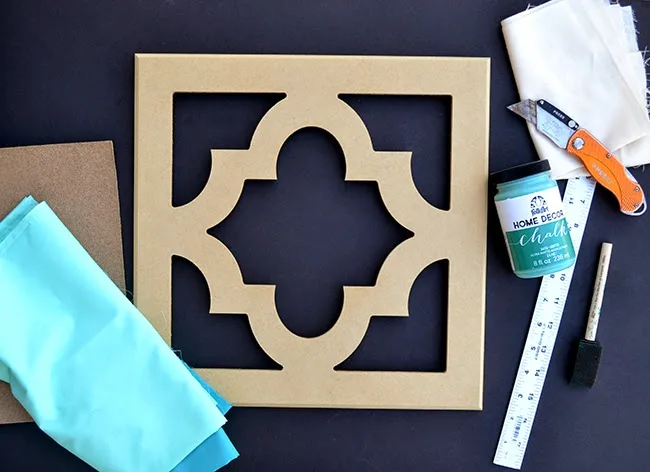
To make the frames I gathered the following supplies:
-
Long cardboard box(es)
-
Ruler
-
Pencil
-
Hot glue gun
-
Box cutter knife
-
Foam brush
-
Chalk paint (I used a peacock blue and ivory)
-
Sand paper
-
Fabric for behind the frames (14×14 inches)
-
Old cloth you can get wet and wipe the frame with after sanding
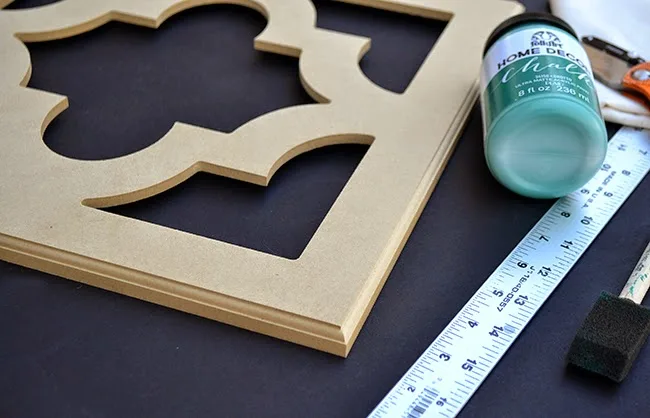
The first thing I did was paint the frames with chalk paint and then distress them with sandpaper so the blue would show through under the ivory. I applied a coat of the blue paint to each frame and let it dry completely. Once dried I painted a coat of the ivory paint over top and let dry completely. After both coats were applied I used a medium grit sandpaper to sand down through the ivory so the blue showed through. You can sand as little or much as you want. (See the image below to see how the frame looked after each step.)
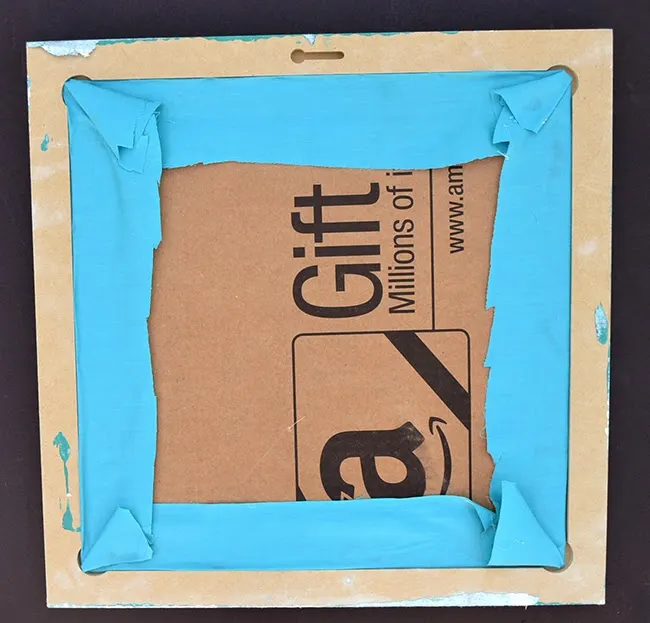
To add the fabric underneath the frame I used a box cutter to cut a piece of cardboard to 12×12 inches. The Cut it Out frames were made to have a 12×12 inch backing added so before I applied the fabric I checked to see if the cardboard piece fit and trimmed as needed. Once the cardboard was cut I used hot glue to cover the cardboard in the fabric. Once the glue was dry I stuck the fabric covered cardboard in and hung the frames on the wall.
The frames look great and add the perfect pop of color to the space. I am so jealous of the light that pours through their bathroom window! I first fell in love with Cut it Out frames a few years ago when I attended the SNAP! blog conference in Utah and came home with five in my suitcase. They come unfinished so that you can paint or decorate them any way you would like.
I noticed the last thing I usually worry with when it comes to decorating in my own home is the master bedroom and bathroom too. Since we just moved our bathroom and bedroom have become the dropping ground for anything that doesn’t have a ‘home’ so I hope to change that over the next month! Do you find yourself doing the same thing or is it just me!?
Enjoy,


