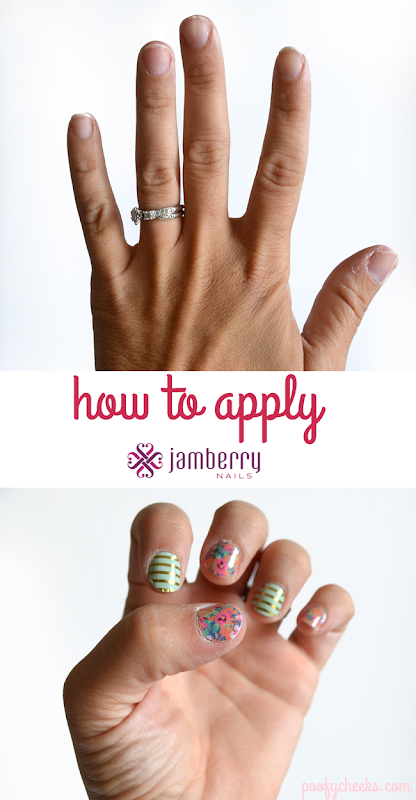
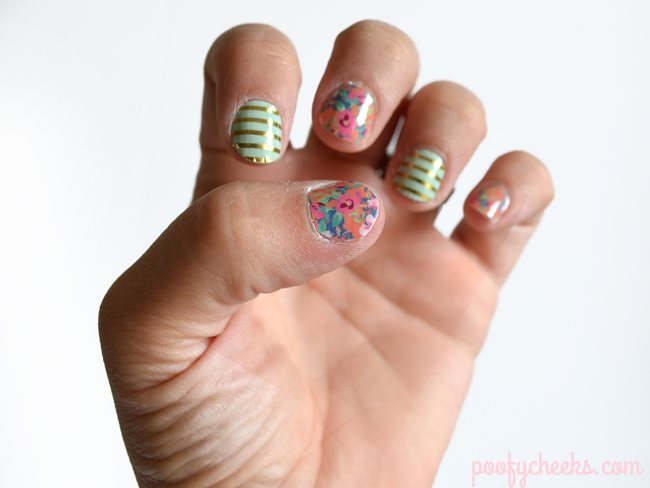
Have you heard of Jamberry Nails? A few months ago my friend Aleisha hosted a Jamberry Nails party and I bought a few different nail wraps from her. I had already been using store brand nail stickers but the thing about Jamberry Nails was that they came in TONS of different prints and colors. If you can imagine it then they probably have it! I started using nail wraps because they lasted so much longer than nail polish. With polish I would apply it in the morning and have chips by the evening. Jamberry Nails are the bomb because I can apply them in the morning, go swimming, do dishes, give the kids baths and they are STILL perfect. I am one of those that has to see things to believe them and even then I am a skeptic so when I say I am passionate about Jamberry Nails I completely mean it!!
I admit that the first few times I used my Jamberry nail wraps I did them wrong and had creases as well as peeling sooner than I thought I should have. After finally learning the right way to apply them with some help from my girl Aleisha I wanted to share the tips and tricks for a perfect Jamberry manicure with you! Oh and guess what!? Aleisha sent me a set of nail wraps to giveaway to one of you lucky ladies so don’t forget to enter the giveaway below!!
GET JAMBERRY HERE!
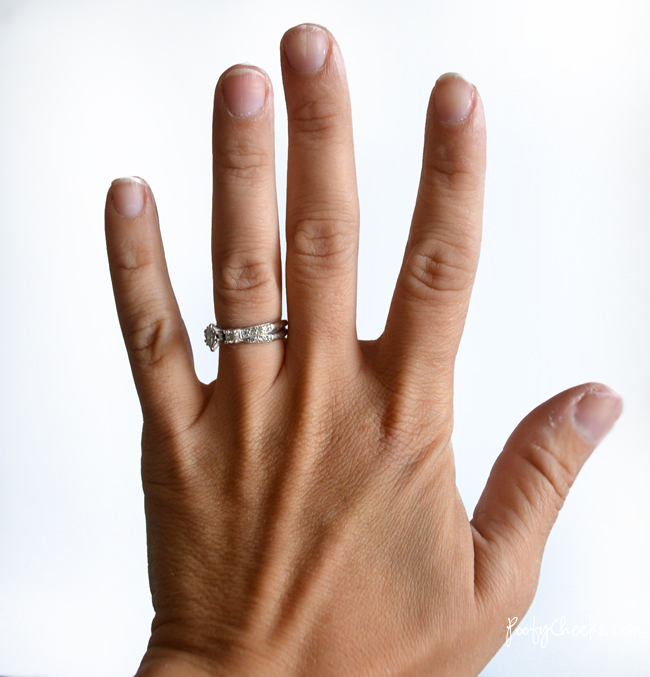
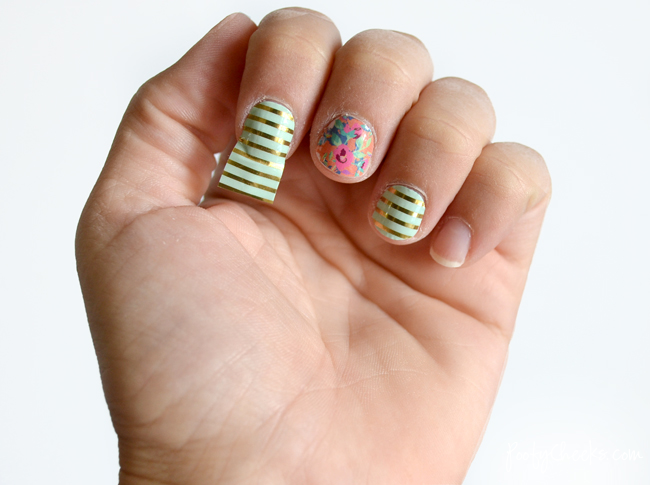
See my poor nails? They are FARRRR from perfect! Not to mention it looks like my hands could use a bit of lotion! Disclaimer:: I am not a hand model!
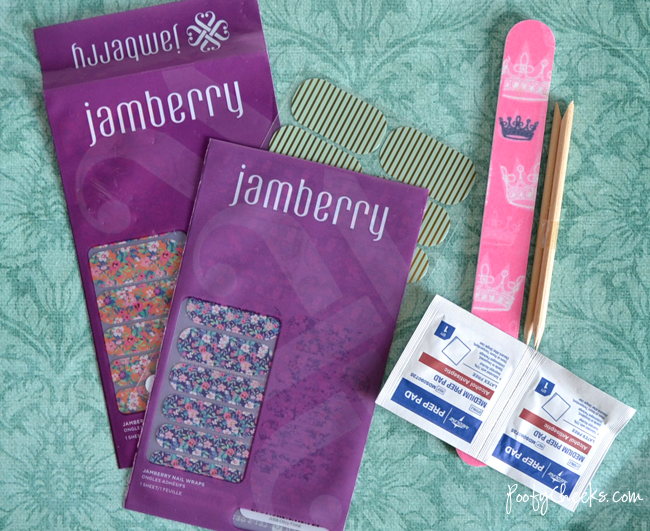
Before you start you will need to gather a few things::
- Jamberry Nail Wraps
- Nail File
- Cuticle Stick
- Rubbing Alcohol Pad (or rubbing alcohol and cotton balls)
- Blowdryer or mini-heater
**Jamberry Nails do require some sort of heat in order for the adhesive to work properly. I use my hair blowdryer with perfect results.
Now if you want your Jams to last here are the fail-proof instructions!
1. Start out by taking off any nail polish and washing your hands with soap and water to remove any oils or residue from your finger nails.
2. Shape your nails with a nail file, push back your cuticles and then rub each nail down with alcohol to be sure they are free and clear of any oils. Having clean nails is one very important step so don’t skip it!!
**If you don’t have rubbing alcohol you can use nail polish remover but I still suggest using alcohol for best results.
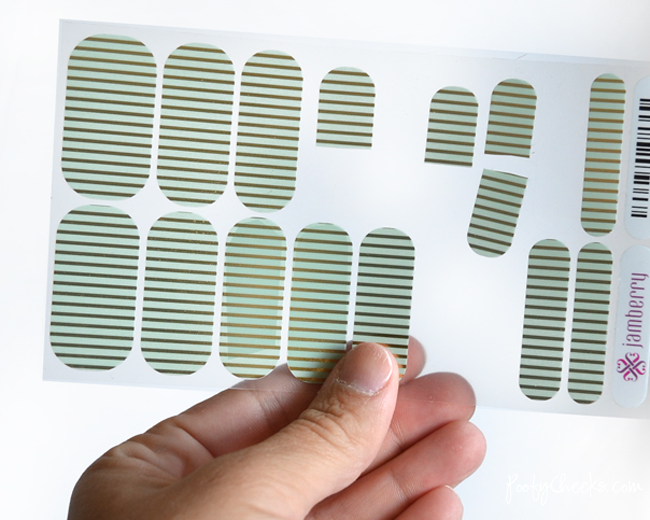
3. Jamberry Nails come with multiple strips in different widths to fit all of your nails. They are on a clear sheet so that you can hold them up to see which width is right for each nail without having to peel them off. Working one finger at a time hold the wraps up and decide which ones fit the best. Cut the wrap slightly longer than your nail.
**Unless you have super long nails you should be able to get two nails out of each wrap. In theory one sheet of wraps should get you two manicures and then still have a few extra for a pedi.
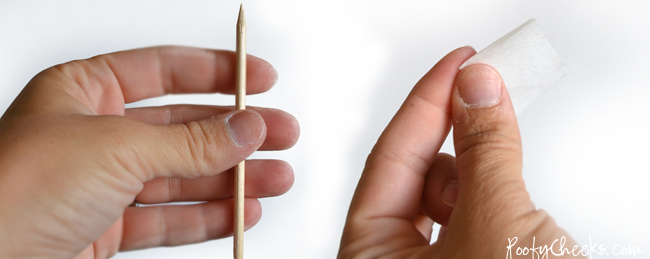
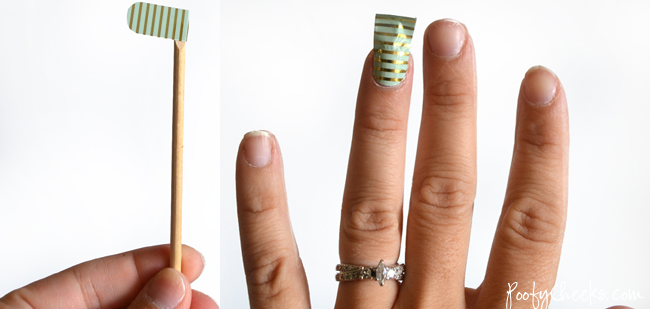
4. Use your cuticle stick to lift the wrap from the clear backing. Be sure not to touch it with your fingers. Then heat the backside of the wrap (the silver side) in front of your blowdryer or mini-heater for 3-5 seconds.
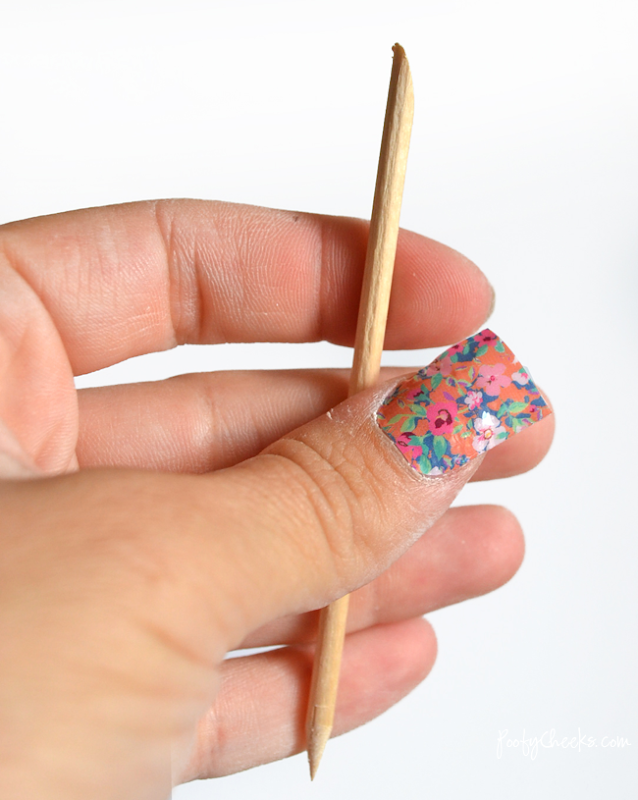
5. When warm, press the wrap onto the prepped nail. Apply firm pressure all over the wrap, paying special attention to the edges. Use your cuticle stick to then smooth across the entire nail.
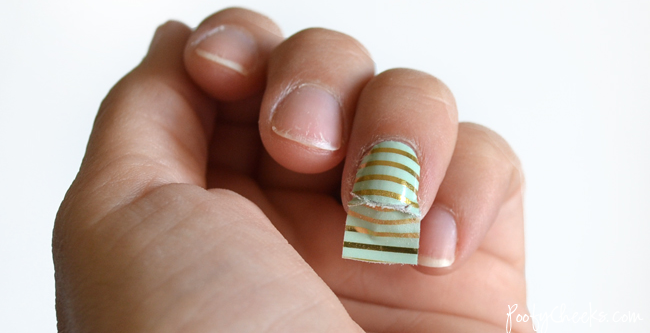
6. Once cool, file off the remaining wrap at a 90 degree angle. Run the file down the edge of your nail.
**Never file up or back and fourth or you will rub the wrap off or loosen the bond at the tip of your nail.
7. Apply heat and pressure one more time after you have filed off the excess. Again – pay special attention to the tips!
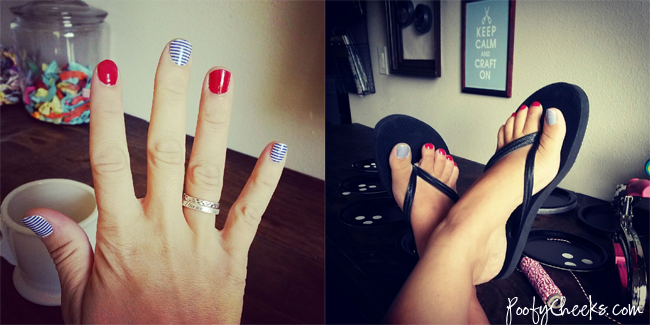
Have I sold you on these awesome wraps yet? I love doing my nails and getting numerous comments on them PLUS going chip free! I even put them on my toenails. These are the ones I sported on Fourth of July.
Go take a look at all of their nail wrap designs – THERE ARE SO MANY TO CHOOSE FROM… It is dangerous stuff!
GETCHU’ SOME JAMBERRY!
Want to try them first? Request a FREE Jamberry Sample from my homegirl Aleisha. We just spent a week at Disney World and my Jams lasted ALL.WEEKEND.LONG after swimming, sweating and playing hard!


 I party HERE
Check out the Poofy Cheeks Blog Pinterest Board for other craft and recipe ideas!
Follow Poofy Cheeks’s board Poofy Cheeks Blog on Pinterest.

Tiffanee Zenes
Friday 18th of July 2014
I love Teal Min Polka
Patricia
Friday 18th of July 2014
I'll have to try these!
Nanette
Thursday 17th of July 2014
Loving the Mint Chevron!
Natalie Yeoman
Thursday 17th of July 2014
my favorite design is the vintage chic
Tricia
Wednesday 16th of July 2014
Love the turple ombre!